Vigtig guide til at undgå, at satinbåndet flosser

Indholdsfortegnelse

Sammenfatning

Satinbånd er tilbøjelige til at flosse på grund af deres fine, sarte fibre, som let kan trevle op, når de klippes.

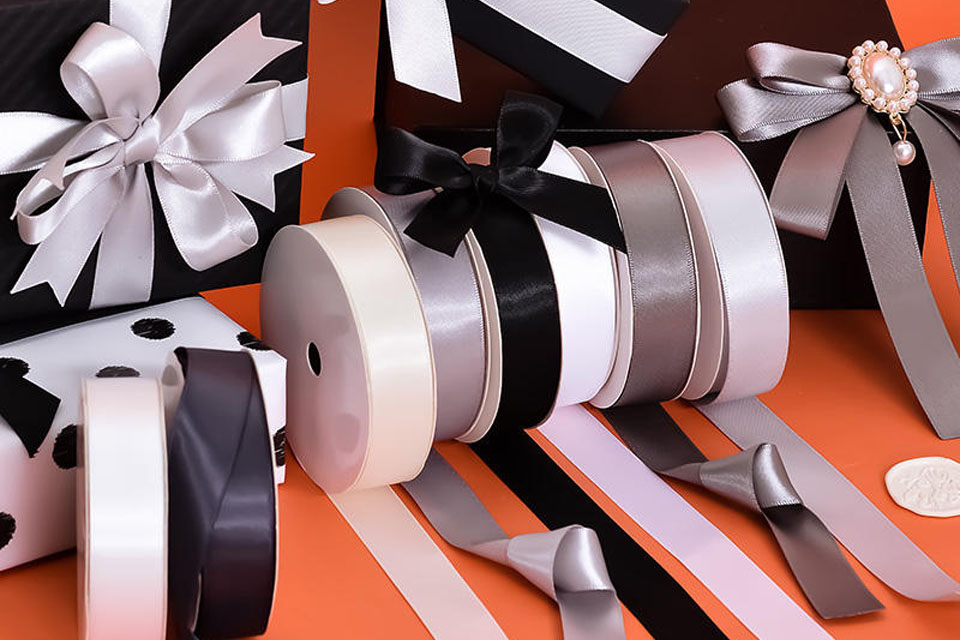
Satinbånd, with their luxurious sheen and smooth texture, are a versatile and elegant choice for crafting, event décor, and gift packaging. However, one common frustration faced by crafters and designers is ribbon fraying, which can quickly ruin the polished look of any project. Whether you’re wrapping gifts, decorating floral arrangements, or adding finishing touches to a special occasion, understanding how to keep satin ribbon from fraying is crucial to maintaining a pristine and professional appearance. This article explores the scientific and technical aspects of satin ribbon, offering effective methods to prevent fraying and ensure that your ribbons retain their elegance throughout your projects.

This can be especially frustrating for those working with high-end satin materials for weddings, corporate events, or custom gifts. In this guide, we’ll cover why satin ribbon frays, explore cutting techniques that minimize damage, and introduce effective sealing methods to prevent edges from unwinding. By the end of this article, you’ll be equipped with the knowledge to work with satin ribbons like a professional, ensuring that your projects remain neat, tidy, and visually stunning.

Satin ribbon is crafted from smooth fibers that give it its signature shine. However, the very quality that makes satin ribbon so luxurious also makes it prone to fraying. When satin is cut, the fibers at the edges are no longer secured, and they begin to unravel. This fraying process is exacerbated by the ribbon’s delicate structure, which lacks the tightly woven texture that other materials, like grosgrain-bånd, possess. The smooth, slippery texture of satin further contributes to this problem, as the fibers easily slide loose when not properly treated.

Fraying can be particularly problematic for satin ribbon used in high-traffic areas, such as wedding decorations or floral arrangements, where the ribbon is handled frequently. Over time, unsealed edges will cause the ribbon to appear worn, diminishing its overall aesthetic. However, with the right tools and techniques, this issue can be minimized, allowing satin ribbon to maintain its beautiful finish throughout the lifespan of your project.

Cutting Satin Ribbon: The First Step in Preventing Fraying

The key to preventing Satinbånd from fraying begins with making precise cuts. Using improper cutting methods can exacerbate fraying, leaving you with rough, uneven edges. To avoid this, here are a few cutting techniques that ensure your ribbon stays neat and secure:

Use Sharp, High-Quality Scissors

Always use sharp scissors to cut satin ribbon. Dull scissors can crush the fibers of the ribbon, causing uneven cuts and increasing the likelihood of fraying. Invest in a pair of sharp, fabric-specific scissors to ensure clean, smooth edges.

Cut at a Diagonal Angle

Cutting the ribbon at a diagonal angle is an effective way to minimize fraying. By cutting at an angle, you reduce the amount of fiber exposed at the cut edge, which decreases the chance of unraveling. This method is ideal for satin ribbon and works well for thicker ribbons like grosgrain as well.

Try a V-Shaped or Wedge Cut

For decorative purposes, a V-shaped or wedge cut can provide a stylish finish while also preventing fraying. This method involves making two diagonal cuts that meet at the center of the ribbon, creating a clean “V” shape. It’s particularly effective for wider ribbons, like satin or silk, and adds an extra touch of flair to your project.

These cutting techniques work across a range of ribbon types, ensuring that your satin ribbon maintains its integrity without sacrificing style.

Effective Methods for Sealing Satin Ribbon Edges

Once you’ve made your cuts, it’s important to use one of several sealing techniques to prevent fraying. Each of these methods works differently depending on your project’s needs and the materials you’re working with. Below are three widely recommended techniques for keeping your satin ribbon edges smooth and fray-free:

1. Craft Glue Method

Nødvendige materialer:

  • Clear craft glue (or anti-fray glue spray)
  • Cotton swab or small applicator

Craft glue is a versatile solution for sealing the edges of satin ribbon. It’s particularly useful for items that will be exposed to frequent handling or washing, such as fashion accessories or decorative cushions. The glue creates a flexible seal that holds the fibers in place, preventing fraying over time.

How to Use:

  1. After cutting your ribbon with a sharp pair of scissors, apply a small amount of clear craft glue to a cotton swab.
  2. Gently swipe the glue along the edges of the ribbon, being careful not to apply too much.
  3. Flip the ribbon over and repeat the process on the other side.
  4. Let the ribbon dry completely by pinning it up so it doesn’t stick to any surfaces.

This method works well for both satin and other delicate fabrics, ensuring long-lasting results.

2. Nail Polish Method

Nødvendige materialer:

  • Clear nail polish (or durable nail polish for a stronger hold)

Nail polish is a quick and efficient way to seal the edges of satin ribbon. Most people already have clear nail polish on hand, making this method a convenient solution for sealing ribbon quickly.

How to Use:

  1. Once the ribbon is cut, apply a thin layer of clear nail polish to the edges.
  2. Use a small brush to apply the polish evenly, ensuring you coat the entire edge.
  3. Allow the polish to dry completely before using the ribbon in your project.
  4. For extra protection, you may want to apply a second coat once the first has dried.

It’s important to avoid applying too much polish, as this can darken the satin ribbon. Always test this method on a scrap piece of ribbon to ensure compatibility.

3. Heat & Flame Method

Nødvendige materialer:

  • Small candle or lighter
  • Bowl of water (for safety)

The heat and flame method is effective for sealing synthetic ribbons, including satin. It works by melting the edge of the ribbon, creating a sealed, fray-resistant finish. However, this technique requires caution as heat can also burn or discolor the material if not used correctly.

How to Use:

  1. Light a small candle and keep a bowl of water nearby for safety.
  2. Hold the ribbon carefully, ensuring your fingers are at a safe distance from the flame.
  3. Move the ribbon close to the flame, but do not allow it to touch. The heat will gently melt the fibers and prevent them from unraveling.
  4. If necessary, repeat the process to ensure a solid seal.

While this method is effective, it should be used sparingly and carefully, particularly with synthetic satin ribbons.

Choosing the Right Sealing Method for Your Project

While all of the above methods are effective, it’s essential to choose the one that best suits the nature of your project. For delicate crafts or high-end decorations, the craft glue og nail polish methods offer flexibility and durability, while the heat and flame method is ideal for synthetic satin used in heavy-duty applications.

If you’re working with satin ribbon in corporate gifts, event décoreller bridal accessories, sealing the edges is crucial to maintaining a professional, high-quality finish. Choosing the right sealing technique ensures that your satin ribbon holds up under use and retains its pristine look throughout your project.

Ofte stillede spørgsmål

How do I prevent satin ribbon from fraying without altering its color?

Using clear craft glue or nail polish is the best way to seal satin ribbon without altering its color. These methods provide a protective barrier without adding noticeable color or shine.


No, the heat method is best suited for synthetic fibers like satin. Natural fibers such as silk can be damaged by direct heat. For these materials, it’s recommended to use glue or nail polish methods.

Ensure that you’re applying the sealing product evenly and allowing it to dry completely. Overuse of the sealing product or insufficient drying time may result in fraying.

Store your Satinbånd in a cool, dry place, away from direct sunlight and humidity. Rolling the ribbons loosely on a spool or in a protective case can help preserve their integrity.

Konklusion

Preventing fraying in satin ribbon is essential for maintaining the polished, luxurious look that makes this material so popular for crafting, events, and packaging. By understanding why satin ribbon frays and employing proper cutting and sealing techniques, you can ensure that your ribbon projects remain clean, neat, and professional. Whether you’re working with satin ribbon for wedding decorations, corporate gifts, or floral arrangements, using the right methods can significantly extend the life and beauty of your creations.

Meedee-bånd, we specialize in providing high-quality satin ribbons that are designed to resist fraying, allowing your projects to shine with lasting elegance. Explore our wide range of satin ribbons today and elevate your craft to the next level.


Det vigtigste at tage med:

  • Cut carefully: Use sharp scissors and consider diagonal or V-shaped cuts.
  • Seal edges: Employ craft glue, nail polish, or heat sealing to prevent fraying.
  • Choose the right method: Different sealing techniques suit different projects and materials.
  • Proper storage: Store satin ribbons properly to prevent damage.

Gå på opdagelse Meedee Ribbon's collection to find the perfect satin ribbon for your next project!

Kommentarer

Få de nyeste trends og viden fra den førende producent i Kina om båndbranchen.

Rul til toppen

Online-forespørgsel

Vi svarer dig inden for 30 minutter.

Tal med lederen

Kan du ikke finde det, du søger? Spørg vores manager om hjælp direkte.

Tal med lederen

Kan du ikke finde det, du søger? Spørg vores manager om hjælp direkte.

Tal med lederen

Kan du ikke finde det, du søger? Spørg vores manager om hjælp direkte.