Easy Ribbon Bow Tutorial: Step-by-Step Guide for Wreaths

Table of Contents

Summary

Creating beautiful ribbon bows for wreaths has never been easier!

Whether you’re a DIY enthusiast, event planner, or a craft lover, this comprehensive guide will walk you through the process of making stunning ribbon bows that add a perfect finishing touch to any wreath. Discover the secrets to crafting professional-looking bows with minimal effort and enjoy the satisfaction of personalized decorations.

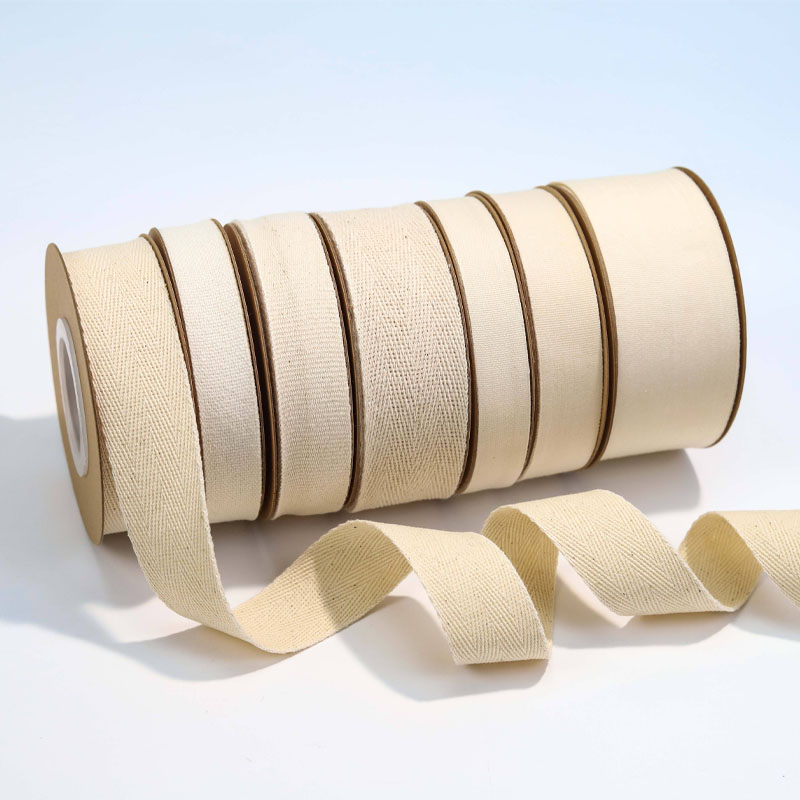
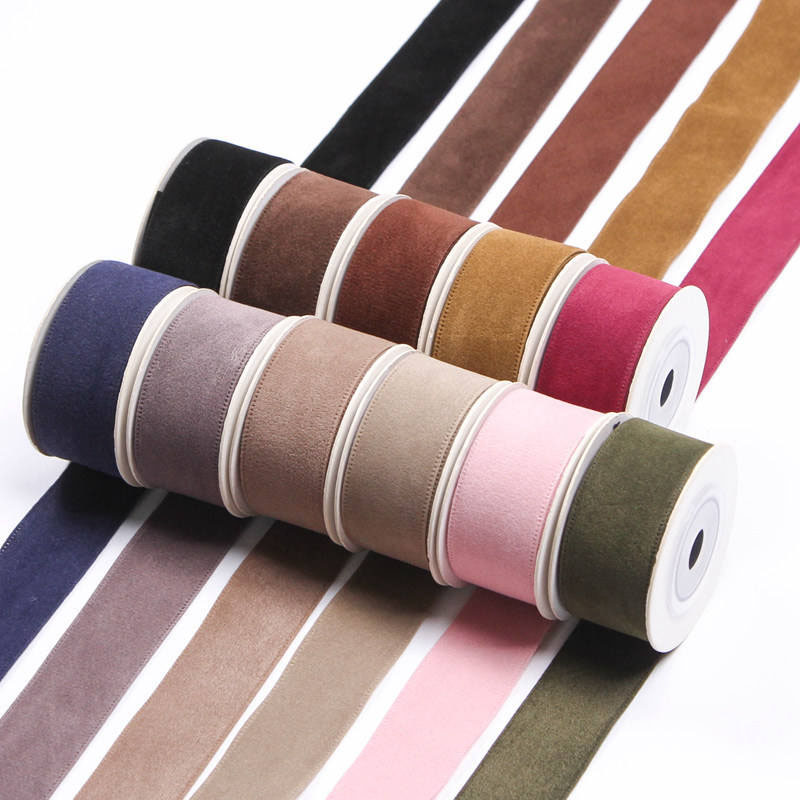
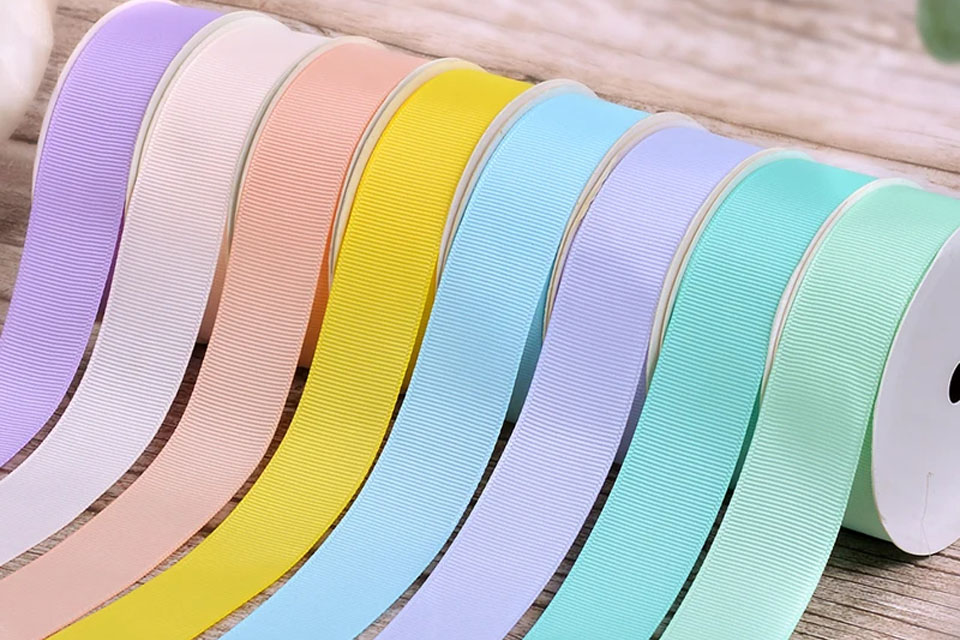
To embark on your bow-making journey, you’ll need a few essential materials. First and foremost, selecting the right piece of ribbon is crucial. Depending on your desired bow style, you might opt for satin ribbonsgrosgrain ribbons, or even velvet ribbons. Each type offers a unique texture and sheen, enhancing the overall appearance of your bow.

In addition to ribbon, wicked ribbon adds extra stability to your bow, ensuring it maintains its shape over time. You’ll also need scissors, a hot glue gun, and optionally, some decorative elements like beads or small charms to personalize your creation. For those looking to create bows with a professional finish, wired ribbons can provide the necessary structure and support.

Choosing the right type of ribbon is essential for achieving the desired look and functionality of your bow. Satin ribbons are a popular choice due to their smooth texture and glossy finish, making them ideal for elegant and sophisticated bows. On the other hand, grosgrain ribbons feature a ribbed texture, offering a more subtle sheen that’s perfect for casual and rustic-themed bows.

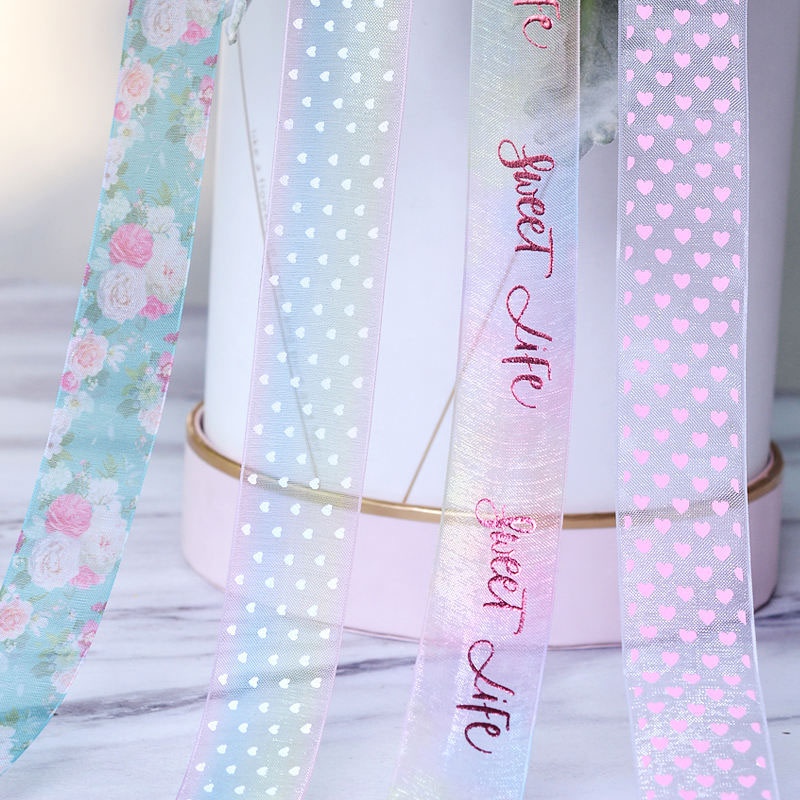
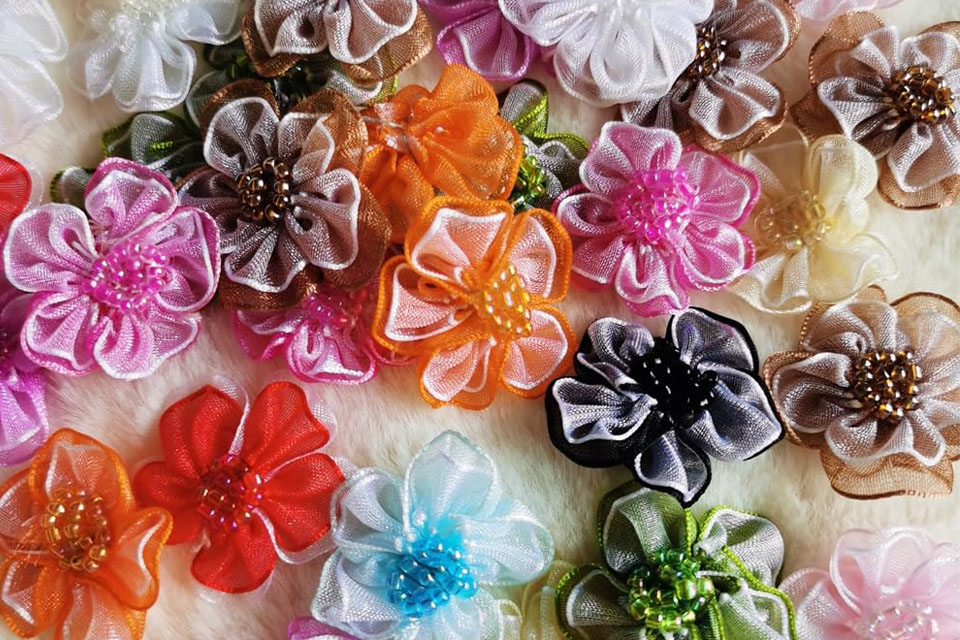
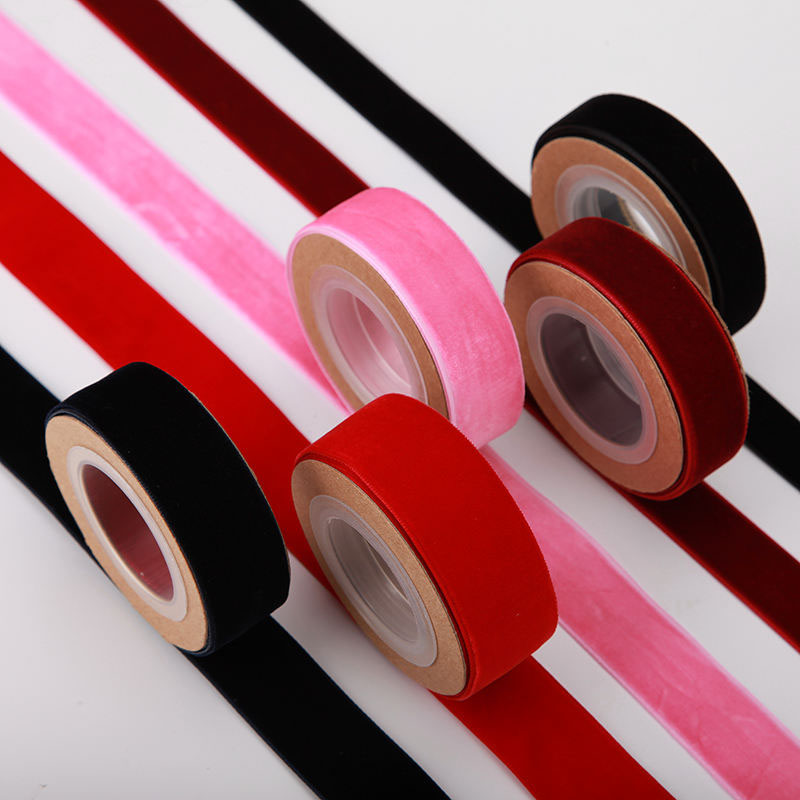
For those seeking a luxurious touch, velvet ribbons provide a rich, plush feel that adds depth and warmth to your bows. Additionally, organza ribbons are lightweight and sheer, creating a delicate and airy appearance ideal for festive and seasonal decorations. When making ribbon bows for wreaths, consider the overall theme and color palette to ensure your bow complements the design seamlessly.

Creating a simple ribbon bow is a fun and straightforward process. Follow these steps to craft a beautiful bow that can enhance any wreath:

  1. Cut a Piece of Ribbon: Begin by cutting a long piece of ribbon—approximately 18 inches is ideal for a medium-sized bow.
  2. Make a Loop with the Ribbon: Fold the ribbon in half to form a loop, ensuring both sides are even.
  3. Create the Bow Shape: Pinch the center of the ribbon and tie a knot, adjusting the loops to your desired size.
  4. Secure the Bow: Use a small amount of hot glue to secure the bow in place, preventing it from loosening over time.
  5. Trim the Ends: Cut the ends of the ribbon at an angle for a polished finish, ensuring they’re all even.

For those looking to make another loop for a fuller bow, repeat the process, attaching the additional loops with glue. This step-by-step approach ensures your bow remains symmetrical and aesthetically pleasing.

How to Make a Wired Ribbon Bow for Extra Stability

Enhancing your ribbon bow with wiring can significantly improve its durability and shape retention. Wired ribbons are especially beneficial for larger bows or those intended for extended use on wreaths. Here’s how to incorporate wiring into your bow-making process:

  1. Select Wired Ribbon: Choose a wired ribbon that matches your preferred style and color.
  2. Cut the Ribbon: Measure and cut the ribbon to the desired length, ensuring you have enough for the loops.
  3. Shape the Bow with Wire: Bend the wires embedded in the ribbon to form loops, securing the overall bow shape.
  4. Attach the Bow to the Wreath: Use floral wire or a sturdy adhesive to attach the bow securely to your wreath.

Using wired ribbons allows for more intricate and structured bow designs, making them perfect for professional settings or large-scale decorations.

What Are the Best Techniques to Fluff and Shape Your Bow?

Achieving a beautiful bow requires attention to detail in the fluffing and shaping stages. Here are some techniques to ensure your bow looks its best:

  • Even Loop Sizes: Ensure that all loops of the ribbon are roughly the same size to maintain symmetry.
  • Fluffing the Bow: Gently pull and adjust each loop to add volume and create a fuller appearance. This helps the bow look more dynamic and less flat.
  • Trimming Excess Ribbon: After shaping, trim the ribbon ends to the desired length and angle. Uniform trimming enhances the overall look of the bow.
  • Securing with Glue: Use a dab of hot glue at strategic points to hold the loops in place, preventing them from shifting or loosening.

These techniques not only improve the aesthetic appeal of your bow but also ensure it remains sturdy and intact when attached to wreaths or other decorations.

How to Attach Your Ribbon Bow to a Wreath

Attaching your handcrafted ribbon bow to a wreath requires a few simple steps to ensure it stays secure and enhances the overall design:

  1. Choose the Attachment Point: Select a spot on the wreath where the bow will be prominently displayed.
  2. Use Floral Wire: Insert a piece of floral wire through the base of the bow, then secure it into the wreath. This method provides a strong hold and allows for easy positioning.
  3. Employ Adhesive Options: For a cleaner look, use a strong adhesive, such as hot glue, to attach the bow directly to the wreath. Ensure the glue is applied evenly to avoid any gaps.
  4. Adjust for Balance: Once attached, adjust the bow’s position and fluff it to ensure it complements the wreath’s overall layout.

For those using wired ribbons, the added structure makes the attachment process more straightforward, eliminating the need for additional support mechanisms.

Creative Ways to Customize Your Bows

Personalizing your ribbon bows can elevate your wreaths from simple decorations to stunning centerpieces. Here are some creative ideas to customize your bows:

  • Add Decorative Elements: Incorporate beads, charms, or small flowers into your bow for added flair.
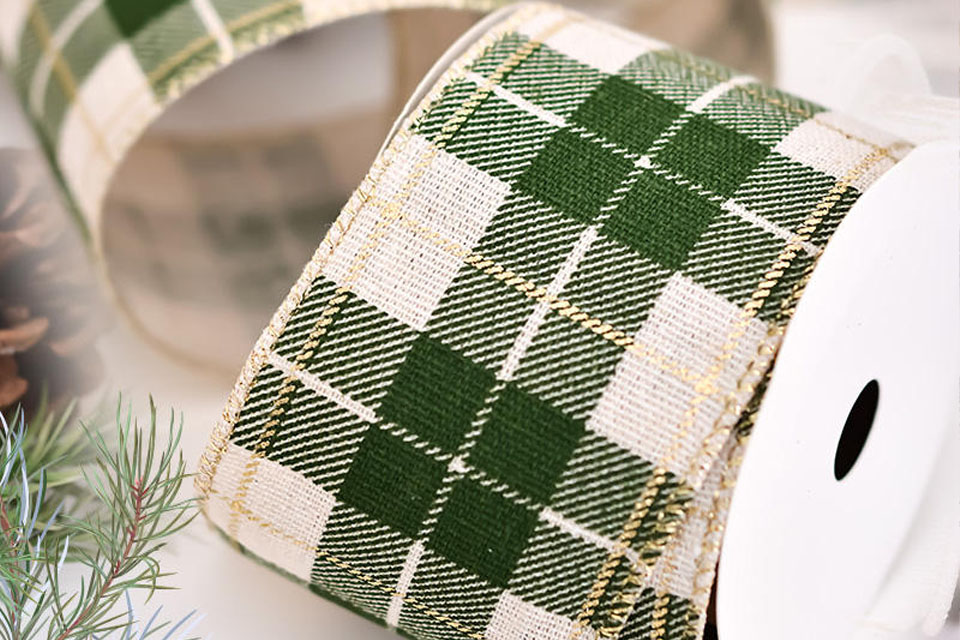
  • Experiment with Colors and Patterns: Mix and match different colors or patterns of ribbon to create a unique and vibrant bow.
  • Layering Ribbons: Use multiple layers of ribbon to add depth and texture to your bow, making it more eye-catching.
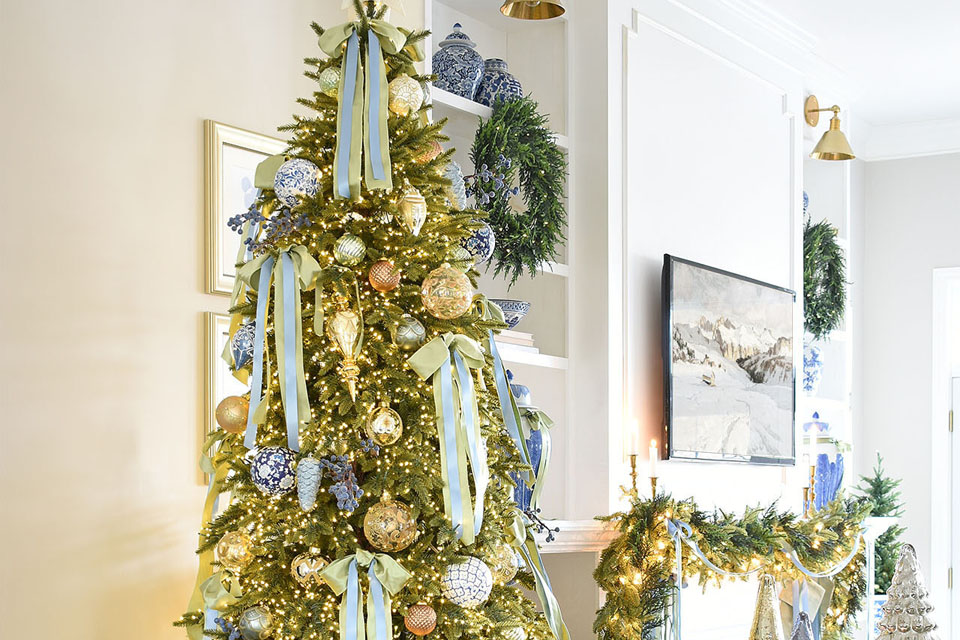
  • Incorporate Themed Accents: For seasonal wreaths, add themed accents like pinecones for winter or seashells for summer.

These customization options allow you to tailor each bow to specific themes or personal preferences, enhancing the overall aesthetic of your wreaths.

Common Mistakes to Avoid When Making Ribbon Bows

Even with a clear tutorial, it’s easy to make a few common mistakes when crafting ribbon bows. Being aware of these pitfalls can help you achieve better results:

  • Uneven Loops: Inconsistent loop sizes can make your bow look unbalanced. Always measure and adjust loops to ensure uniformity.
  • Over-Tightening the Knot: Tying the bow too tightly can cause the ribbon to buckle or become distorted. Aim for a firm but flexible knot.
  • Using Low-Quality Ribbon: Inferior ribbons may fray or lose shape over time. Invest in high-quality ribbons to ensure durability and a polished look.
  • Neglecting Fluffing: Skipping the fluffing step can result in a flat and lifeless bow. Take the time to fluff each loop for a fuller appearance.

Avoiding these mistakes will enhance the quality of your bows and ensure they serve as beautiful additions to your wreaths.

How to Store and Preserve Your Handmade Bows

Proper storage is essential to maintain the shape and appearance of your handmade bows, especially if you plan to use them multiple times:

  • Flat Storage: Store bows flat to prevent creasing or deformation. Avoid folding them, as this can leave permanent marks.
  • Use of Containers: Place bows in plastic containers or zip-lock bags to protect them from dust and moisture.
  • Avoid Direct Sunlight: Prolonged exposure to sunlight can fade ribbon colors. Keep your bows in a cool, dark place.
  • Periodic Fluffing: Occasionally fluff your bows to maintain their volume and shape over time.

By following these storage tips, your ribbon bows will remain vibrant and ready for use whenever you need them.

Creative Ways to Customize Your Bows

Personalizing your ribbon bows can elevate your wreaths from simple decorations to stunning centerpieces. Here are some creative ideas to customize your bows:

  • Add Decorative Elements: Incorporate beads, charms, or small flowers into your bow for added flair.
  • Experiment with Colors and Patterns: Mix and match different colors or patterns of ribbon to create a unique and vibrant bow.
  • Layering Ribbons: Use multiple layers of ribbon to add depth and texture to your bow, making it more eye-catching.
  • Incorporate Themed Accents: For seasonal wreaths, add themed accents like pinecones for winter or seashells for summer.

These customization options allow you to tailor each bow to specific themes or personal preferences, enhancing the overall aesthetic of your wreaths.

Tips for Bulk Making Ribbon Bows for Events and Businesses

If you’re creating ribbon bows for events, businesses, or large-scale projects, efficiency is key. Here are some tips to streamline the process:

  • Organize Your Workspace: Set up a dedicated area with all necessary materials and tools within reach to minimize interruptions.
  • Batch Processing: Group similar tasks together, such as cutting all ribbons first, then moving on to looping, and so forth. This approach increases productivity.
  • Use Templates: Create or use existing templates to ensure consistency in bow size and shape across all your bows.
  • Automate Where Possible: Consider using tools like bow makers or specialized scissors to speed up the crafting process.
  • Maintain Quality Control: Regularly check your bows for consistency and quality, making adjustments as needed to maintain high standards.

Implementing these strategies will help you produce large quantities of ribbon bows efficiently while maintaining their quality and appeal.

Frequently Asked Questions

What is the easiest bow to make for beginners?

The simple ribbon bow is the easiest to make for beginners. It requires minimal materials and straightforward steps, making it perfect for those new to bow making. Start with a basic loop and knot, then trim the ends for a polished look.

To make your ribbon bows last longer, use high-quality ribbons and secure them properly with hot glue. Additionally, store your bows in a cool, dry place away from direct sunlight to prevent fading and deformation.

Yes, combining different types of ribbons can create unique and visually appealing bows. Mixing satingrosgrain, and velvet ribbons can add texture and depth, enhancing the overall appearance of your bow.

Using floral wire is the most secure way to attach a bow to a wreath. Insert the wire through the base of the bow and twist it around the wreath until the bow is firmly in place. Alternatively, strong adhesive can be used for a cleaner look.

You can make various sizes of bows depending on the size of your wreath and personal preference. For standard wreaths, medium-sized bows are typically ideal, but you can also experiment with smaller or larger bows to create different visual effects.

Key Takeaways

  • Selecting the right type of ribbon is critical for achieving the desired bow style and durability.
  • Wired ribbons provide extra stability, making them ideal for larger or more complex bows.
  • Follow a step-by-step tutorial to ensure symmetry and a polished finish in your bow making.
  • Fluffing and shaping techniques enhance the volume and aesthetic appeal of your bows.
  • Proper attachment methods ensure your bows stay securely in place on wreaths.
  • Customization options allow you to personalize your bows to match specific themes and preferences.
  • Avoiding common mistakes can significantly improve the quality of your handmade bows.
  • Implementing efficient bulk-making strategies is essential for large-scale projects and businesses.
  • Proper storage and preservation techniques maintain the longevity and appearance of your bows.

Creating ribbon bows is a rewarding and creative process that adds elegance and charm to any wreath. By following this comprehensive guide, you’ll be able to craft beautiful, professional-looking bows that enhance your decorations and impress your audience.

For more inspiring ribbon designs and tutorials, explore our collection of Custom Elastic Stretch Loop Pre-Made Ribbon Bows and Wholesale Gift Packaging Decorative Pre-Tie Ribbon Bows. Let your creativity flourish with our extensive range of high-quality ribbons and bow-making supplies.

Comments

Learn the latest trends and knowledge from the leading manufacturer in China about ribbon business.

滚动至顶部

Online INQUIRY

We will reply to you in 30 minutes.

Talk to leader

Can’t find what you want? Ask our manager for help directly.

Talk to leader

Can’t find what you want? Ask our manager for help directly.

Talk to leader

Can’t find what you want? Ask our manager for help directly.