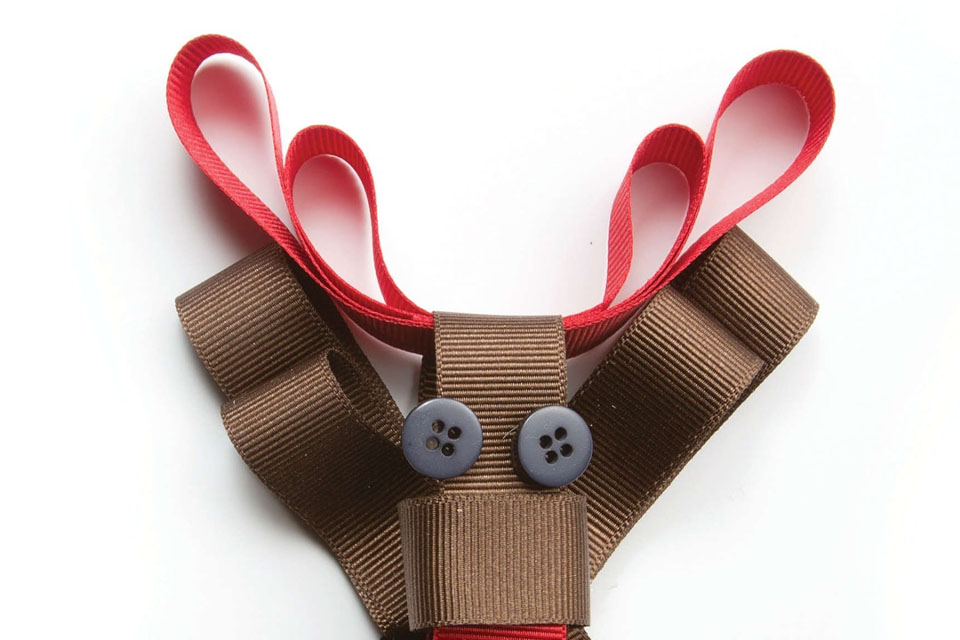
How To Make A Ribbon Bow

Table of Contents

Summary

Creating stunning ribbon bows for your wreaths can transform a simple decoration into a masterpiece.

Whether you’re a crafting novice or a seasoned DIY enthusiast, this guide will walk you through the steps to make gorgeous ribbon bows that enhance any wreath. Dive in to discover tips, techniques, and creative ideas that make bow-making both fun and rewarding.

What Are Ribbon Bows and Why Use Them for Wreaths?

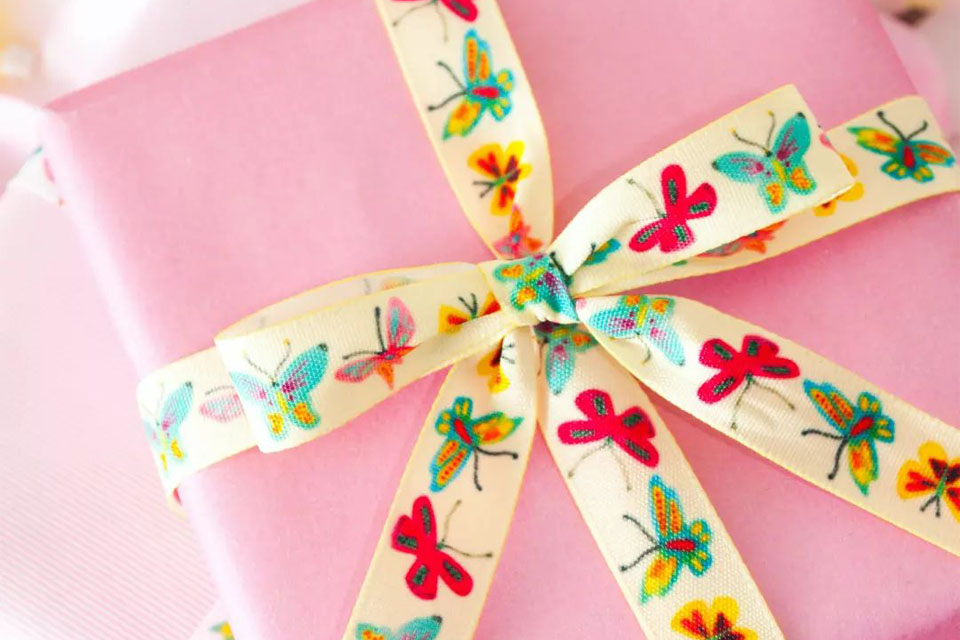
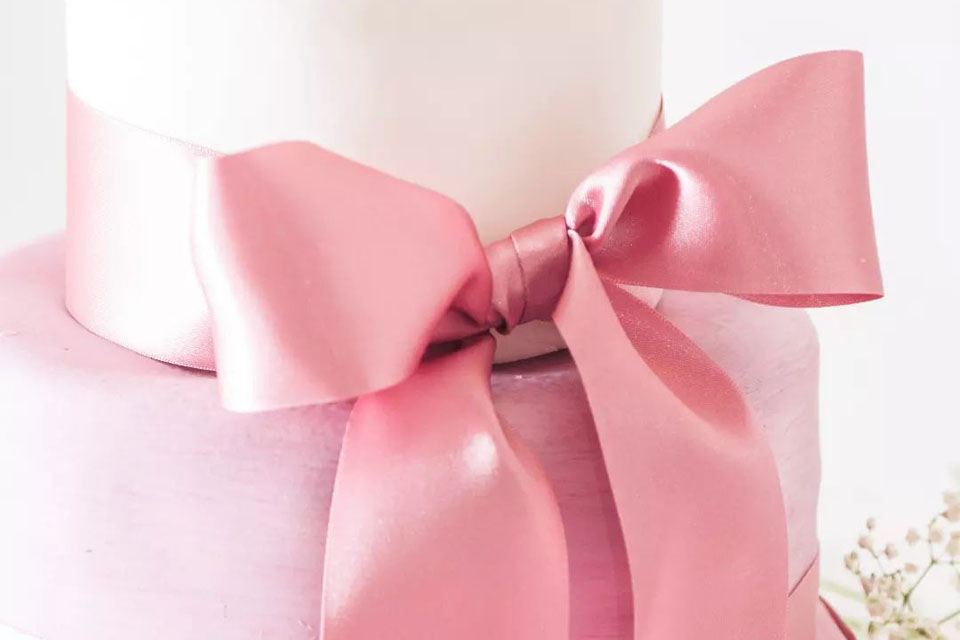
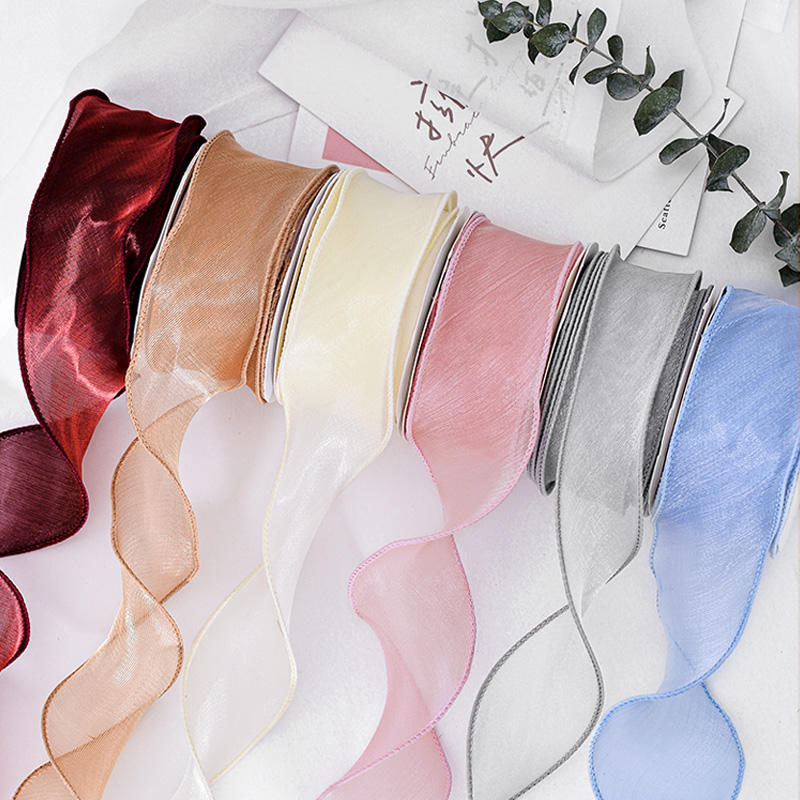
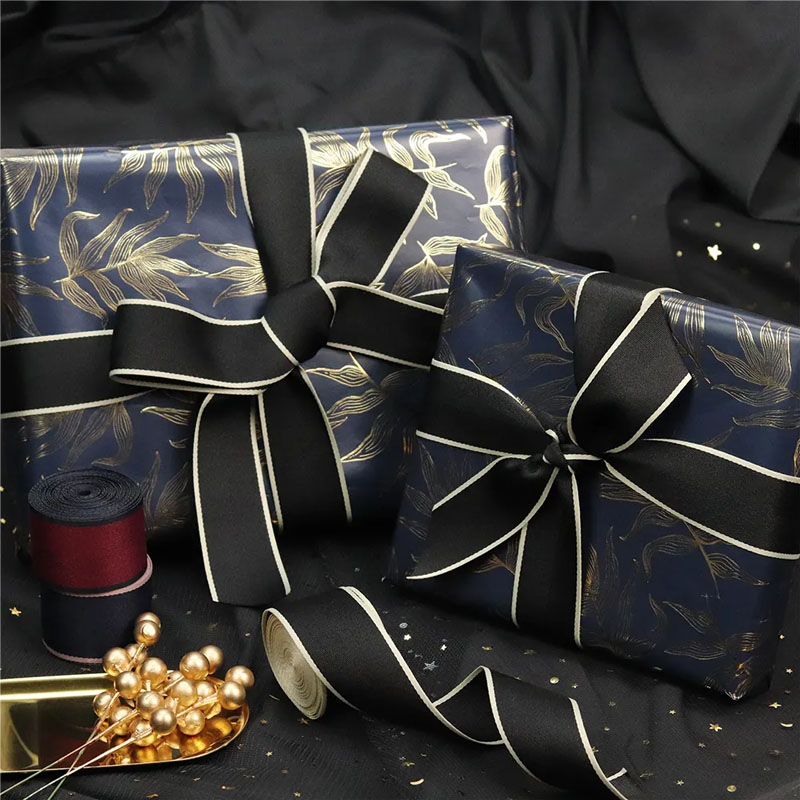
Ribbon bows are decorative knots made from ribbon that add a touch of elegance and charm to various crafts, including wreaths. They come in different sizes, colors, and styles, making them versatile for any seasonal or themed decoration.

Using ribbon bows for wreaths enhances the overall appearance by introducing texture and color contrast. They can serve as focal points or complementary accents, depending on the desired aesthetic.

Benefits of Using Ribbon Bows:

  • Versatility: Available in various materials like satin, grosgrain, and velvet.
  • Customization: Easy to match with different color schemes and themes.
  • Ease of Use: Simple to make with basic crafting skills.

What Materials Do You Need to Make a Bow for a Wreath?

Gathering the right materials is essential for creating perfect ribbon bows. Here’s what you’ll need to get started:

  • Ribbon: Choose between satin, grosgrain, or velvet based on your preference.
  • Wire: Floral wire or a bow-making wire to secure the bow.
  • Scissors: For cutting the ribbon to the desired length.
  • Hot Glue Gun: Optional, for extra security.
  • Measuring Tape: To ensure consistent ribbon lengths.

Choosing the Right Ribbon Length:

  • The length of ribbon affects the size and fullness of the bow. Typically, a longer piece results in a larger bow.

How to Choose the Right Type of Ribbon

Selecting the appropriate ribbon type can make a significant difference in the bow’s appearance and durability.

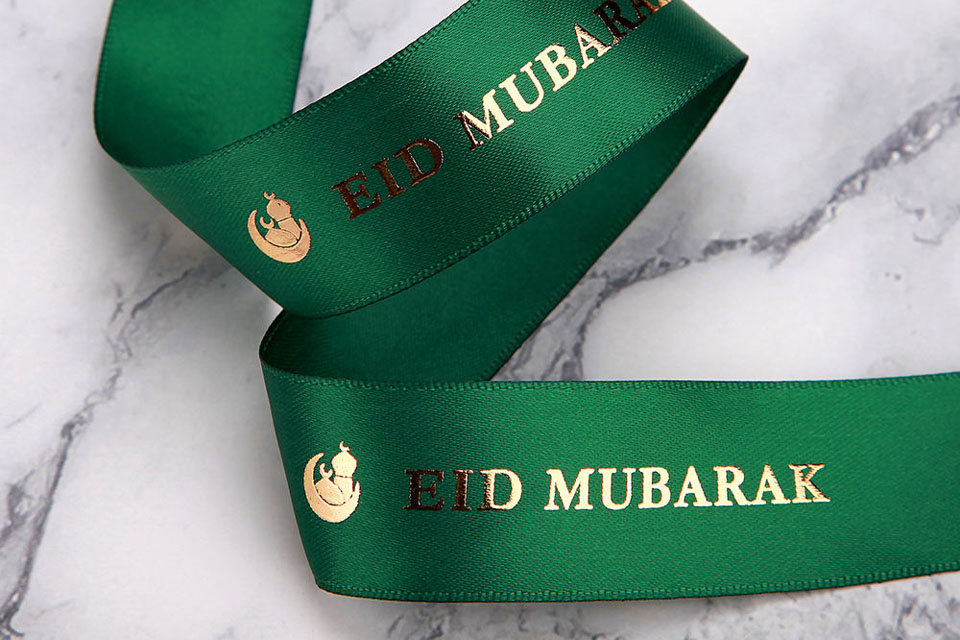
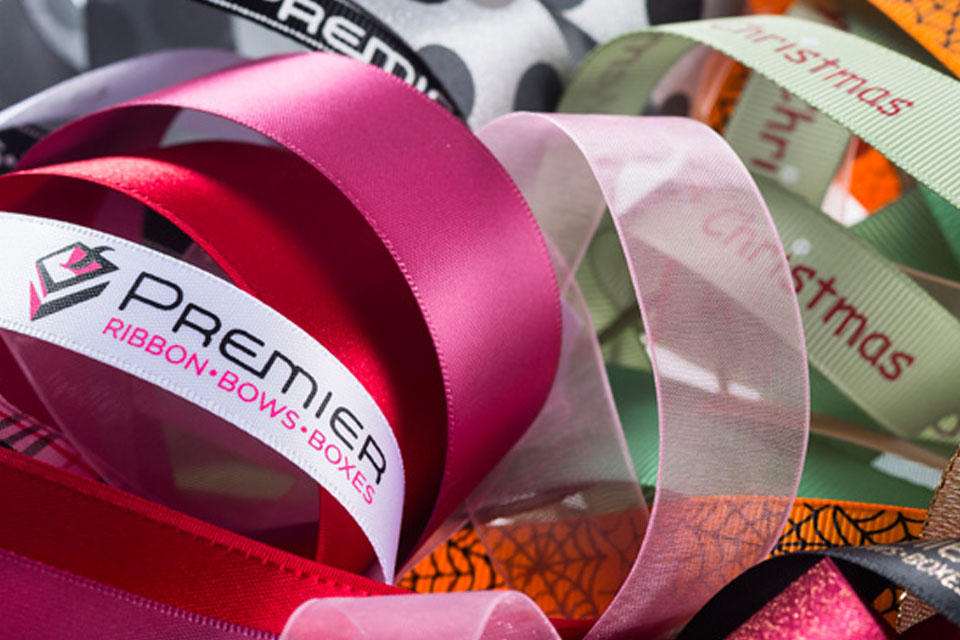
  • Satin Ribbon: Smooth and shiny, ideal for elegant and formal bows.
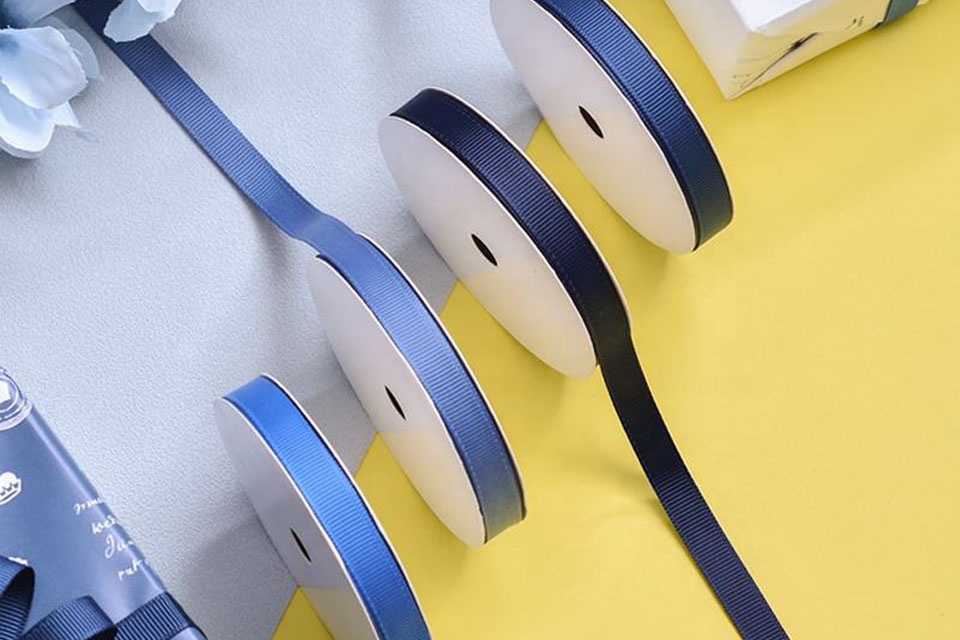
  • Grosgrain Ribbon: Textured with ribbed layers, perfect for traditional bows.
  • Velvet Ribbon: Soft and luxurious, excellent for a plush look.

Considerations When Choosing Ribbon:

  • Theme: Match the ribbon type with the wreath’s overall theme.
  • Color: Select colors that complement or contrast the wreath base.
  • Thickness: Wider ribbons create fuller bows, while narrower ones offer a delicate look.

Step-by-Step Guide to Making a Basic Ribbon Bow

  1. Creating a basic ribbon bow is straightforward with these simple steps:

    1. Cut the Ribbon: Measure and cut a desired length of ribbon.
    2. Make a Knot: Tie a knot at the center of the ribbon.
    3. Create Loops: Make two loops on either side of the knot.
    4. Secure the Bow: Use wire or a glue gun to hold the loops in place.

Tips for a Perfect Bow:

  • Ensure the loops are even for symmetry.
  • Fluff the loops by gently pulling the ribbon back and forth.

How to Make a Double Looped Bow for Added Elegance

For a more intricate bow, a double looped design adds depth and sophistication.

  1. Create the First Loop: Follow the basic bow steps to make the initial loops.
  2. Add a Second Set of Loops: Make smaller loops inside the first ones.
  3. Secure Both Layers: Use wire to hold all loops firmly together.

Advantages of Double Looped Bows:

  • Enhanced Visual Appeal: More layers create a fuller and more textured look.
  • Customization: Allows for varied ribbon widths and lengths.

Using Wire to Secure Your Ribbon Bows

Wire is a crucial component in bow making, providing structure and stability.

  • Floral Wire: Flexible and easy to bend, ideal for securing ribbons.
  • Bow-Making Wire: Designed specifically for crafting bows, offering better support.

Steps to Use Wire Effectively:

  1. Insert Wire Through the Bow’s Center: Anchor the wire securely.
  2. Twist the Wire Ends Together: Ensure the bow holds its shape.
  3. Trim Excess Wire: For a neat finish.

Creative Ways to Fluff and Shape Your Bow

Fluffing your bow adds volume and a professional finish. Here’s how to achieve it:

  • Gently Pull the Loops: Loosen the loops by gently pulling on the ribbon.
  • Separate the Strands: Ensure each strand is distinct and not overlapping.
  • Adjust the Wings: Shape the wings of the bow to your desired look.

Additional Fluffing Techniques:

Twist the ribbon before forming loops to create a more dynamic and textured bow. This technique adds a playful elem

  • Use Your Fingers: Shape the loops and tails for a natural appearance.
  • Apply Gentle Heat: Lightly warm the ribbon to make it more pliable before fluffing.

Tips for Attaching the Bow to Your Wreath

Proper attachment ensures your bow stays in place and looks seamless.

  • Use Floral Wire: Secure the bow to the wreath base by twisting the wire around.
  • Hot Glue: For a quick and strong hold, apply hot glue to the bow’s center.
  • Double-Sided Tape: An alternative for a no-mess attachment.

Placement Ideas:

  • Focal Point: Position the bow centrally for emphasis.
  • Asymmetrical Accents: Place multiple smaller bows for a dynamic look.

Ideas for Customizing Your Ribbon Bows

Personalize your ribbon bows to make them unique and special.

  • Add Perles: Embellish with beads or pearls for added sparkle.
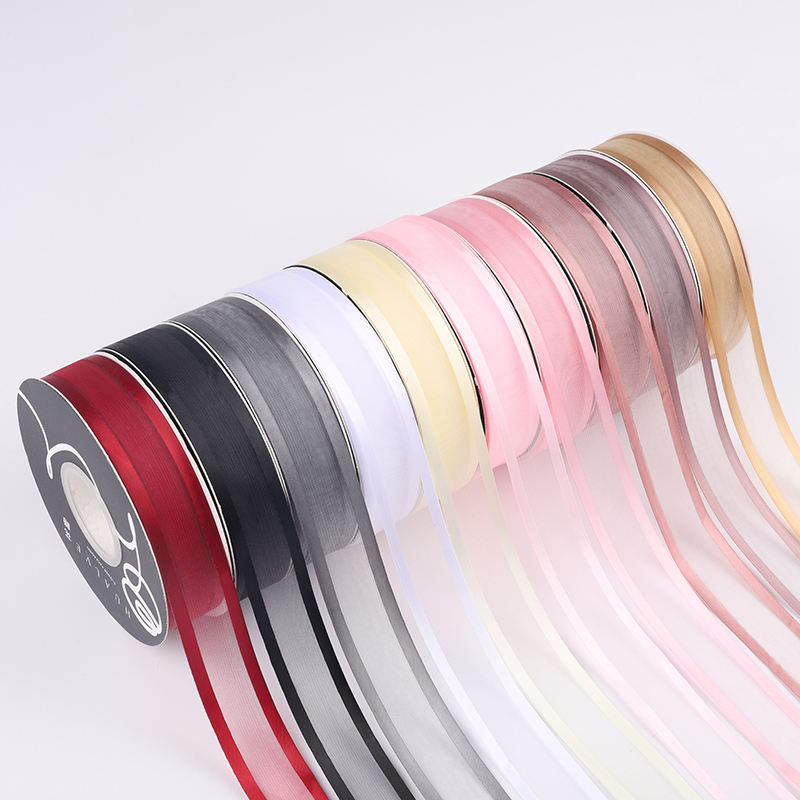
  • Use Colored Ribbons: Mix different colors and textures for a vibrant look.
  • Incorporate Embroidery: Add embroidered details for a bespoke touch.

Advanced Customization Tips:

  • Layered Bows: Combine different ribbon types for a multi-dimensional effect.
  • Themed Decorations: Match ribbon styles with seasonal or holiday themes.

Common Mistakes to Avoid When Making Ribbon Bows

Avoiding common pitfalls can help you create flawless ribbon bows every time.

  • Inconsistent Ribbon Lengths: Ensure all ribbon pieces are cut to the same length.
  • Overtightening the Wire: Twist the wire just enough to hold the bow without flattening the loops.
  • Skipping Fluffing: Always take time to fluff the bow for a polished appearance.

Pro Tips:

  • Practice Makes Perfect: Experiment with different techniques to improve your skills.
  • Use Quality Materials: High-quality ribbons and wires yield better results.

Quick Tips for Perfect Ribbon Bows

  • Measure Twice, Cut Once: Accurate measurements prevent waste.
  • Keep Ribbons Untangled: Store ribbons properly to avoid knots.
  • Secure Tails Neatly: Arrange the ribbon tails so they complement the bow.

Conclusion

  • Choose the Right Ribbon Type: Satin, grosgrain, or velvet based on your project.
  • Gather Essential Materials: Ribbon, wire, scissors, and optional glue gun.
  • Follow Step-by-Step Instructions: Ensure each step is done carefully.
  • Fluff and Shape for Professional Look: Take time to adjust loops and tails.
  • Secure Properly: Use wire or glue to keep the bow intact.
  • Customize Your Bows: Add personal touches to make each bow unique.
  • Avoid Common Mistakes: Maintain consistency and proper tension.

For more ribbon options and inspiration, explore our Satin Ribbons and Grosgrain Ribbons collections. Want to buy ready-made bows? Check out our Custom Elastic Stretch Loop Pre-Made Ribbon Bows.

Happy crafting!

Comments

Learn the latest trends and knowledge from the leading manufacturer in China about ribbon business.
滚动至顶部

Online INQUIRY

We will reply to you in 30 minutes.

Talk to leader

Can’t find what you want? Ask our manager for help directly.

Talk to leader

Can’t find what you want? Ask our manager for help directly.

Talk to leader

Can’t find what you want? Ask our manager for help directly.