How To Make A Large Bow With Ribbon

Table of Contents

Summary

Creating a stunning giant ribbon bow for your wreath can elevate your home décor and add a personalized touch to any space.

Whether you’re preparing for a holiday season, a special event, or simply want to enhance your everyday surroundings, mastering the art of bow-making is a valuable skill. This comprehensive DIY tutorial will guide you through each step, ensuring your ribbon bow looks professional and beautiful every time.

What Materials Do You Need to Make a Giant Ribbon Bow

Before embarking on your bow-making journey, it’s essential to have all the necessary materials on hand. Having the right tools and ribbons can significantly impact the quality of your final bow.

Essential Materials

  • Ribbon: Opt for satin ribbons, grosgrain, cotton, or velvet ribbons based on your desired look and project needs.
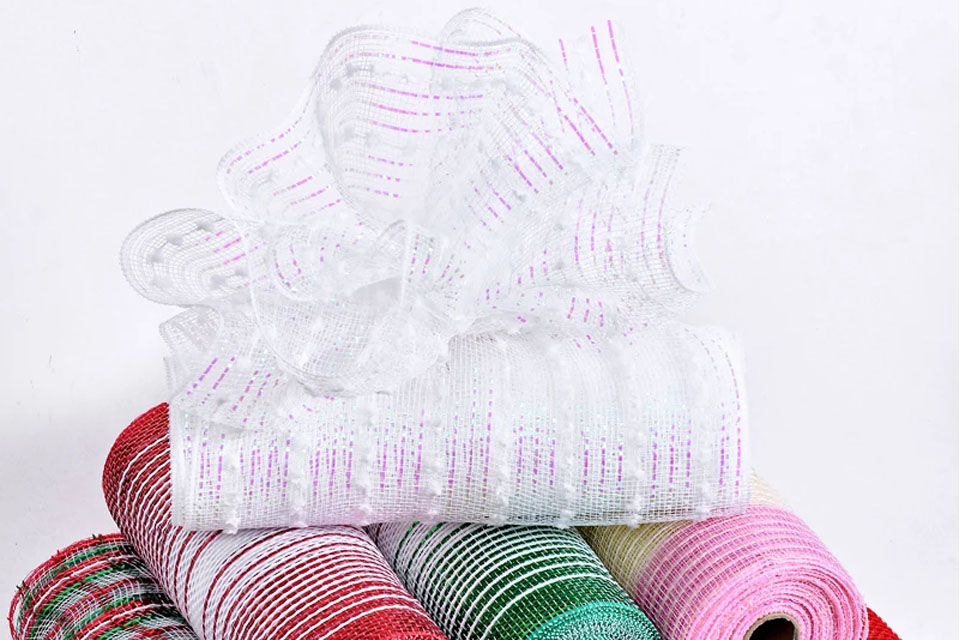
  • Wired Ribbon: For added structure and easy shaping, use wired ribbons.
  • Scissors: A pair of sharp scissors ensures clean cuts and prevents fraying.
  • Glue Gun or Double-Sided Tape: These provide a secure hold when attaching the bow to your wreath.
  • Measuring Tape or Ruler: Accurate measurements are crucial for determining the bow size.

Additional Tools

  • Floss or Thread: Useful for tying knots and securing loops.
  • Beads or Decorative Items: Add flair to your bow for a more decorative appearance.

Having these materials ready will streamline the bow-making process and help you achieve professional-looking results.

How to Choose the Right Ribbon for Your Bow

Selecting the appropriate ribbon is fundamental to creating a beautiful bow. Different ribbons offer varying textures, weights, and flexibilities, which can significantly impact the final appearance of your bow.

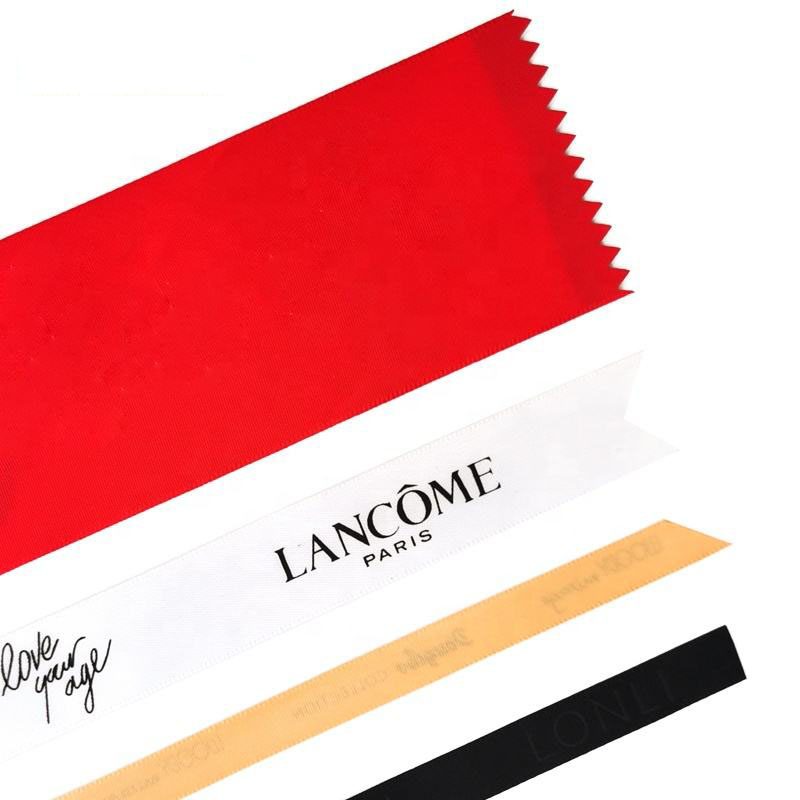
Types of Ribbons

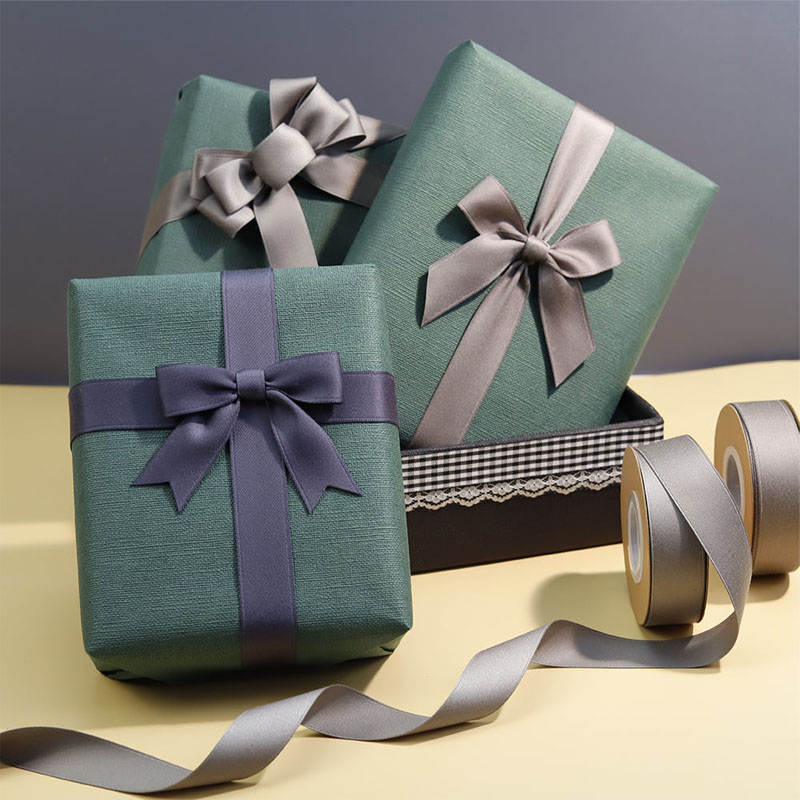
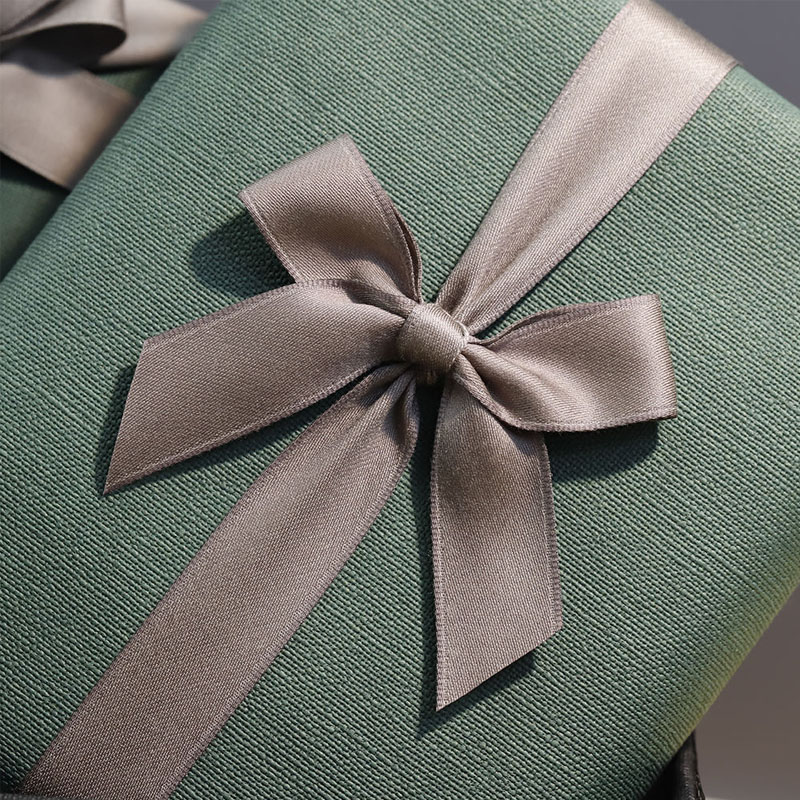
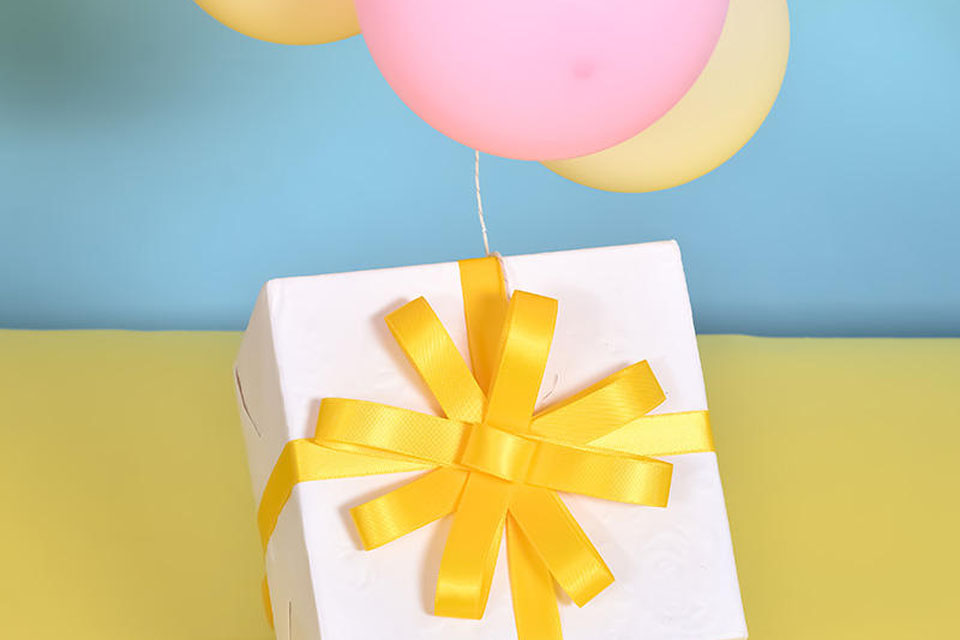
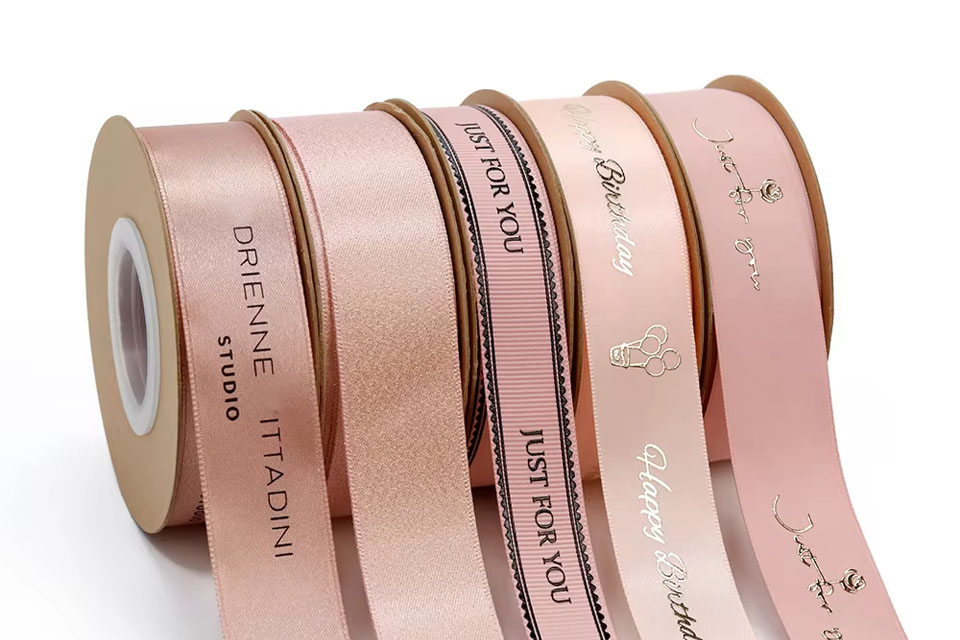
  • Satin Ribbons: Perfect for formal occasions, providing a glossy and elegant finish.
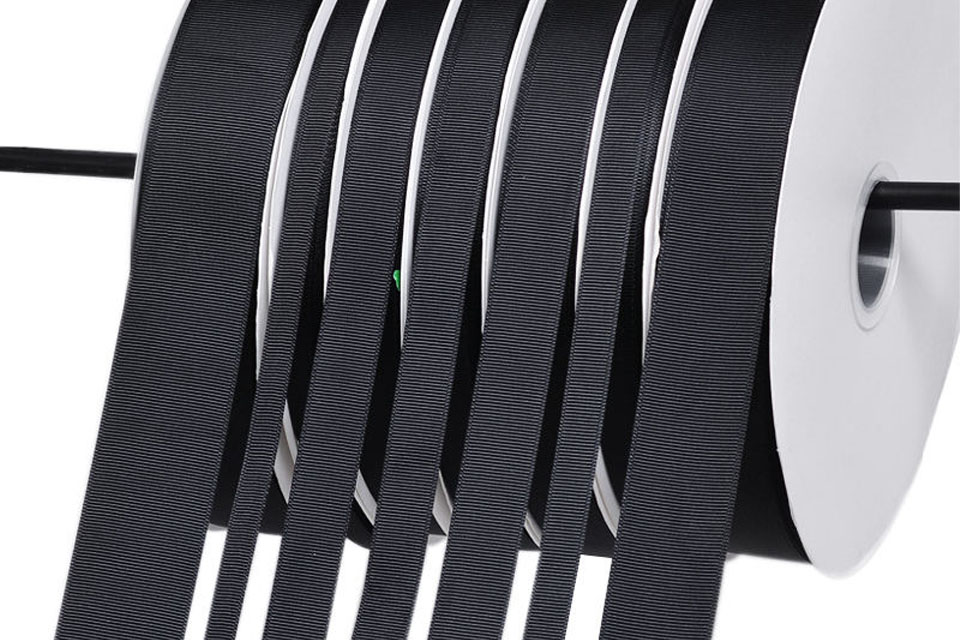
  • Grosgrain Ribbons: Known for their ribbed texture, ideal for casual and versatile bows.
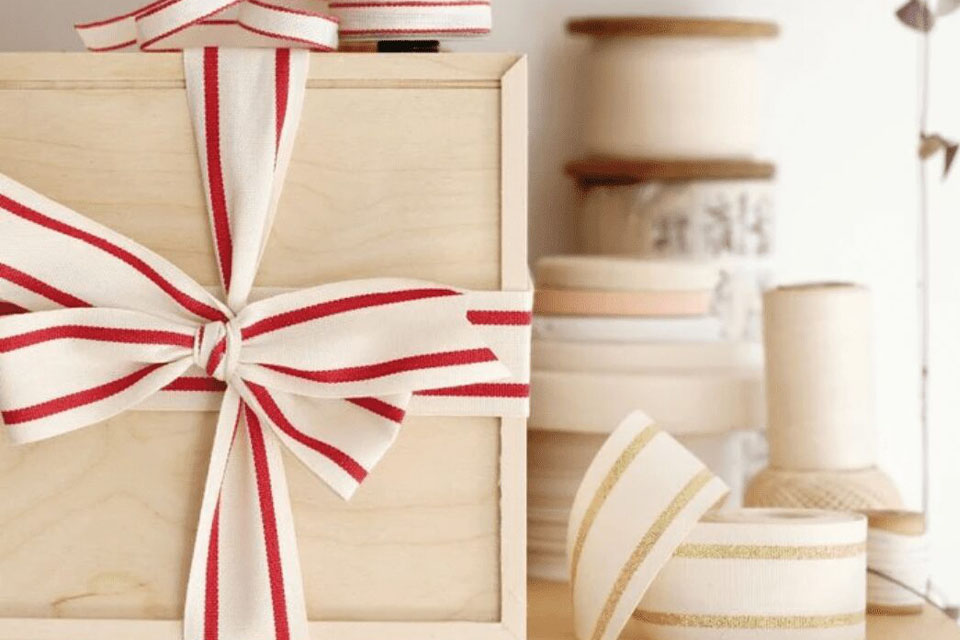
  • Cotton Ribbons: Soft and pliable, suitable for rustic or handmade projects.
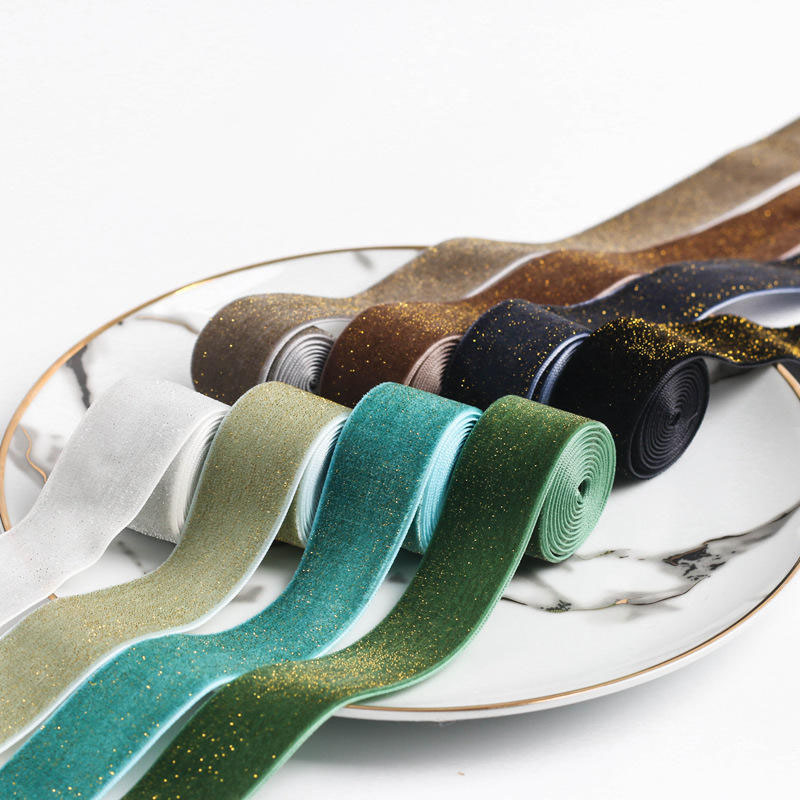
  • Velvet Ribbons: Luxurious and thick, great for winter and holiday-themed bows.
  • Wired Ribbons: Offer added rigidity, making them perfect for structured and oversized bows.

Color and Pattern Selection

  • Solid Colors: Best for a classic and timeless look.
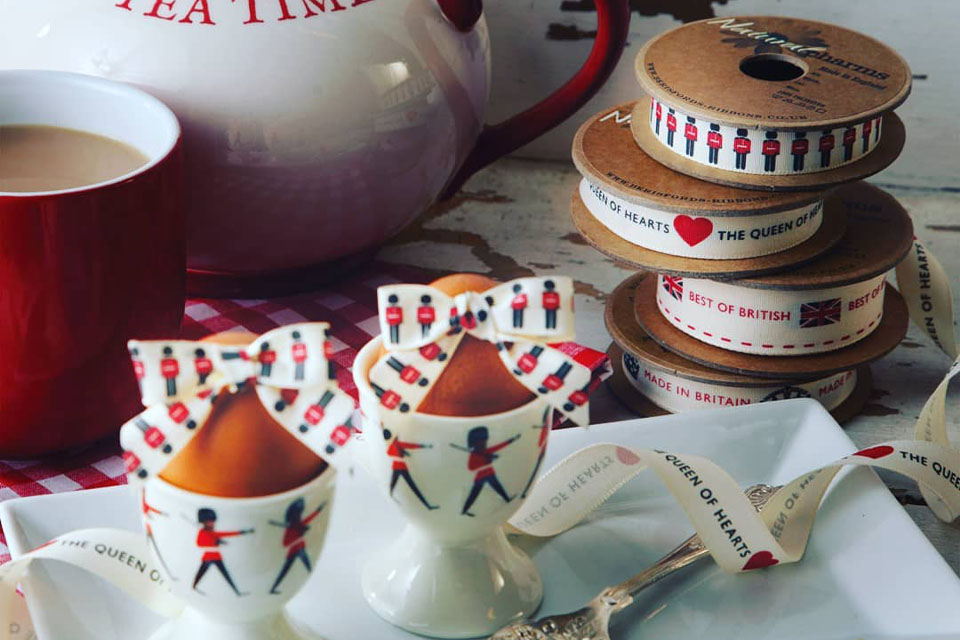
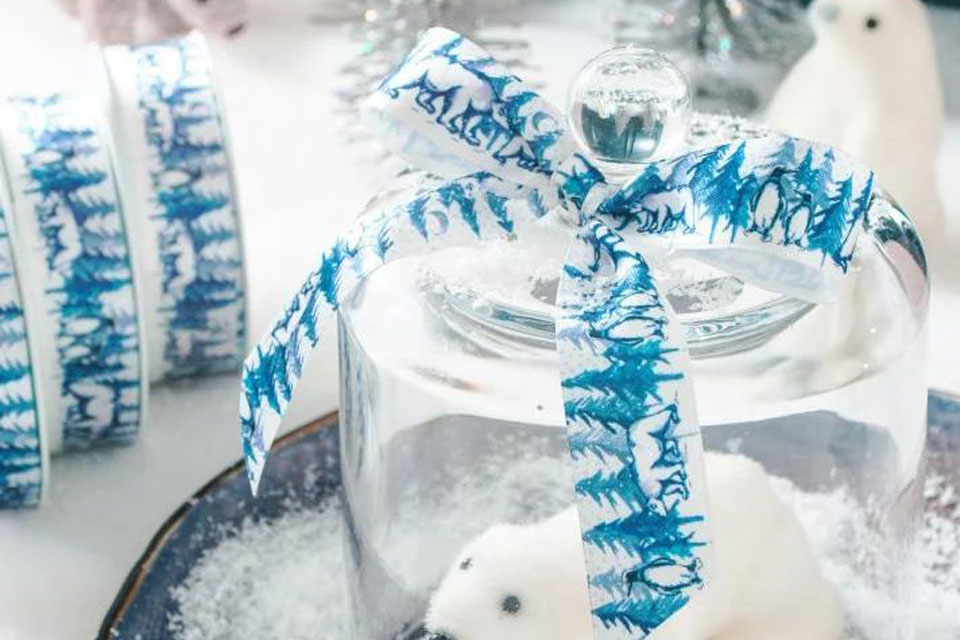
  • Patterns and Prints: Add personality and vibrancy. Consider seasonal patterns for holidays.
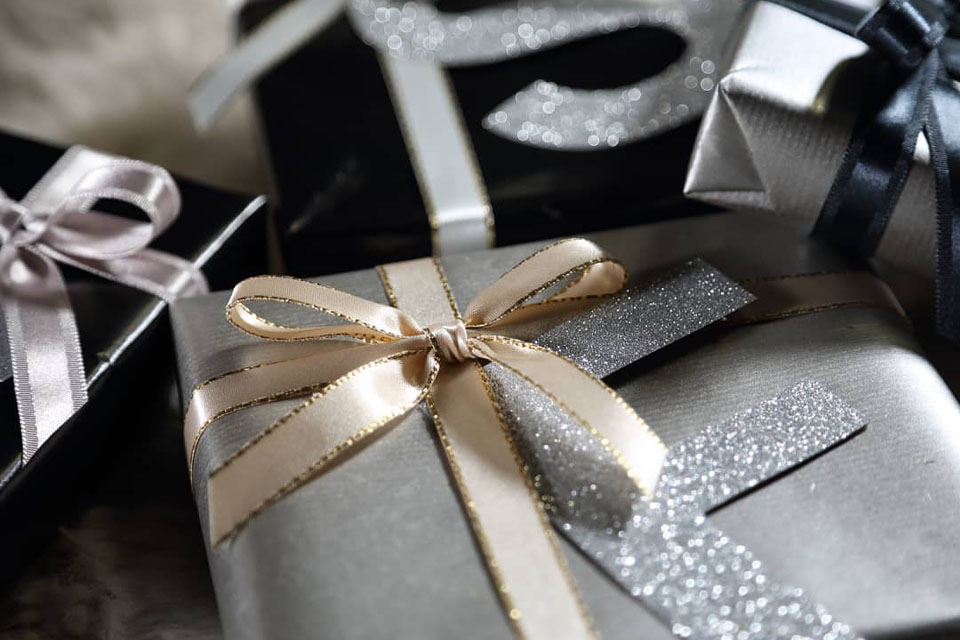
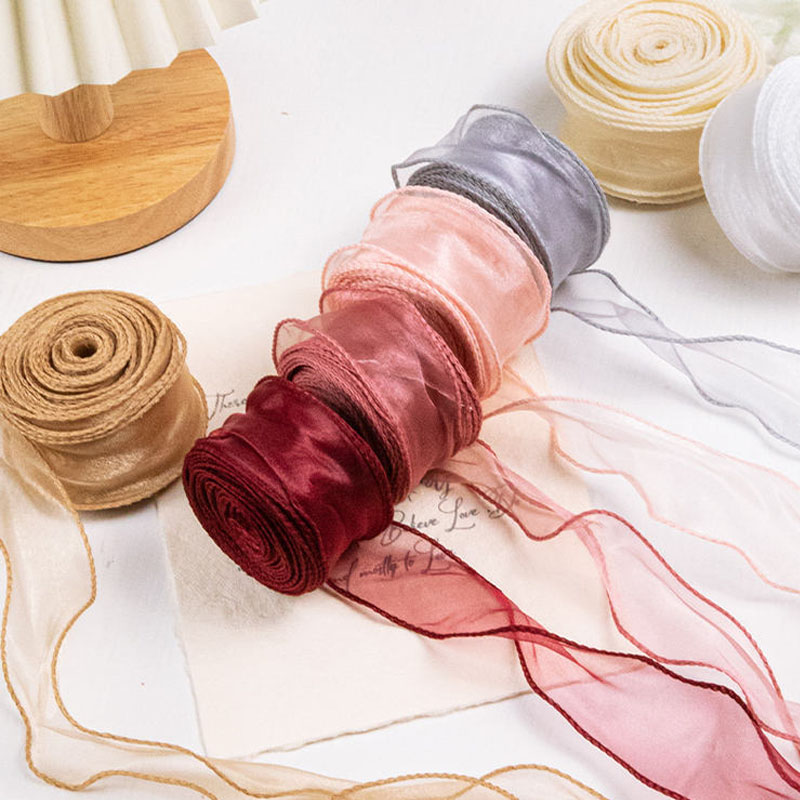
  • Metallics and Glitter: Ideal for adding sparkle and a luxurious feel.

Tip: The length of the ribbon will determine the size of your bow. A longer ribbon creates a fuller and more dramatic bow, while a shorter piece results in a petite and subtle accent.

Step-by-Step: How to Make a Basic Ribbon Bow

Tying a basic ribbon bow is a simple process that anyone can master with a little practice. Follow these steps to create a beautiful bow every time.

Step 1: Measure and Cut the Ribbon

Start by measuring the desired length of your ribbon. A good rule of thumb is to use at least 24 inches for a standard bow. Cut the ribbon using sharp scissors to ensure clean ends.

Step 2: Fold the Ribbon in Half

Find the center point of the ribbon and fold it in half. Hold the center firmly to create two equal lengths on either side.

Step 3: Create the First Loop

Take one side of the ribbon and fold it into a loop. Hold the loop in place as you create the second loop on the opposite side.

Step 4: Tie the Knot

Take the ends of the ribbon and tie them into a knot at the center. Ensure the knot is tight enough to hold the loops in place but not so tight that it distorts the bow.

Step 5: Adjust and Fluff

Adjust the loops and tails to achieve the desired fullness. Fluffing the bow gives it a more polished and voluminous appearance.

StepDescriptionVisual Aid
1Measure and cut the ribbonStep 1
2Fold the ribbon in half 
3Create the first loop 
4Tie the knot 
5Adjust and fluff

What is Wired Ribbon and How Does It Help in Bow Making?

Wired ribbon is a type of ribbon that has a thin wire woven into it. This wire provides added structure, making it easier to shape and maintain the form of your bow.

Benefits of Wired Ribbon

  • Shape Retention: Maintains loops and overall structure without frequent adjustments.
  • Durability: Resistant to stretching and deformation, ensuring your bow stays intact.
  • Versatility: Easily manipulated into various bow styles, from classic to contemporary.

How to Use Wired Ribbon

  1. Prepare the Ribbon: Cut the wired ribbon to your desired length.
  2. Shape the Loops: Form the loops and position them as needed.
  3. Secure the Bow: Tie the ends tightly to maintain the bow’s shape.

Using wired ribbon can elevate your bow-making, ensuring your bows are both beautiful and long-lasting. For more structured and professional-looking bows, consider using wired ribbon from our selection.

DIY Tips for Creating a Fluffy and Full Bow

A fluffy bow adds elegance and charm to any project. Here’s how to achieve that full, lush look.

Fluffing the Loops

After tying the knot, gently pull on the loops to widen them. This creates a more substantial and attractive bow. Be careful not to over-fluff, which can make the bow look bulky.

Tweaking the Tails

Adjust the tails by making small twists or folds. This can add texture and prevent the bow from looking too flat. Fluffy tails add a softer, more polished appearance to your bow.

Ensuring Symmetry

Make sure both sides of the bow are even. Symmetrical bows appear more professional and aesthetically pleasing. Use a mirror to check existing symmetry and make adjustments as needed.

Pro Tip: Use Grosgrain Ribbon for easier fluffing due to its ribbed texture, which naturally holds its shape better than other ribbons.

How to Attach a Ribbon Bow to a Wreath

Properly attaching your ribbon bow ensures it stays in place and enhances the overall presentation of your wreath.

Methods of Attachment

  • Glue Dots or Hot Glue: Secure the bow firmly to the wreath base, especially for larger bows.
  • Ribbon Tails: Wrap the tails around the wreath and tie them under the bow for a seamless look.
  • Wire Holders: Insert the bow into wire holders for a stable and adjustable attachment.

Positioning the Bow

Place the bow at the top center of the wreath or at one side, depending on the desired aesthetic. Ensure it’s securely fastened and evenly positioned to maintain balance and symmetry.

Final Adjustments

Once attached, make any necessary adjustments to the bow’s shape and fullness. Ensure the tails are even and the bow sits flat against the wreath.

Tip: For intricate wreath designs, consider using Wholesale Gift Packaging Decorative Pre-Tie Ribbon Bows which come pre-tied for convenience and consistency.

Determining the Perfect Bow Size for Your Wreath

Choosing the right bow size is crucial for achieving a balanced and harmonious appearance on your wreath.

Factors to Consider

  • Wreath Size: Larger wreaths can accommodate bigger bows without overwhelming the design, while smaller wreaths benefit from more petite bows.
  • Ribbon Width: Thicker ribbons create fuller bows, while thinner ribbons result in more delicate accents.
  • Occasion and Theme: Seasonal themes may call for larger, more elaborate bows, while everyday decorations might require simpler designs.

Measuring for Size

Use a measuring tape to determine the size of your bow relative to your wreath. A good starting point is to have the bow diameter be about one-third the size of the wreath. For example, a 36-inch wreath would look balanced with a 12-inch bow.

Testing and Adjusting

Create a sample bow and attach it temporarily to assess its appearance. Make adjustments to the size or fullness as needed to ensure it complements your wreath beautifully.

Common Mistakes to Avoid When Making Ribbon Bows

Even with a simple tutorial, beginners might make a few common mistakes when tying ribbon bows. Here’s how to avoid them for a flawless finish every time.

Uneven Loops

Solution: Take your time to create loops of equal size. Use a ruler or measuring tape if necessary to ensure symmetry. Practicing with scrap ribbon can also help.

Sloppy Knots

Solution: Tie the knot tightly and neatly. A clean knot holds the bow in place and maintains its shape. Avoid leaving excess ribbon that can make the bow look messy.

Ribbon Fraying

Solution: Use sharp scissors to cut the ribbon cleanly. For natural ribbons like cotton, consider sealing the ends with a flame or applying a small amount of glue to prevent fraying.

Overfluffing

Solution: Fluff the bow gently to maintain its shape without making it look too big or bulky. Gradual adjustments yield the best results.

Advanced Techniques for Decorative and Double Ribbon Bows

Once you’ve mastered the basic bow, you can explore more advanced techniques to create unique and intricate designs.

Layered Bows

Create depth by layering multiple bows of different sizes and colors. This adds a dynamic and eye-catching element to your projects. For example, pairing a satin bow with a grosgrain bow can create an interesting texture contrast.

Double Ribbon Bows

Experiment with double ribbon bows by using two different ribbons intertwined together. This technique adds complexity and elegance, making the bow stand out.

Incorporating Decorative Elements

Enhance your bows with additional decorations like beads, crystals, or small flowers. These elements can elevate the bow, making it perfect for special occasions.

Inspiration: Check out our Custom Elastic Stretch Loop Pre-Made Ribbon Bows for ideas on creating intricate and decorative bows.

Making a Giant Wired Ribbon Bow

For those who prefer visual learning, our video tutorial provides a clear and concise guide to making a giant wired ribbon bow. Watch and follow along to see each step in action, making the process even easier to understand and execute.

Video Tutorial: Making a Giant Wired Ribbon Bow

Conclusion: Key Takeaways for Perfect Ribbon Bows

    • Choose the Right Ribbon: Select a ribbon type and color that suits your project, whether it’s satin for elegance or grosgrain for versatility.
    • Measure Carefully: Ensure the ribbon length is appropriate for the bow size you desire. Accurate measurements lead to balanced bows.
    • Tie Neatly: Focus on creating even loops and a tight knot for a professional-looking bow. Practice makes perfect.
    • Fluff for Fullness: Gently adjust and fluff the loops to achieve a lush, voluminous appearance without overdoing it.
    • Use Wired Ribbons: For structured and long-lasting bows, wired ribbons are ideal as they hold their shape better.
    • Avoid Common Mistakes: Be mindful of pitfalls like uneven loops, sloppy knots, and ribbon fraying to ensure flawless bows.
    • Experiment with Techniques: Explore advanced bow-making techniques such as layering and incorporating decorative elements for unique designs.
    • Secure Properly: Use the right method to attach your bow, ensuring it stays in place on your wreath or gift.
    • Use Quality Tools: Sharp scissors and high-quality ribbons make the bow-making process smoother and the results more professional.
    • Enhance with Decorations: Adding beads, crystals, or flowers can elevate your bow, making it suitable for any occasion.

    Mastering the art of making a giant ribbon bow can significantly enhance your decorating and gift-wrapping skills. With the right materials, techniques, and a bit of practice, you’ll be able to create stunning bows that make every wreath and gift look special.


    Explore More:


    Key Points to Remember

    • Material Selection: Choosing the right ribbon is fundamental to achieving the desired bow appearance.
    • Precision in Tying: Neat and tight knots ensure a professional-looking bow.
    • Adjustment and Fluffing: Properly adjusting the bow loops makes the bow look full and attractive.
    • Use of Wired Ribbons: For structured and long-lasting bows, wired ribbons are ideal.
    • Advanced Techniques: Explore layered bows and decorations to create unique and special designs.
    • Avoid Common Mistakes: Be aware of common pitfalls like uneven loops and sloppy knots to ensure flawless bows.
    • Use Quality Tools: Sharp scissors and high-quality ribbons make the bow-making process smoother and the results more professional.
    • Secure Attachment: Properly attach your bow to your wreath or gift to ensure it stays in place.
    • Experiment and Practice: Don’t be afraid to try new techniques and keep practicing to improve your bow-making skills.
    • Enhance with Decorations: Adding beads, crystals, or flowers can elevate your bow, making it suitable for any occasion.

    With these guidelines and tips, you’re well-equipped to create stunning ribbon bows that will impress and delight on any occasion. Happy bow-making!

Comments

Learn the latest trends and knowledge from the leading manufacturer in China about ribbon business.

滚动至顶部

Online INQUIRY

We will reply to you in 30 minutes.

Talk to leader

Can’t find what you want? Ask our manager for help directly.

Talk to leader

Can’t find what you want? Ask our manager for help directly.

Talk to leader

Can’t find what you want? Ask our manager for help directly.