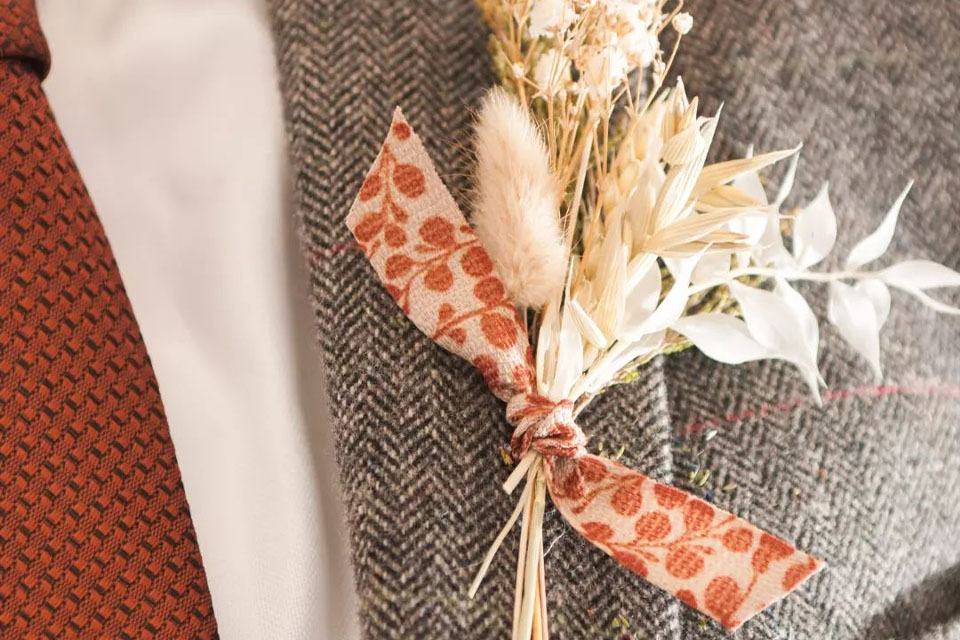
How To Make Bows From Ribbon

Table of Contents

Summary

Creating a stunning ribbon bow is a delightful way to add a personal touch to your decorations, gifts, or wreaths.

Whether you’re a crafting novice or an experienced DIY enthusiast, this guide will walk you through easy and creative methods to make ribbon bows that impress. Discover the secrets to choosing the right ribbons, mastering bow-making techniques, and incorporating your bows into various projects. Let’s embark on this crafty journey to elevate your decorative skills!

What Materials Do You Need to Make a Ribbon Bow?

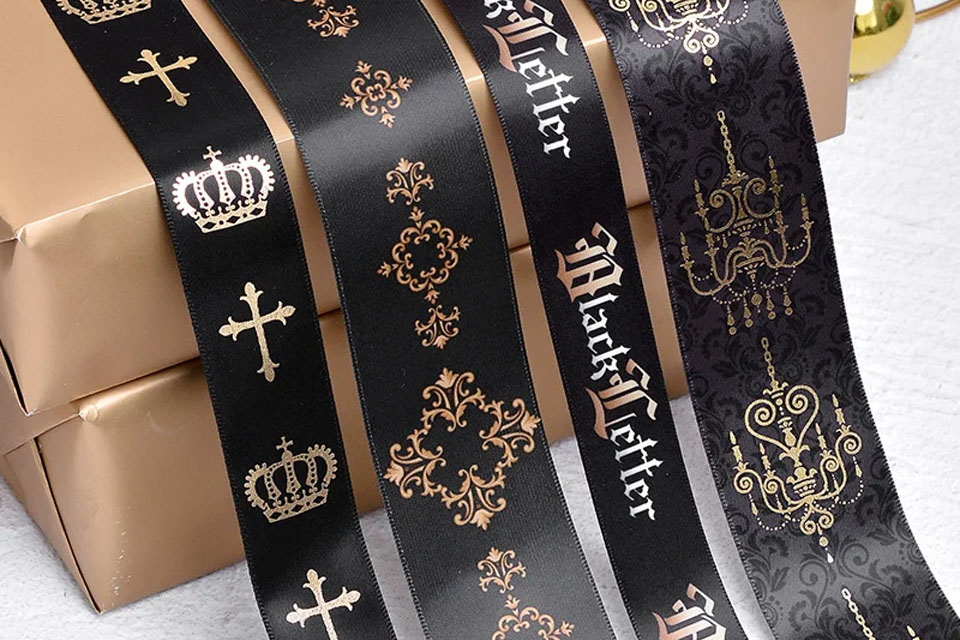
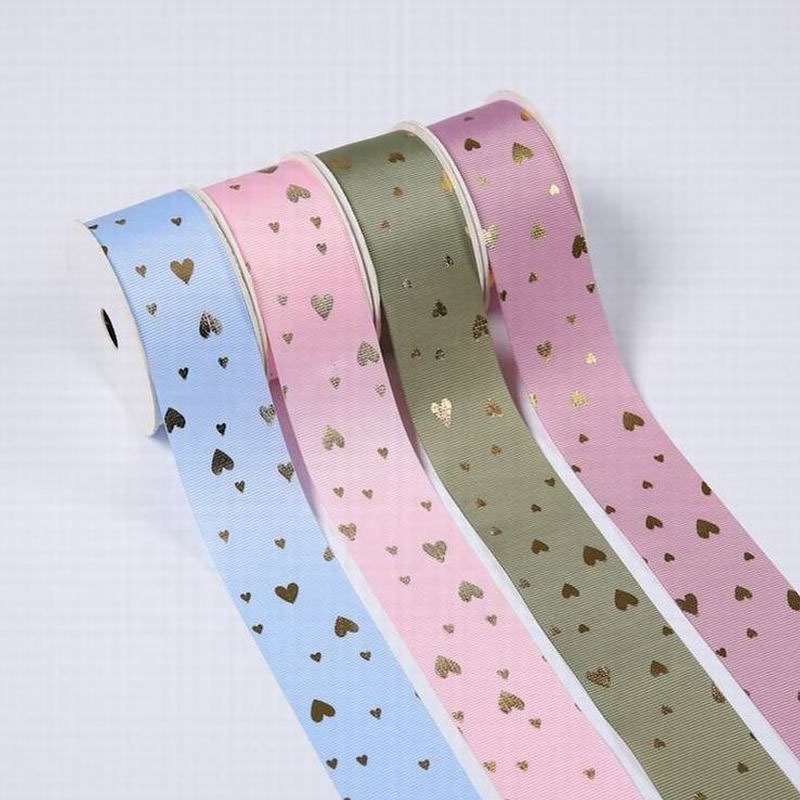
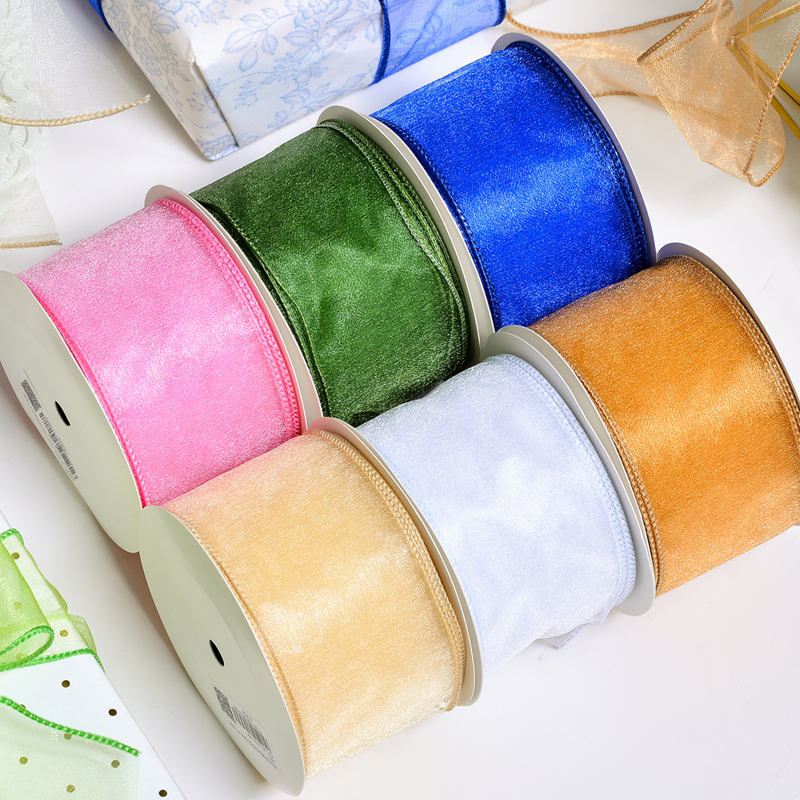
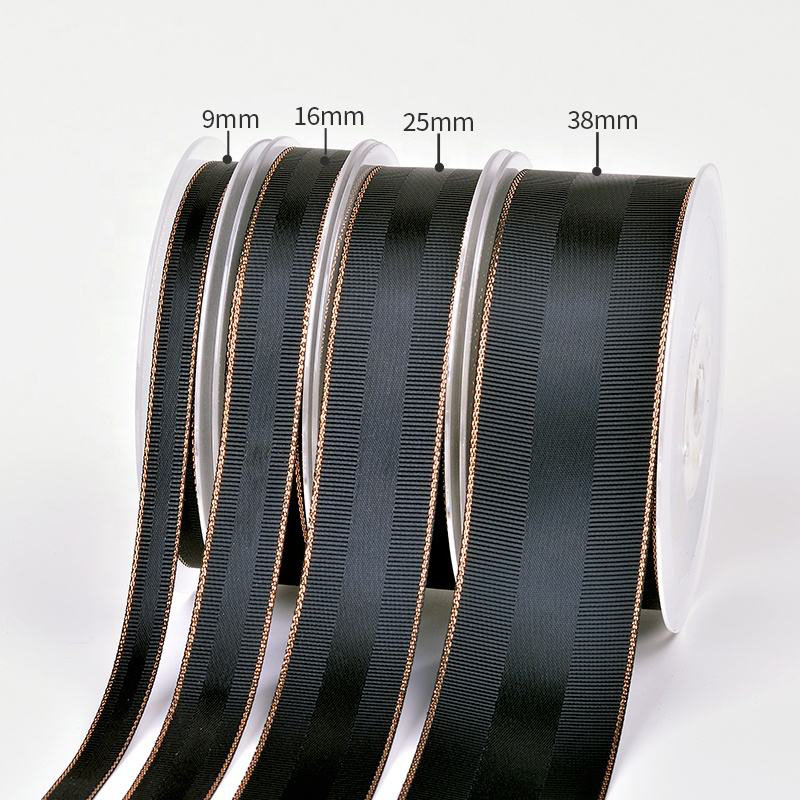
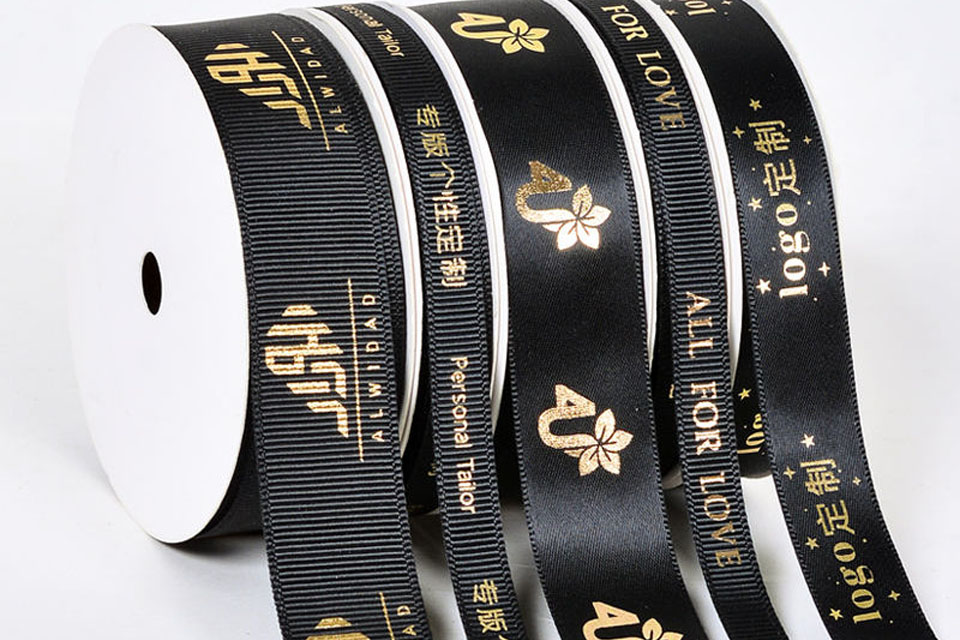
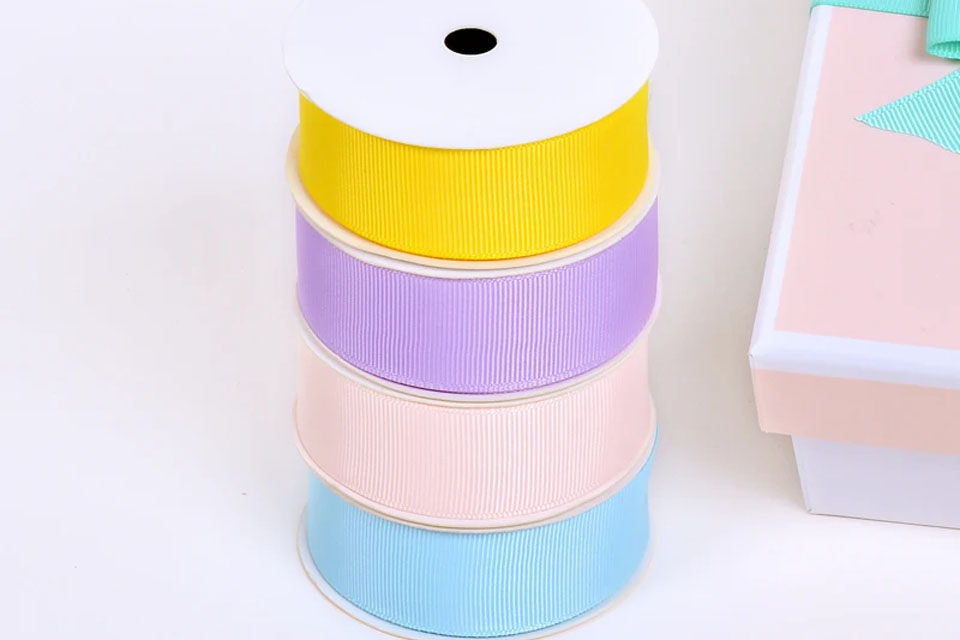
Before diving into bow making, gather all the necessary materials to ensure a smooth crafting experience. Ribbon is the star of the show, and choosing the right type can make a significant difference in your bow’s appearance. Popular choices include satin, grosgrain, and cotton ribbons, each offering a unique texture and sheen. For instance, Satin Ribbons provide a glossy finish perfect for elegant bows, while Grosgrain Ribbons offer a ribbed texture ideal for casual or vintage-style bows.

In addition to ribbon, you’ll need a pair of scissors for trimming, a piece of wire or a bow maker for shaping, and a hot glue gun or double-sided tape to secure the ends. Optional materials include decorative elements like beads or feathers to enhance your bow’s charm. Having everything within reach will make the process more enjoyable and efficient.

Step-by-Step Instructions on How to Make a Simple Bow

Creating a simple ribbon bow is an excellent starting point for beginners. Follow these easy step-by-step instructions to craft a beautiful bow:

  1. Cut the Ribbon: Measure and cut a length of ribbon, typically around 18 inches for a standard bow. Adjust the length based on your desired bow size.
  2. Fold the Ribbon: Fold the ribbon in half to find the center and create two equal loops on either side.
  3. Create the Loops: Make two loops by doubling each side of the ribbon, ensuring they are symmetrical.
  4. Secure the Bow: Take a small piece of wire or use a bow maker to twist tightly around the center where the loops meet.
  5. Fluff the Bow: Gently pull and adjust the loops to give your bow a fuller, more natural appearance.
  6. Trim the Ends: Cut the ribbon ends at an angle or into a desired shape to finish your bow elegantly.

This method provides a simple bow that can be customized with different ribbon types and decorations. Practice this technique to build confidence and explore more complex bow designs in the future.

What is the Easiest Bow to Make for Beginners?

For those new to bow making, the easiest bow to create is the basic looped bow. This design requires minimal materials and steps, making it perfect for quick projects. Using regular ribbon or Cotton Ribbons adds a soft touch, ideal for gifting or simple decorations.

The basic looped bow involves folding the ribbon into two loops and securing them at the center. No intricate shaping or multiple layers are needed, allowing beginners to grasp the fundamental bow-making process without feeling overwhelmed. As confidence grows, you can experiment with different ribbon types and sizes to enhance your bow-making skills.

How to Make a Double Looped Bow

double looped bow adds an extra layer of sophistication and depth to your ribbon decorations. This style involves creating two sets of loops, resulting in a more complex and visually appealing bow. Here’s how to make one:

  1. Prepare the Ribbon: Cut a longer piece of ribbon, approximately 24 inches, to accommodate the additional loops.
  2. Fold and Loop: Fold the ribbon in half and create the first set of loops similar to the simple bow technique.
  3. Add the Second Loops: Take the unsecured ends and fold them into a second set of loops, layering them beneath the first.
  4. Secure Both Centers: Use wire or a bow maker to twist tightly around both centers where the loops overlap.
  5. Adjust and Fluff: Carefully adjust both sets of loops to ensure symmetry and balance, making the bow appear full and lush.

This bow to make is perfect for adding an elegant touch to wreaths, gifts, or home decor. The double loops provide a more intricate look without significantly increasing the complexity of the bow-making process.

Tips for Fluffing and Perfecting Your Ribbon Bow

Achieving a perfectly fluffy and balanced ribbon bow requires a few simple techniques. Start by gently pulling the loops to loosen them, allowing the ribbon to fall naturally and create volume. Fluffing the bow involves arranging the loops evenly and ensuring that neither side appears disproportionate.

Another tip is to twist the ribbon tightly at the center to secure the bow’s shape. This step ensures that the loops remain in place and do not shift during handling or application. Additionally, trimming the ribbon ends at an angle can enhance the bow’s appearance, giving it a polished and tidy finish.

For added durability, consider using Wired Ribbons, which hold their shape better and make fluffing easier. The wire provides structure, allowing you to create more intricate designs without the ribbon sagging or losing its form.

How to Secure the Bow to a Wreath

Attaching your handmade bow to a wreath is a delightful way to personalize your seasonal or decorative ornaments. To secure the bow effectively, follow these steps:

  1. Choose the Placement: Decide where on the wreath you want to place the bow, typically at the center for a focal point.
  2. Use Wire or Hot Glue: Insert a small piece of wire through the bow’s center and wrap it around the wreath’s central branch. Alternatively, apply a dab of hot glue to the back of the bow and press it firmly onto the wreath.
  3. Adjust for Stability: Ensure the bow is securely attached by gently tugging on it to confirm it holds its position. Make any necessary adjustments to balance the bow.
  4. Enhance with Additional Decorations: Add sprigs, flowers, or other decorative elements around the bow to integrate it seamlessly into the wreath’s overall design.

For a more robust attachment, consider using Custom Elastic Stretch Loop Pre-Made Ribbon Bows. These bows feature an elastic backing, making them easy to attach and adjust without compromising stability.

Common Mistakes to Avoid When Making Ribbon Bows

Creating ribbon bows can be a fun and rewarding experience, but certain mistakes can hinder the process or affect the final appearance. Here are some common pitfalls to avoid:

  1. Using Inadequate Ribbon Length: Cutting the ribbon too short can result in a bow that is too small or lacks fullness. Always measure and plan the length based on the bow size you desire.
  2. Uneven Loops: Inconsistent loop sizes can make the bow look lopsided. Aim for symmetry by carefully measuring and folding each side.
  3. Over-Tightening the Wire: Twisting the wire too tightly can restrict the bow’s natural movement and lead to a stiff appearance. Twist firmly but leave some flexibility.
  4. Ignoring Ribbon Quality: Low-quality ribbon may fray or lose shape quickly. Invest in good-quality ribbons like Velvet Ribbons for durability and a professional finish.

By being mindful of these common mistakes, you can enhance your bow-making skills and produce beautiful, well-crafted ribbons every time.

Creative Ways to Use Your Ribbon Bow in Decor

Ribbon bows are versatile decorative elements that can elevate various projects and settings. Here are some creative ideas to incorporate your handmade bows:

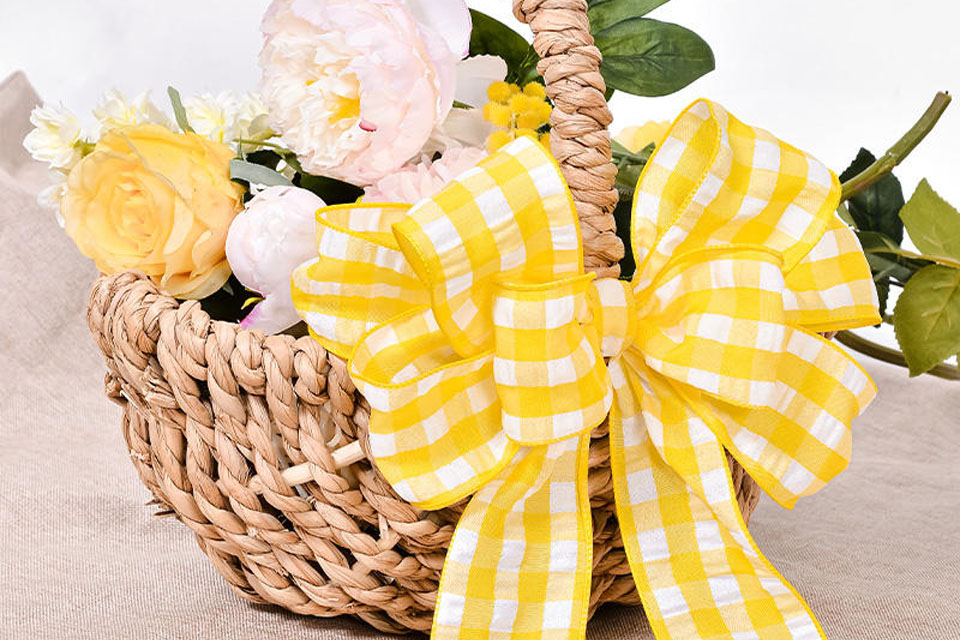
  • Wreath Enhancement: Attach a large ribbon bow as a central feature on your front door wreath for an inviting look.
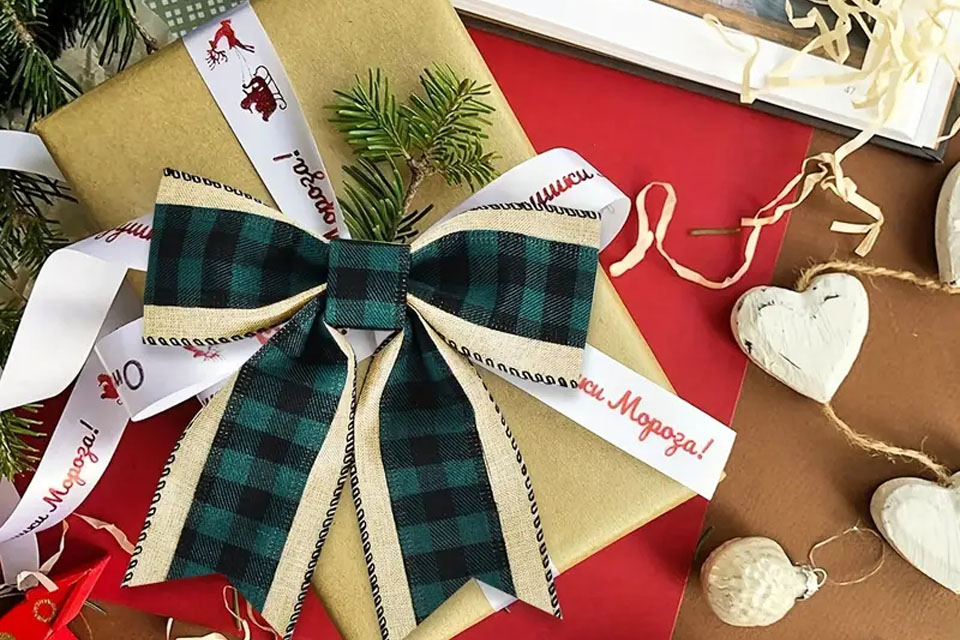
  • Gift Wrapping: Use decorative bows to adorn gift boxes, adding a personalized and elegant touch to your presents.
  • Centerpieces: Incorporate smaller bows into table centerpieces, floral arrangements, or candle displays for added charm.
  • Hair Accessories: Create bows as hair clips or headbands, providing stylish and unique accessories.
  • Holiday Decorations: Customize bows with themed ribbons for Christmas, Halloween, or other festive occasions, enhancing your seasonal decor.

For more specialized ribbon options, explore Custom Elastic Stretch Loop Pre-Made Ribbon Bows and Ribbon Bows for Wreaths to match your specific decor needs.

How to Store and Maintain Your Handmade Bows

Proper storage and maintenance ensure that your handmade bows remain in pristine condition and are ready for use whenever needed. Follow these tips to preserve your ribbon bows:

  1. Keep Dry and Clean: Store your bows in a dry place away from direct sunlight to prevent fading and moisture damage. Avoid exposure to dust by storing them in sealed containers or plastic bags.
  2. Store Flat or Rolled: To maintain the bow’s shape, store it flat or gently rolled, avoiding any sharp bends or pressure that could distort the loops.
  3. Use Protective Packaging: For long-term storage, consider placing the bows in protective sleeves or boxes to shield them from environmental factors.
  4. Handle with Care: When using your bows, handle them gently to avoid pulling or stretching the ribbons, which can alter their appearance.

By following these storage and maintenance practices, your ribbon bows will stay beautiful and ready to enhance your decor projects for years to come.

Common Questions About Bow Making

How Long Should the Ribbon Be for a Standard Bow?

The length of ribbon needed for a standard bow is typically around 18 inches. However, the length can vary based on the desired bow size and fullness. For larger bows, consider using 24 inches or more to ensure ample material for creating wide loops. Conversely, smaller bows may require shorter ribbon lengths. Always measure and adjust according to your specific project needs.

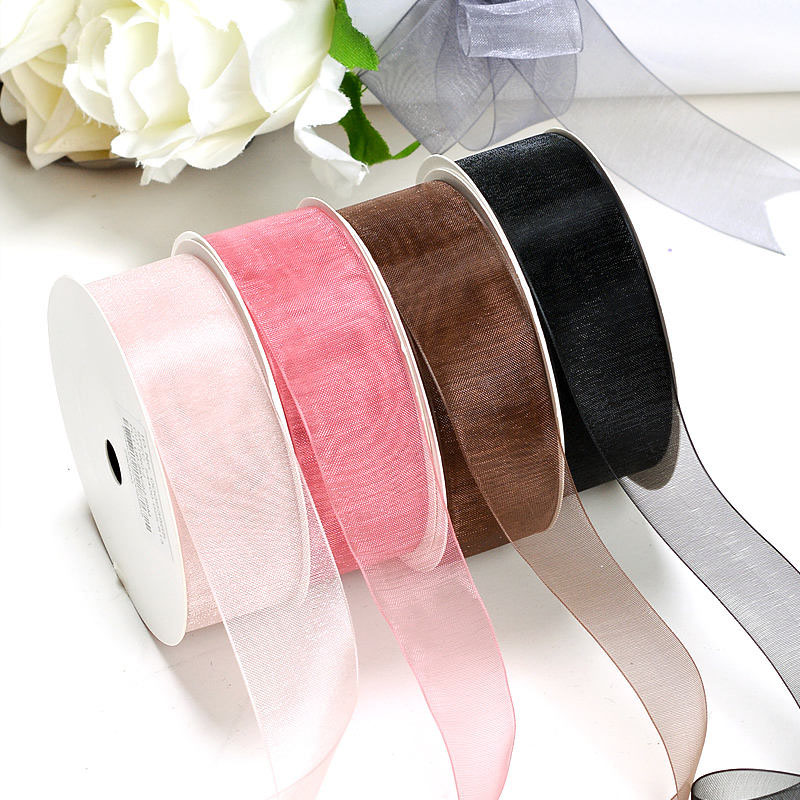
While you can use various ribbon types to make a bow, selecting the right one depends on your project’s purpose and aesthetic. Satin, grosgrain, velvet, and wired ribbons each offer unique qualities:

  • Satin: Smooth and shiny, ideal for elegant and formal bows.
  • Grosgrain: Ribbed texture, suitable for casual or vintage-style bows.
  • Velvet: Luxurious and soft, perfect for sophisticated decorations.
  • Wired: Holds shape well, ideal for intricate and detailed bow designs.

Choosing the appropriate ribbon ensures your bow complements your intended use and looks professionally crafted.

Securing your bow effectively prevents it from unraveling or shifting. Here are some methods to ensure your bow stays in place:

  • Use Wire or Bow Makers: Twisting a small piece of wire around the center holds the loops together firmly.
  • Hot Glue or Double-Sided Tape: Applying glue or tape to the back of the bow anchors it to surfaces like wreaths or gift boxes.
  • Elastic Bands: For adjustable bows, elastic bands can provide a secure yet flexible attachment.

By utilizing these securing techniques, your bow will maintain its shape and position, enhancing its overall appearance.

Key Takeaways

  • Gather Essential Materials: Choose the right ribbons and tools for successful bow making.
  • Select Appropriate Ribbon Types: Different ribbons offer varied textures and finishes suitable for different projects.
  • Follow Step-by-Step Instructions: Start with simple bows and gradually explore more complex designs.
  • Avoid Common Mistakes: Ensure symmetry, proper ribbon length, and adequate securing methods.
  • Incorporate Bows Creatively: Use your handmade bows in wreaths, gifts, decor, and more.
  • Proper Storage and Maintenance: Preserve your bows by storing them correctly and handling them with care.
  • Seek Inspiration and Resources: Explore specialized ribbon options from Ribbon OEM to enhance your crafting projects.

By following this comprehensive guide, you’ll master the art of making beautiful ribbon bows, adding a personal and elegant touch to your creative endeavors.

Comments

Learn the latest trends and knowledge from the leading manufacturer in China about ribbon business.
滚动至顶部

Online INQUIRY

We will reply to you in 30 minutes.

Talk to leader

Can’t find what you want? Ask our manager for help directly.

Talk to leader

Can’t find what you want? Ask our manager for help directly.

Talk to leader

Can’t find what you want? Ask our manager for help directly.