How to Tie Ribbon Around a Gift Box: A Guide to Perfect Bow

Table of Contents

Summary

Gifting is an art, and the presentation plays a crucial role in making your gift memorable.

Tying a ribbon around a gift box not only enhances its beauty but also adds a personal touch that shows thoughtfulness. Whether you’re a retail & craft consumer, an event planner, or a corporate marketer, mastering the art of ribbon tying can elevate your gift packaging game. This guide will walk you through various techniques and tips to create stunning bows that leave a lasting impression.

What Types of Ribbon Are Best for Gift Wrapping?

Choosing the right type of ribbon is essential for achieving the desired look and durability of your gift wrap. There are various types of ribbon available, each with unique characteristics:

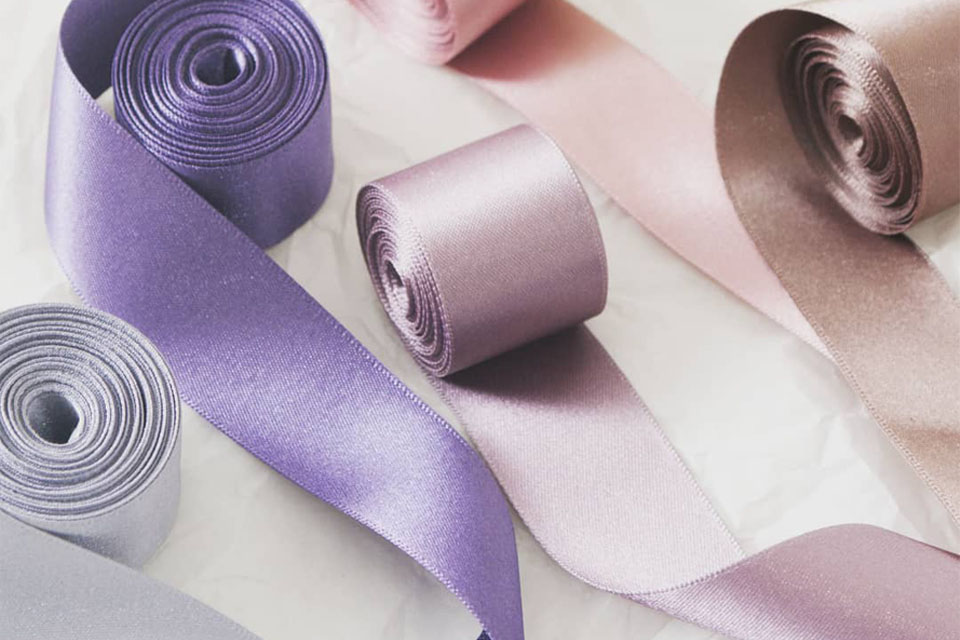
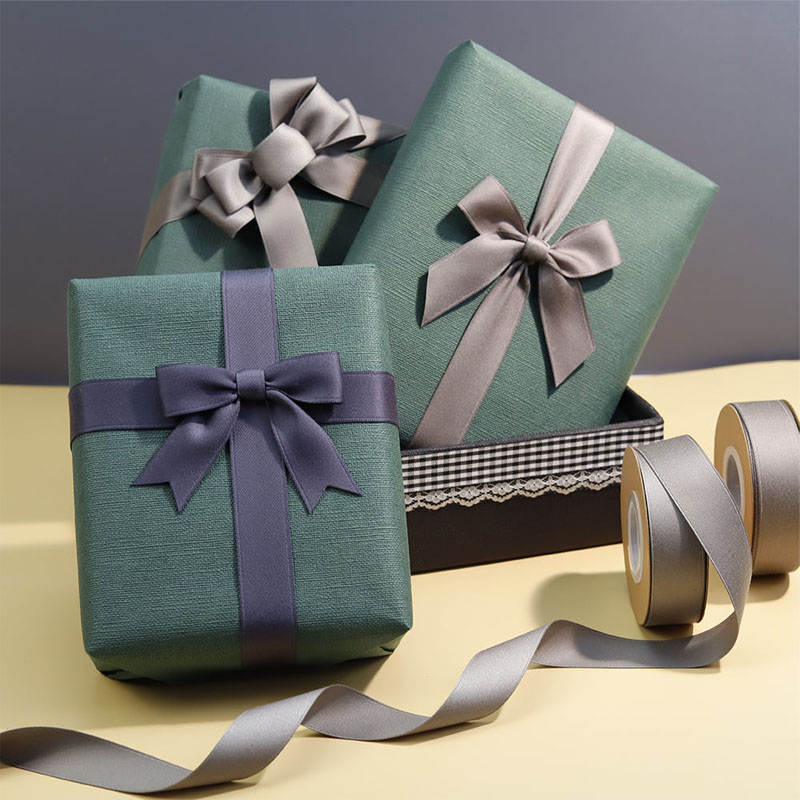
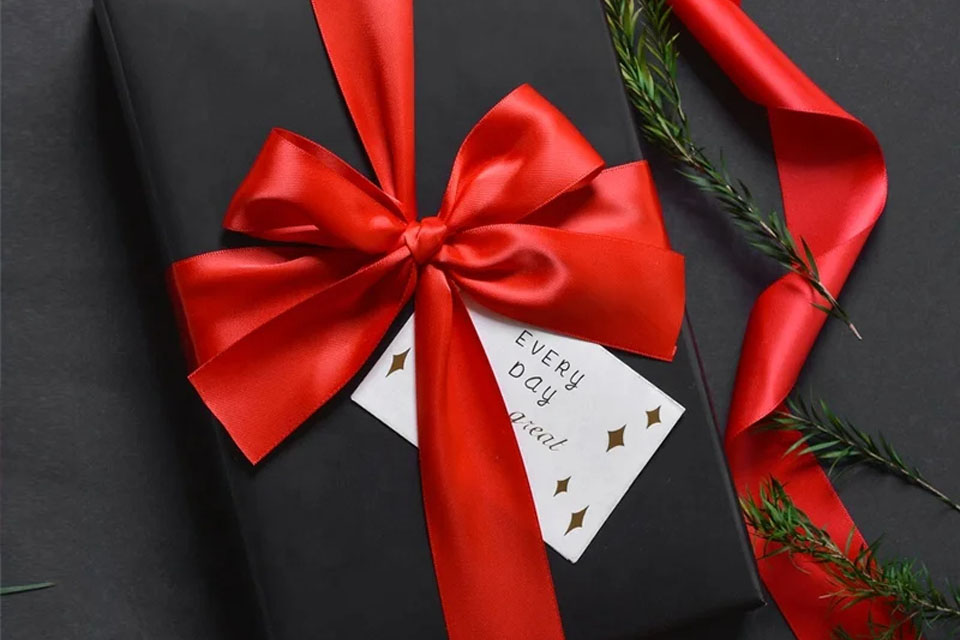
  • Satin Ribbons: Known for their smooth texture and glossy finish, satin ribbons are perfect for elegant and sophisticated gift wraps. They drape beautifully and come in a wide range of colors.
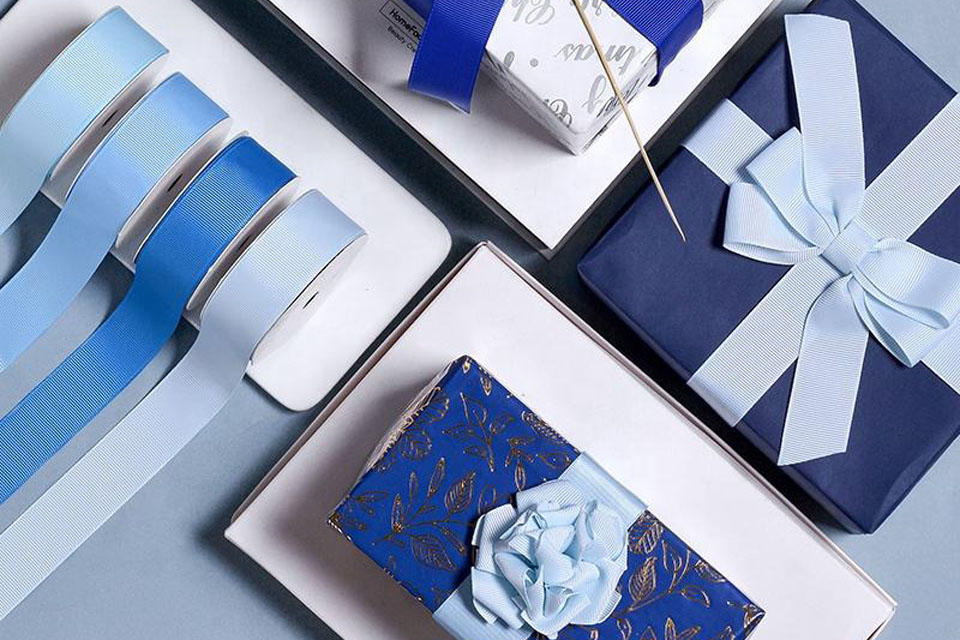
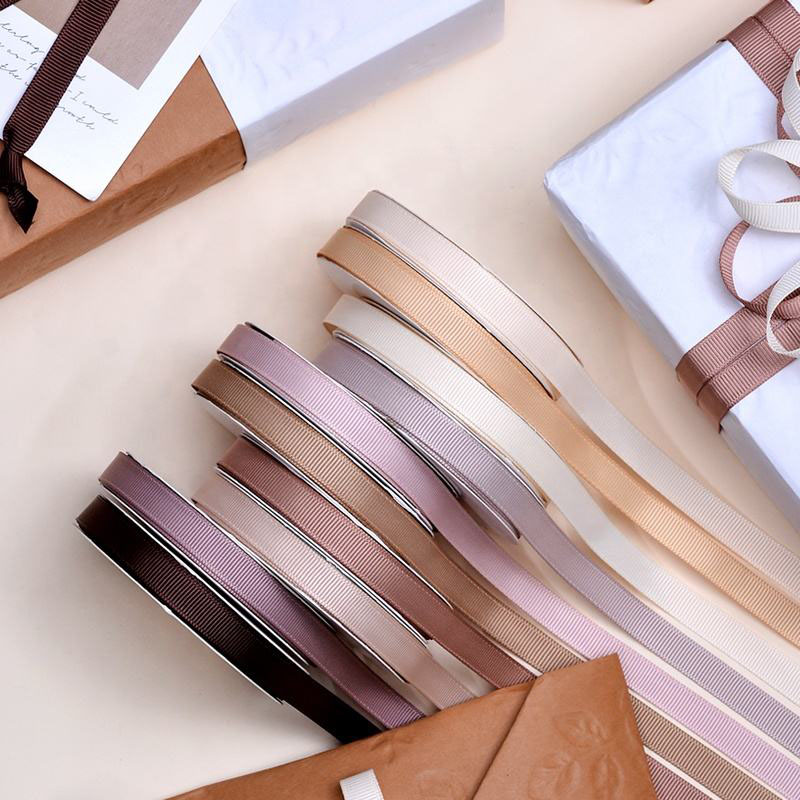
  • Grosgrain Ribbons: With a ribbed texture, grosgrain ribbons add a playful and traditional touch to your gifts. They’re sturdy and less slippery, making them ideal for larger bows.
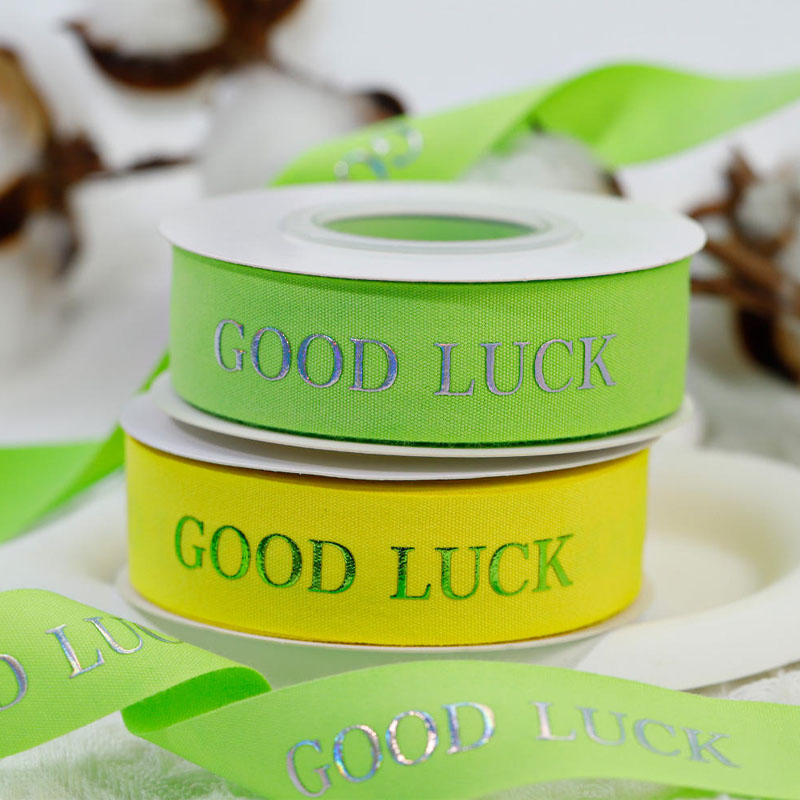
  • Cotton Ribbons: Eco-friendly and versatile, cotton ribbons offer a natural look. They’re perfect for rustic or handmade gift presentations.
  • Velvet Ribbons: Luxurious and soft, velvet ribbons provide a rich texture that enhances the overall appearance of your gift.

Selecting the right ribbon ensures that your gift box stands out and complements the occasion, whether it’s a birthday, wedding, or corporate event.

How to Choose the Right Ribbon for Your Gift

Selecting the appropriate ribbon involves considering factors like the type of ribbon, color, width, and the overall theme of the gift:

  • Occasion: For formal events, satin or velvet ribbons are ideal, while grosgrain or cotton ribbons suit casual or handmade gifts.
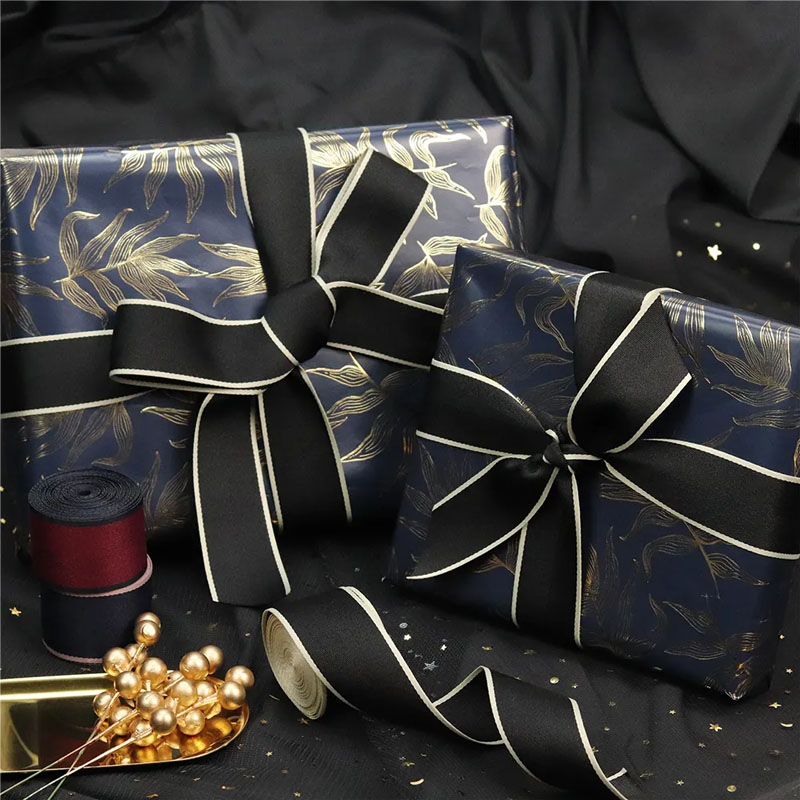
  • Color Coordination: Match the ribbon color with the wrapping paper or use contrasting colors to make the bow pop.
  • Width: Thicker ribbons are more durable and suitable for large bows, whereas thinner ribbons are perfect for delicate decorations.
  • Texture: Smooth ribbons like satin offer a sleek look, while textured ribbons like grosgrain add dimension and interest.

By carefully choosing the right type of ribbon, you can enhance the visual appeal of your wrapped gift and convey the intended message or emotion.

Step-by-Step Guide to Tying a Basic Bow

Mastering a basic bow is the foundation of creating beautiful gift presentations. Follow these simple steps to tie a perfect bow:

  1. Measure the Ribbon: Cut a length of ribbon long enough to wrap around the gift box with some extra for the bow.
  2. Wrap Around the Box: Place the ribbon around the box, ensuring it’s centered across the top and bottom.
  3. Create Loops: Bring the ribbon ends to the top and create two loops (bunny ears) of equal size.
  4. Tie the Knot: Cross the loops and tie a knot at the center, pulling tight to secure the bow.
  5. Adjust the Bow: Fluff and arrange the loops and tails to achieve a symmetrical and attractive bow.

This easy tutorial is perfect for retail & craft consumersevent planners, and anyone looking to add a personal touch to their gift wrapping.

There are numerous techniques to tie ribbon, each offering a unique look and feel:

  • Basic Bow: The most common method, suitable for everyday gifting.
  • Diagonal Bow: Creates a sleek, modern appearance by tying the ribbon diagonally across the box.
  • Double Bow: Involves tying two bows side by side for a fuller, more elaborate look.
  • Square Knot: A sturdy and decorative knot that adds a nautical flair to your gift wrap.
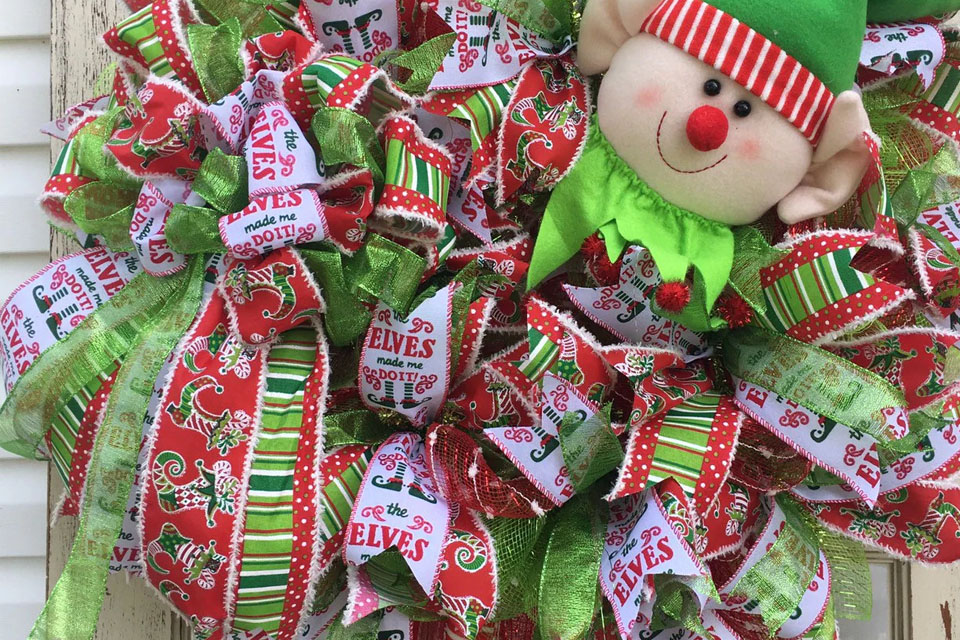
  • Pom-Pom Bow: Adds a playful and textured element using layered loops.

Exploring different ways to tie a ribbon allows you to tailor your gift presentation to fit various styles and occasions.

How to Create a Diagonal Bow for Your Gift

A diagonal bow offers a contemporary twist to traditional gift wrapping. Here’s how to achieve this stylish look:

  1. Cut and Measure: Select a long ribbon and measure the length needed to wrap around your box diagonally.
  2. Position the Ribbon: Place the ribbon across the top of the box, ensuring it crosses from one corner to the opposite corner.
  3. Tie the Knot: Follow the basic bow steps, but ensure the loop is positioned diagonally.
  4. Adjust for Symmetry: Make sure both sides of the bow are even and the tails hang gracefully.

diagonal bow enhances the geometric aesthetics of your gift box, making it stand out with a minimalist yet elegant design.

Tips for Making a Perfect Ribbon Bow

Creating a flawless ribbon bow requires attention to detail and a few simple techniques:

  • Use Quality Ribbon: Higher-quality ribbons hold their shape better and produce a more polished bow.
  • Symmetry is Key: Ensure both loops of the bow are even in size for a balanced look.
  • Secure the Knot: Tighten the knot adequately to prevent the bow from slipping or coming undone.
  • Fluff the Loops: Gently separate and fluff the loops to add volume and a soft appearance.
  • Trim the Tails: Cut the ribbon tails at an angle or a specific length to match the overall look.

These tips for making a perfect ribbon bow are invaluable for anyone aiming to elevate their gift packaging skills.

How to Tie Multiple Ribbons Around a Gift Box

Adding multiple ribbons can create a layered and intricate design. Here’s how to do it effectively:

  1. Choose Complementary Ribbons: Select ribbons of different types or colors that complement each other.
  2. Start with a Base Ribbon: Wrap the first ribbon around the box tightly, securing it with a knot.
  3. Add the Second Ribbon: Layer the second ribbon over the first at a different angle or direction.
  4. Tie the Bows Separately: Create individual bows for each ribbon, ensuring they don’t overlap awkwardly.
  5. Final Adjustments: Arrange the bows to ensure they’re symmetrically placed and visually appealing.

This technique is perfect for event plannersgift packaging companies, and anyone looking to add complexity and richness to their gift wraps.

Common Mistakes When Tying Ribbon and How to Avoid Them

Even with practice, certain mistakes can hinder your ribbon tying efforts. Here are common pitfalls and how to prevent them:

  • Uneven Loops: Ensure both loops are the same size by regularly comparing them as you tie.
  • Loose Knots: Pull the knot tightly to keep the bow secure and prevent the tails from flopping.
  • Excess Ribbon: Measure the ribbon length carefully to avoid long, tangled tails.
  • Ribbon Slippage: Use double-sided tape or a dab of glue to secure the ribbon in place if necessary.
  • Overcomplicating the Bow: Keep it simple; sometimes less is more when it comes to elegant bows.

Avoiding these mistakes ensures your ribbon ties are neat, secure, and aesthetically pleasing.

Ideas for Using Wired Ribbon for Durable Bows

Wired ribbons add structure and durability to your bows, making them ideal for elaborate designs and heavy-duty applications. Here are some creative ideas:

  • Voluminous Bows: The wire adds stiffness, allowing for larger and more dramatic bows.
  • Intricate Shapes: Create unique shapes like hearts or stars by manipulating the wire.
  • Layered Ribbons: Combine different colored wired ribbons for a multi-dimensional look.
  • Event Decor: Use wired ribbons in decorations for weddings, parties, and corporate events.
  • Custom Designs: Personalize your bows with bows from our Custom Elastic Stretch Loop Pre-Made Ribbon Bows.

Wired ribbons from Ribbon OEM offer endless possibilities for durable and stunning bows.

How to Personalize Your Ribbon for Special Occasions

Personalizing ribbons can make your gifts feel even more special. Here are ways to add a personal touch:

  • Add Embellishments: Attach charms, beads, or small ornaments to the bow for added flair.
  • Custom Printing: Use Custom Printed Logo 3-50mm Gift Wrap Organza Ribbon Roll to print names, dates, or messages.
  • Combine Textures: Mix different ribbon types, like silk and grosgrain, for a unique look.
  • Color Coordination: Match ribbon colors with the recipient’s favorite colors or the theme of the occasion.
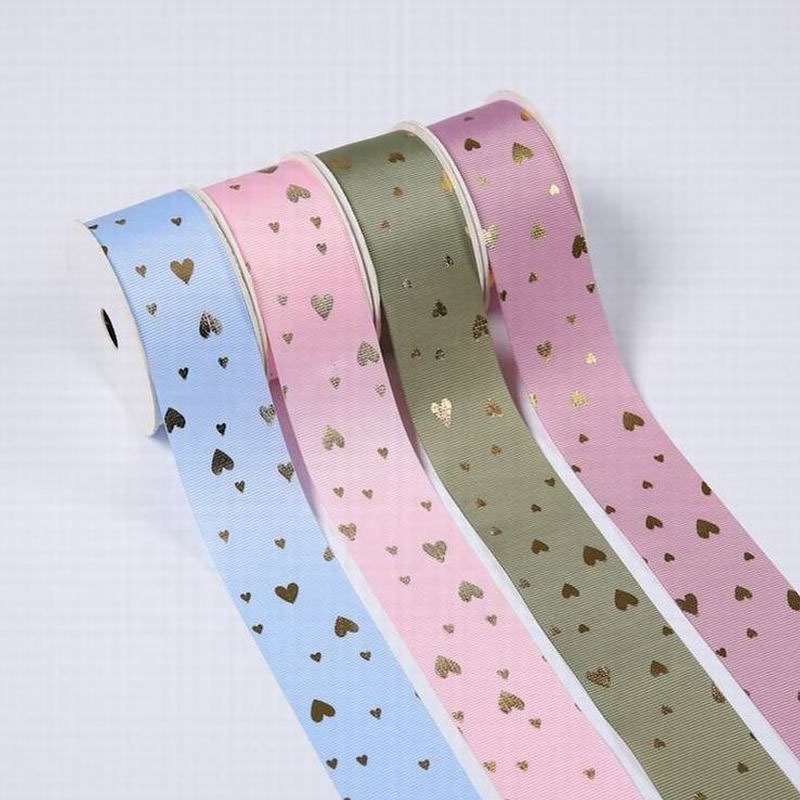
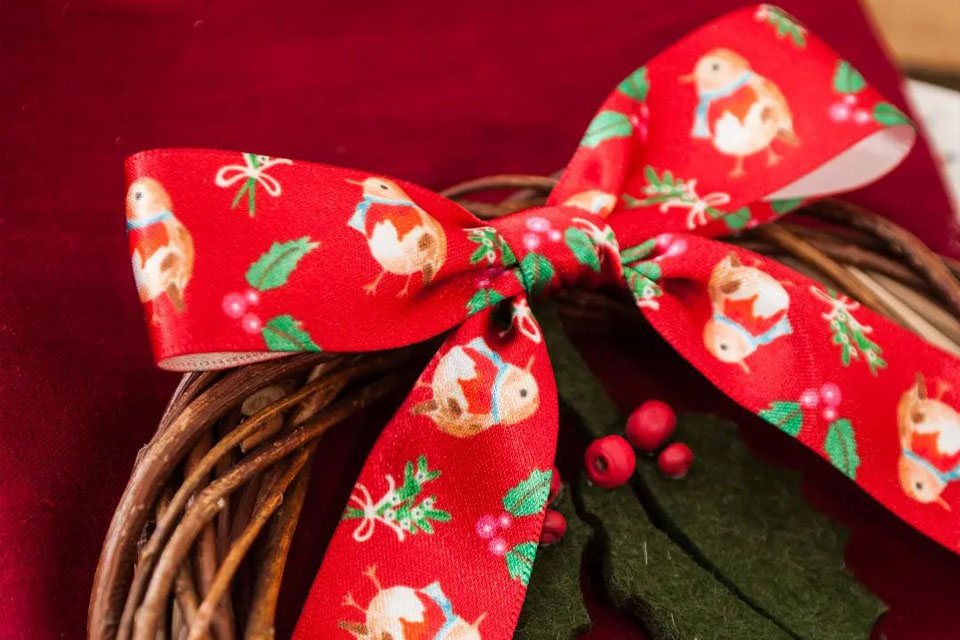
  • Use Themed Ribbons: Select ribbons with patterns or designs that reflect the event, such as holiday-themed or floral patterns.

Personalizing your ribbon transforms a simple bow into a meaningful and memorable gift accent.

Frequently Asked Questions

How do I prevent my ribbon from slipping while tying a bow?

To prevent the ribbon from slipping, ensure you tie a tight knot and use a ribbon that has some grip, like grosgrain or wired ribbons. Additionally, securing the knot with a dab of glue or double-sided tape can help maintain its position.

For large gift boxes, opt for wider ribbons, typically between 1 to 2 inches. Wider ribbons provide better coverage and support for larger bows, ensuring they stay in place and look proportionate.

Absolutely! Reusing ribbons is not only eco-friendly but also allows you to create a cohesive look if you’re wrapping multiple gifts. Ensure the ribbon is in good condition by gently removing any tape or adhesive residue before reuse.

To achieve a full and fluffy bow, make larger loops and ensure there’s enough ribbon to create multiple layers. Fluff each loop by gently separating the strands and adjusting their placement to add volume.

Using sharp scissors is crucial for clean cuts. For synthetic ribbons, you can also seal the ends by briefly heating them with a lighter. Natural ribbons like cotton may fray less and can be tied off neatly instead.

Key Takeaways

  • Choose the Right Ribbon: Select ribbon types, colors, and widths that complement your gift and occasion.
  • Master Basic Techniques: Start with simple bows before progressing to more intricate designs.
  • Pay Attention to Details: Symmetry, knot tightness, and ribbon length all contribute to a polished look.
  • Utilize Wired Ribbons: For durability and creative designs, wired ribbons are an excellent choice.
  • Personalize Your Bows: Adding personal touches makes your gifts unique and memorable.
  • Avoid Common Mistakes: Ensuring even loops and secure knots prevents your bow from looking sloppy.

Elevate your gift-giving experience by mastering the art of ribbon tying. Whether you’re wrapping a small present or decorating for a large event, the right ribbon and a beautifully tied bow can make all the difference. Explore our Satin Ribbons and Custom Ribbon Bows to find the perfect materials for your next project.


Sources:

Comments

Learn the latest trends and knowledge from the leading manufacturer in China about ribbon business.
滚动至顶部

Online INQUIRY

We will reply to you in 30 minutes.

Talk to leader

Can’t find what you want? Ask our manager for help directly.

Talk to leader

Can’t find what you want? Ask our manager for help directly.

Talk to leader

Can’t find what you want? Ask our manager for help directly.