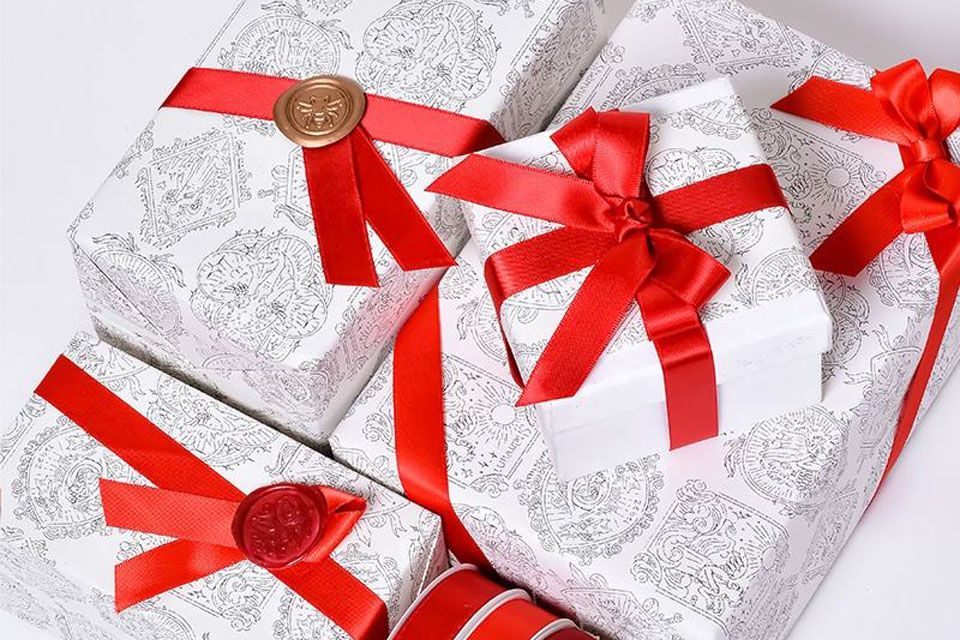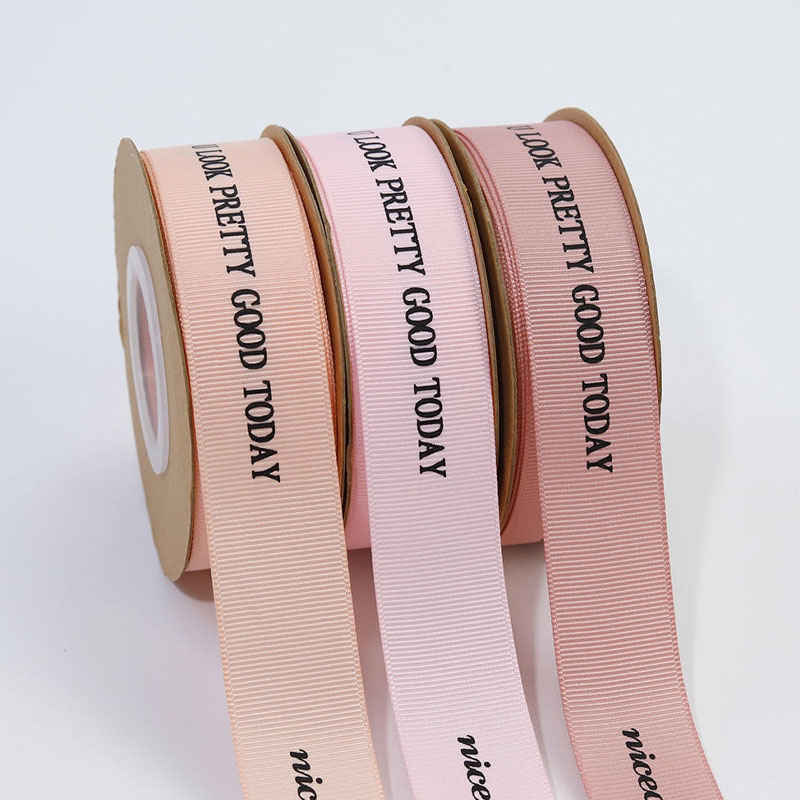
How To Tie A Bow Tie With Ribbon

Table of Contents

Summary

Ever struggled to tie the perfect bow, whether for a gift, your outfit, or a special occasion?

You’re not alone! This comprehensive tutorial will guide you through the art of tying beautiful bows using ribbons, ensuring your creations are flawless every time. Whether you’re a DIY enthusiast or looking to enhance your gift-wrapping skills, this article is your go-to resource for mastering bow-tying techniques.

What Makes a Perfect Bow?

perfect bow is more than just a knot—it’s a statement of elegance and care. Ribbons come in various materials, colors, and widths, each contributing to the bow’s overall appearance. Factors like symmetry, fluffiness, and the tightness of the knot play crucial roles in achieving that flawless look.

Key Elements of a Perfect Bow:

  • Symmetry: Both loops and ends should mirror each other.
  • Proportions: The size of the bow should complement the size of the object it adorns.
  • Fluffiness: Neat folds and gentle fluffing give the bow a voluminous look.
  • Knot Tightness: A secure knot ensures the bow stays intact and maintains its shape.

Essential Tools and Materials

Before diving into the bow-tying process, gather the necessary tools and materials to ensure a smooth experience.

You’ll Need:

  • Ribbon: Choose from satin, grosgrain, organza, or velvet based on your project.
  • Scissors: Sharp scissors for clean cuts.
  • Hot Glue Gun (optional): For securing the bow in place.
  • Measuring Tape or Ruler: To measure the appropriate length of ribbon.

Recommended Ribbon Types:

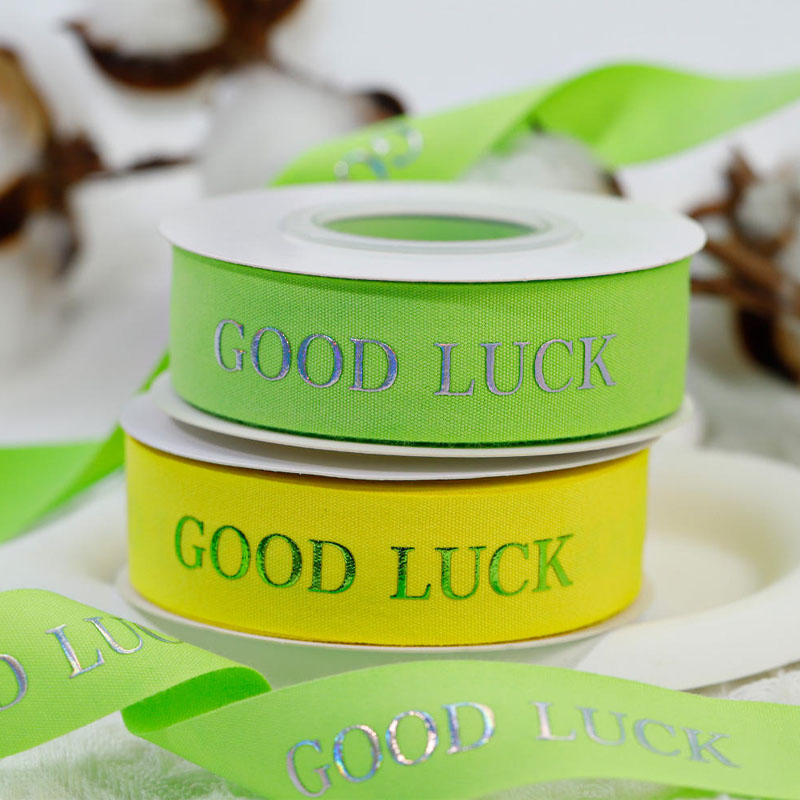
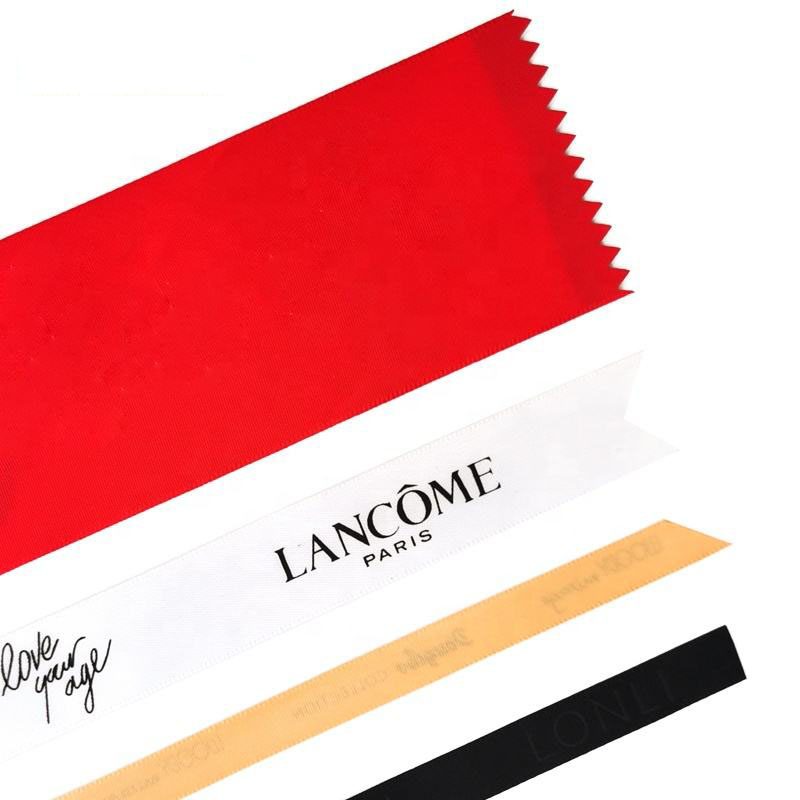
  • Satin Ribbon: Smooth and shiny, perfect for elegant bows.
  • Grosgrain Ribbon: Ribbed texture ideal for traditional bows.
  • Organza Ribbon: Light and sheer, great for delicate bows.
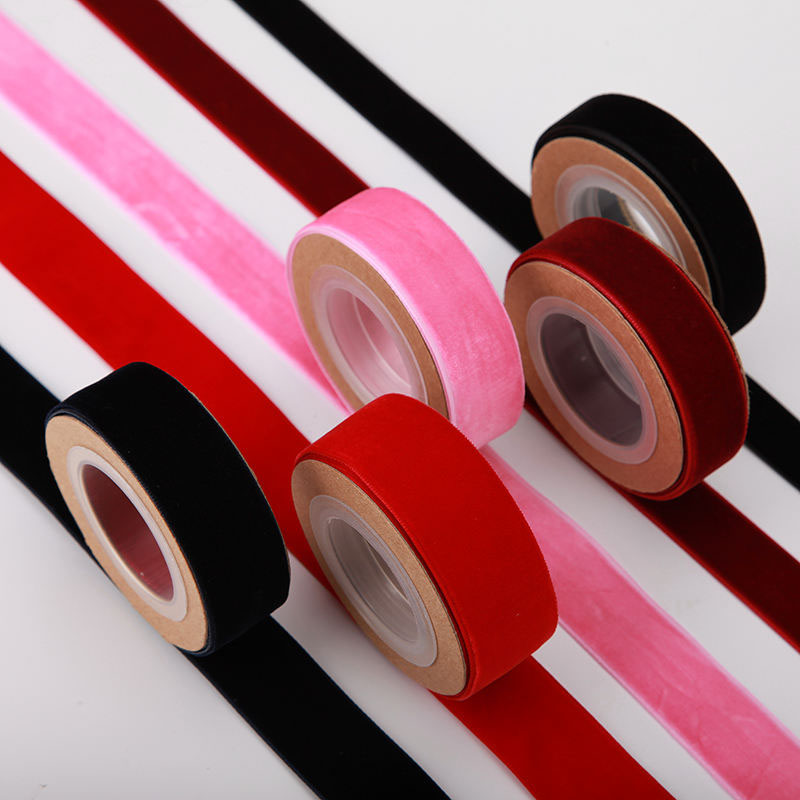
  • Velvet Ribbon: Luxurious and thick, perfect for festive occasions.

Step-by-Step Guide to Tying a Classic Bow

Tying a classic bow is a fundamental skill that’s both satisfying and useful. Follow these steps to create a timeless bow for any occasion.

Step 1: Measure and Cut the Ribbon

  1. Determine Length: For most bows, a 24-inch ribbon works well.
  2. Cut the Ribbon: Use sharp scissors to ensure clean edges.

Step 2: Create the First Loop

  1. Fold the Ribbon in Half: Bring the ends together.
  2. Make the First Loop: Twist the folded ribbon to form the first bow loop.

Step 3: Create the Second Loop

  1. Arrange the Ends: Adjust the ends to mirror each other.
  2. Form the Second Loop: Create the second bow loop opposite the first.

Step 4: Tie the Knot

  1. Secure the Loops: Tie a knot at the center where the loops meet.
  2. Tighten the Knot: Adjust the loops for symmetry and fluff as needed.

How to Tie a Fancy Bow

Elevate your bow-tying skills by mastering fancy bows, which add a touch of sophistication and creativity to your projects.

Enhancing Your Bow:

  • Layering Ribbons: Combine different ribbon widths for a textured look.
  • Adding Accessories: Incorporate beads, charms, or bows for extra flair.
  • Using Wired Ribbons: Create structured and firm bows that hold their shape.

Step-by-Step Fancy Bow:

  1. Layer Ribbons: Start with a wider ribbon as the base and add narrower ribbons on top.
  2. Form Multiple Loops: Create several small loops instead of just two.
  3. Secure with a Knot: Tie a tight knot to keep all layers in place.

Choosing the Right Ribbon for Your Bow

Selecting the appropriate ribbon is essential for achieving the desired look and functionality of your bow.

Factors to Consider:

  • Material: Determines the bow’s texture and sheen.
  • Width: Wider ribbons create larger bows, while narrower ribbons are suited for smaller bows.
  • Color: Choose colors that complement the gift or outfit.

Popular Ribbon Choices:

  • Satin Ribbon: Ideal for formal occasions and elegant presentations.
  • Grosgrain Ribbon: Perfect for classic and traditional bows.
  • Organza Ribbon: Suitable for delicate and ethereal designs.
  • Velvet Ribbon: Great for luxurious and festive bows.

Tips for Fluffing and Perfecting Your Bow

Fluffing your bow ensures it looks full and polished. Here are some tips to achieve a professional finish.

Fluffing Techniques:

  • Separate the Loops: Gently pull apart the loops to add volume.
  • Adjust Symmetry: Ensure both sides of the bow are even and balanced.
  • Tuck in Excess Ribbon: Carefully tuck any excess ribbon for a neat appearance.

Additional Tips:

  • Use Hot Glue: Secure the knot with a dab of hot glue to maintain the bow’s shape.
  • Steam the Ribbon: Lightly steam the ribbon to remove wrinkles and enhance fluffiness.

Common Mistakes to Avoid

Avoid these common pitfalls to ensure your bows always look impeccable.

Mistakes:

  • Uneven Loops: Ensure both loops are the same size for symmetry.
  • Overtightening the Knot: Keep the knot tight enough to secure the bow but not so tight that it restricts fluffing.
  • Using the Wrong Ribbon: Choose a ribbon that suits the purpose and desired bow style.

How to Correct Them:

  • Adjust Loops: Take your time to align both loops evenly.
  • Loosen the Knot: If overtightened, carefully undo the knot and retie it.
  • Select Appropriate Ribbon: Consider the occasion and desired bow texture when selecting ribbon.

Creative Uses for Ribbon Bows

Ribbon bows are versatile and can be used in various creative ways beyond traditional gift-wrapping.

Ideas:

  • Home Décor: Adorn mirrors, lampshades, or curtains with ribbon bows for a stylish touch.
  • Hair Accessories: Create bows for hair clips or headbands.
  • Fashion: Embellish clothing, bags, or shoes with ribbon bows for a personalized look.

DIY Projects:

  • Bow Wall Art: Arrange multiple bows in a pattern to create unique wall art.
  • Ribbon Flowers: Combine bows with floral elements to make beautiful decorations.

Advanced Techniques: Wired Ribbon Bows

Wired ribbons allow for more structured and durable bows, perfect for projects that require a firm shape.

Benefits of Wired Ribbons:

  • Structure: Holds the bow shape firmly.
  • Durability: Less likely to become floppy over time.
  • Versatility: Ideal for oversized or elaborate bows.

How to Use Wired Ribbons:

  1. Prepare the Ribbon: Cut and adjust the ribbon length as needed.
  2. Insert the Wire: Place the wire along the ribbon where you want the bow to hold its shape.
  3. Form the Bow: Shape the bow around the wire, ensuring it maintains the desired form.

Maintaining and Storing Your Bows

Proper maintenance and storage ensure your bows remain beautiful and ready for use whenever needed.

Maintenance Tips:

  • Avoid Moisture: Keep bows dry to prevent damage to the ribbons.
  • Dust Regularly: Gently dust bows to keep them looking fresh.
  • Refold if Needed: Carefully refold and fluff any bows that lose their shape.

Storage Solutions:

  • Dust Covers: Use protective covers to shield bows from dust.
  • Separate Storage: Store bows separately to prevent tangling and damage.
  • Climate Control: Keep bows in a cool, dry place to maintain ribbon integrity.

Summary of Key Points

  • Symmetry and Proportion: Essential for a perfect bow.
  • Choose the Right Ribbon: Type, width, and color matter.
  • Follow Step-by-Step Guides: Ensure consistent results.
  • Fluff and Adjust: Add volume and maintain shape.
  • Avoid Common Mistakes: Practice makes perfect.
  • Explore Creative Uses: Beyond traditional applications.
  • Use Wired Ribbons for Structure: Ideal for durable bows.
  • Maintain and Store Properly: Extend the life of your bows.

Enhance Your Bow-Tying Skills with Ribbon OEM

Comments

Learn the latest trends and knowledge from the leading manufacturer in China about ribbon business.
滚动至顶部

Online INQUIRY

We will reply to you in 30 minutes.

Talk to leader

Can’t find what you want? Ask our manager for help directly.

Talk to leader

Can’t find what you want? Ask our manager for help directly.

Talk to leader

Can’t find what you want? Ask our manager for help directly.