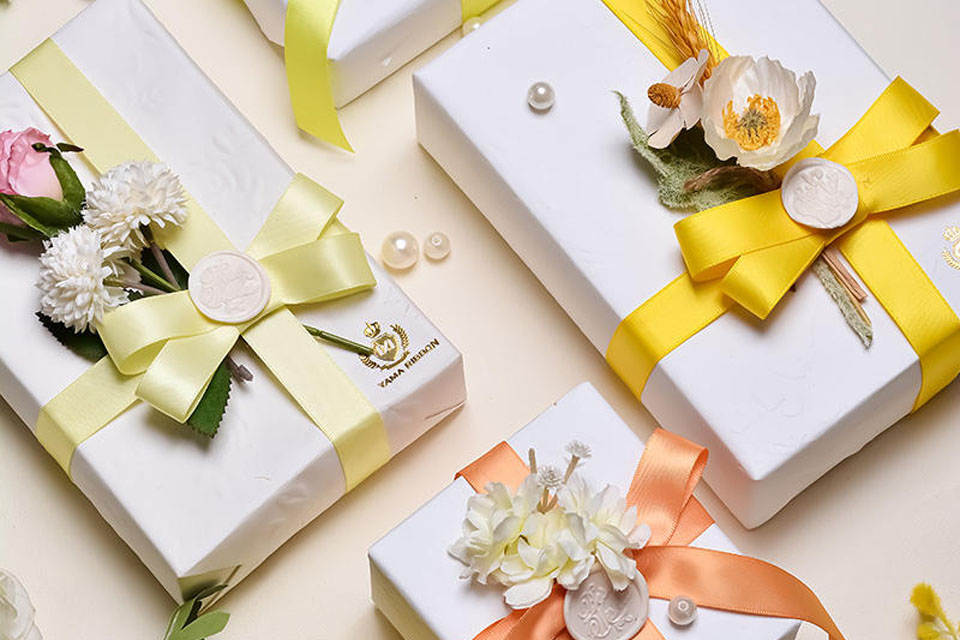
Whether you’re a retail & craft consumer, event planner, florist, fashion brand, or part of the corporate marketing sector, mastering the art of ironing satin ribbons with Cricut can elevate your creations. This comprehensive guide will walk you through the essential steps and tips to achieve smooth, wrinkle-free satin ribbons using an iron and Cricut machine. Discover why perfecting this technique is crucial for enhancing your products and impressing your clients.
What Makes Satin Fabric Unique?
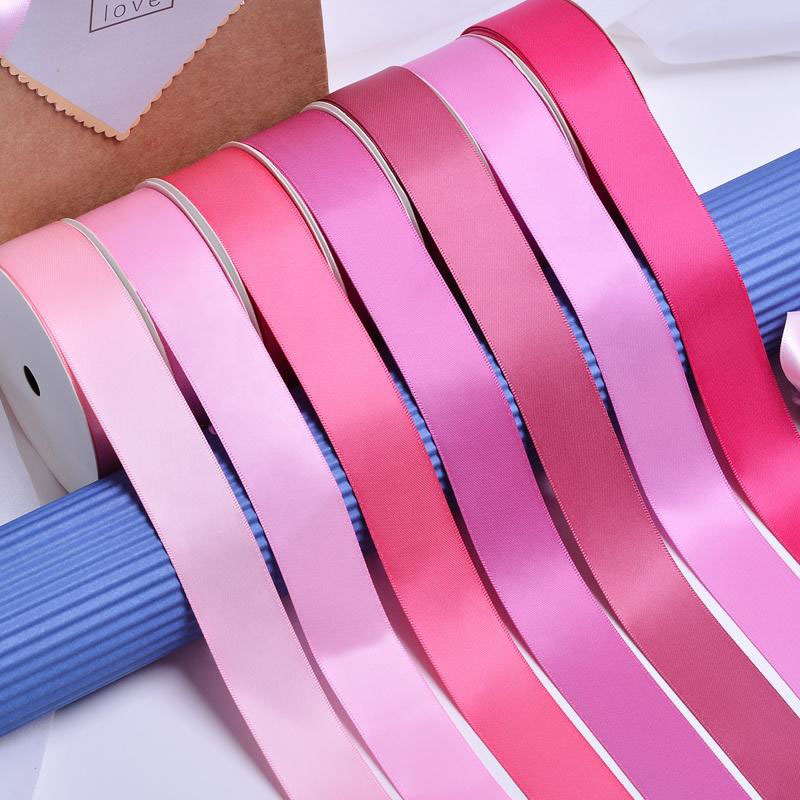
Satin is a luxurious fabric known for its smooth texture and glossy surface. Unlike other weaves, satin features a high sheen on one side and a dull finish on the other, creating an elegant contrast. Satin ribbons are highly sought after for their ability to add a touch of sophistication to any project, from gift wrapping and fashion accessories to event decorations.
Characteristics of Satin
- Glossy Finish: Satin’s lustrous surface catches the light beautifully, making colors appear more vibrant and designs more striking.
- Soft Texture: The smoothness of satin makes it gentle to the touch, perfect for delicate applications.
- Durability: Despite its delicate appearance, satin is a strong fabric that holds up well under various conditions when properly cared for.
Understanding the unique qualities of satin helps in appreciating why ironing is a vital step in maintaining its pristine look.
Why Is Ironing Satin Ribbons Essential?
Ironing satin ribbons is a crucial step in ensuring that your ribbons maintain their smooth and shiny appearance. Satin, known for its luxurious sheen and soft texture, is a delicate fabric that can easily wrinkle or crease. Proper ironing:
- Enhances Appearance: Smooth ribbons look more elegant and professional, perfect for high-end gift wrapping, fashion accessories, and event decorations.
- Improves Functionality: Wrinkle-free ribbons are easier to work with, especially when tying bows or creating intricate designs.
- Extends Longevity: Proper care, including ironing, helps maintain the ribbon’s integrity, preventing damage and wear over time.
For businesses and creatives alike, mastering the ironing process ensures that every ribbon used in your projects reflects quality and attention to detail.
What Tools Do You Need to Iron Satin Ribbons?
Having the right tools is essential for effectively ironing satin ribbons without causing damage. Here’s a list of must-have items:
| Tool |
Description |
| Iron |
A reliable iron with adjustable heat settings is crucial. A steam iron can also be beneficial for removing wrinkles. |
| Pressing Cloth |
A thin cotton cloth or parchment paper to protect the satin from direct heat. |
| Ironing Board |
A smooth, flat surface is necessary for effective ironing. |
| Cricut Machine |
For precise cutting and designing, a Cricut machine can be invaluable. |
| Iron-On Vinyl |
If customizing your ribbons, high-quality iron-on vinyl ensures durability and vibrant designs. |
| Heat Press (Optional) |
For larger batches or more consistent results, a heat press machine can be used alongside the iron. |
Having these tools on hand will streamline the ironing process and help you achieve professional-looking satin ribbons every time.
How to Properly Set Up Your Iron for Satin?
Properly setting up your iron is essential to prevent damage to satin ribbons. Follow these steps to ensure you’re using the right settings:
Adjust the Temperature
- Low Heat Setting: Set your iron to a low heat setting suitable for polyester or the specific material of your satin ribbon. High temperatures can scorch or melt the delicate fabric.
- No Steam: Turn off the steam function to prevent water spots or fabric damage. If you prefer using steam, always use a pressing cloth to protect the ribbon.
Use a Pressing Cloth
A pressing cloth acts as a barrier between the iron and the satin ribbon, preventing direct heat contact. This step is crucial to avoid shiny spots or burns on the fabric.
Test the Settings
Before ironing the entire ribbon, test the iron settings on a small, inconspicuous area to ensure the temperature and pressure are appropriate for your satin fabric.
By setting up your iron correctly, you minimize the risk of damaging your satin ribbons and ensure a smooth, wrinkle-free finish.
Step-by-Step Guide to Ironing Satin Ribbons
Ironing satin ribbons requires a gentle touch and attention to detail. Follow this step-by-step guide to achieve perfect results:
1. Set Your Iron
- Temperature: Set your iron to a low heat setting suitable for satin fabrics.
- Steam: Disable the steam function to avoid water spots.
2. Prepare Your Ironing Board
Ensure your ironing board is clean and flat. Cover the area with a pressing cloth to protect the satin ribbon from direct heat.
3. Position the Ribbon
Lay the satin ribbon flat on the ironing board, ensuring it’s smooth and free from wrinkles or tangles.
4. Apply the Iron
- Gently Press: Carefully press the iron onto the ribbon without moving it back and forth. Hold for a few seconds to allow the heat to penetrate.
- Lift the Iron: Lift the iron and move to the next section. Avoid sliding the iron across the fabric to prevent stretching or burning.
5. Cool and Inspect
Allow the ribbon to cool completely before handling to set the pressed shape. Check for any remaining wrinkles and repeat the process if necessary.
6. Final Touches
Trim any uneven edges and ensure the ribbon is smooth and ready for your project.
By following these steps, you ensure that your satin ribbons are perfectly ironed, ready for use in any project.
How to Use Cricut for Customizing Ribbons?
The Cricut machine is a powerful tool for creating customized ribbon designs. Here’s how to integrate Cricut into your ribbon projects:
Designing with Cricut
- Create Your Design: Use Cricut Design Space to create or upload your desired design. This could include patterns, text, or intricate graphics.
- Select the Right Material: Choose materials compatible with satin ribbons, such as iron-on vinyl or adhesive-backed vinyl.
- Cut Precision: Cricut ensures precise cutting, allowing for detailed and accurate designs on your ribbons.
Applying the Design
- Position the Vinyl: Place the cut vinyl onto the ribbon, ensuring accurate alignment with your design.
- Use the Iron: Follow the ironing steps to transfer the vinyl onto the satin ribbon, creating a customized and professional look.
Benefits of Using Cricut
- Customization: Easily create unique and personalized designs that set your ribbons apart.
- Efficiency: Streamline the customization process, especially for large orders or intricate designs.
- Quality: Achieve professional-grade results with consistent and precise cuts.
Integrating Cricut into your ribbon projects enhances creativity and allows for personalized touches that can set your products apart.
What Are the Best Practices for Applying Vinyl on Ribbon?
Customizing satin ribbons with iron-on vinyl adds a unique and professional touch to your projects. Here’s how to do it effectively:
Choosing the Right Vinyl
- Quality Matters: Opt for high-quality iron-on vinyl to ensure durability and vibrant colors.
- Compatibility: Ensure the vinyl is suitable for use on satin fabrics to prevent peeling or fading over time.
Application Process
- Cut the Vinyl: Use the Cricut machine to cut your desired design from the vinyl sheet.
- Position the Design: Place the vinyl design onto the ribbon, ensuring it’s properly aligned.
- Protect the Ribbon: Cover the vinyl with a pressing cloth to shield it from direct heat.
- Apply Heat: Using a low heat setting, press the vinyl onto the ribbon with steady pressure.
- Cool and Peel: Allow the ribbon to cool before gently peeling off the backing, revealing your customized design.
Tips for Success
- Test First: Always test on a small ribbon section to ensure compatibility and desired results.
- Even Pressure: Apply consistent pressure during ironing to ensure the vinyl adheres properly.
- Avoid Overheating: Excessive heat can damage both the vinyl and the satin fabric, so stick to recommended settings.
By following these best practices, you can create stunning, customized satin ribbons that enhance your projects’ aesthetic appeal.
How to Avoid Damaging Satin While Ironing?
Ironing satin ribbons requires careful handling to prevent damage. Here are some tips to ensure your satin remains in pristine condition:
Use a Pressing Cloth
A pressing cloth acts as a barrier between the iron and the satin ribbon, preventing direct heat contact. This helps avoid shiny spots, burns, or scorched areas on the fabric.
Set the Right Temperature
Always use a low heat setting suitable for satin fabrics. High temperatures can scorch or melt the delicate fibers, causing permanent damage.
Avoid Sliding the Iron
Instead of moving the iron back and forth, press and lift it onto different sections of the ribbon. Sliding the iron can stretch or distort the fabric, ruining its shape.
Test on a Small Area
Before ironing the entire ribbon, test the iron settings on a small, inconspicuous area to ensure the temperature and pressure are appropriate for your satin fabric.
Limit Ironing Sessions
Avoid over-ironing, as excessive heat and pressure can weaken the fabric fibers. Iron only as needed to remove wrinkles and maintain the ribbon’s smooth appearance.
By following these precautions, you can iron satin ribbons effectively without causing any damage, ensuring they remain smooth and elegant for your projects.
Tips for Maintaining Smooth Satin Ribbons
Proper maintenance extends the life and appearance of your satin ribbons. Follow these tips to keep your ribbons looking their best:
Proper Storage
- Cool, Dry Place: Store ribbons in a cool, dry environment to prevent moisture damage and color fading.
- Avoid Sunlight: Prolonged exposure to direct sunlight can degrade colors and weaken fabric fibers.
- Flat or Rolled Storage: Depending on the ribbon type, store flat to prevent creasing or rolled to save space without damaging the material.
Gentle Handling
- Avoid Excessive Pulling: Handle ribbons gently to prevent stretching or tearing, which can compromise their appearance.
- Use Soft Tools: When applying ribbons to products, use soft tools to avoid scratching or damaging the printed surface.
Cleaning and Care
- Machine Washable: Many satin ribbons are machine washable. Use a gentle cycle and cold water to preserve print quality and color vibrancy.
- Hand Washing: For delicate ribbons, hand washing with mild detergent is recommended to maintain color integrity.
- Air Drying: Avoid using high heat for drying. Air drying helps prevent color fading and maintains the ribbon’s texture.
Regular Inspections
- Check for Wear: Regularly inspect ribbons for signs of wear, such as fading or fraying, and replace them as needed.
- Reapply Protective Coatings: If necessary, apply additional layers of protective coatings like clear nail polish to reinforce iron-on designs.
By adhering to these maintenance practices, you can ensure that your satin ribbons remain a reliable and attractive component of your products and projects.
Frequently Asked Questions
What temperature should I set my iron for satin ribbons?
For satin ribbons, set your iron to a low heat setting. High temperatures can scorch or melt the delicate fabric. Always refer to the care label for specific temperature recommendations.
Can I use a steam iron on satin ribbons?
Yes, you can use a steam iron on satin ribbons, but it’s essential to use a pressing cloth to protect the fabric from direct steam and heat. Alternatively, you can turn off the steam function to prevent water spots.
How do I remove stubborn wrinkles from satin ribbons?
For stubborn wrinkles, gently press the iron with a pressing cloth over the ribbon for a few seconds. Avoid pressing too hard or using high heat, as this can damage the fabric.
Is it safe to machine wash satin ribbons after ironing?
Yes, many satin ribbons are machine washable. Use a gentle cycle with cold water and avoid high heat drying to maintain the ribbon’s quality and prevent color fading.
Can I apply iron-on vinyl to satin ribbons multiple times?
It’s best to avoid multiple applications of iron-on vinyl on the same ribbon, as this can weaken the fabric and reduce the vinyl’s adherence. Plan your designs carefully to minimize the need for reapplication.
How do I prevent the iron from scorching satin ribbons?
Always use a pressing cloth between the iron and the satin ribbon. Additionally, keep the iron moving and avoid leaving it in one spot for too long to prevent scorching.
Key Takeaways
- Use Low Heat Settings: Always set your iron to a low temperature suitable for satin fabrics to prevent damage.
- Protect the Fabric: Utilize a pressing cloth to shield satin ribbons from direct heat and steam.
- Handle Gently: Avoid excessive pulling or sliding of the iron to maintain the ribbon’s shape and integrity.
- Customize with Cricut: Incorporate Cricut for precise and personalized ribbon designs, enhancing your project’s appeal.
- Proper Maintenance: Store ribbons correctly, handle them gently, and follow appropriate cleaning methods to extend their lifespan.
- Avoid Common Mistakes: Steer clear of high heat, ignoring care labels, and over-ironing to keep your satin ribbons in top condition.
- Utilize Iron-On Vinyl Wisely: When customizing ribbons with vinyl, ensure proper application to achieve durable and vibrant designs.
By mastering the techniques outlined in this guide, you can ensure that your satin ribbons remain smooth, vibrant, and perfectly suited for any project. Whether you’re enhancing gift packaging, creating fashion accessories, or designing event decorations, well-ironed satin ribbons can make a significant difference in the quality and appearance of your work.

