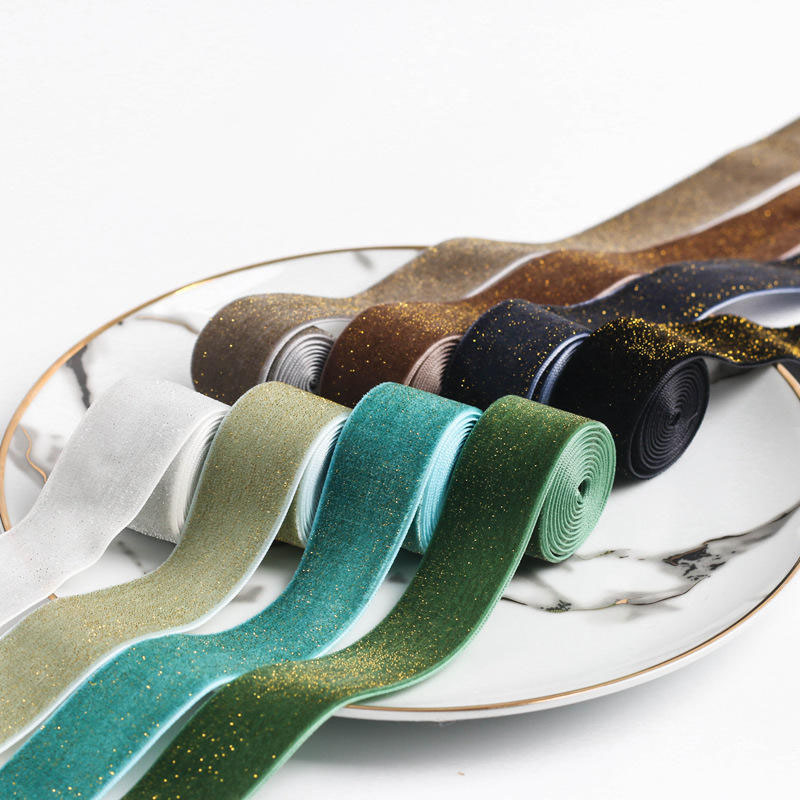
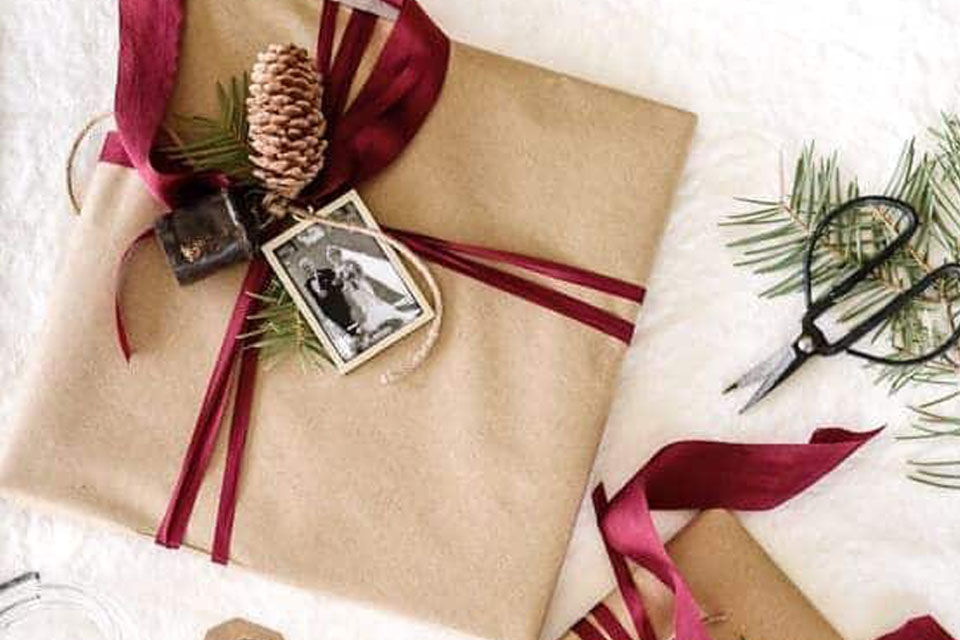
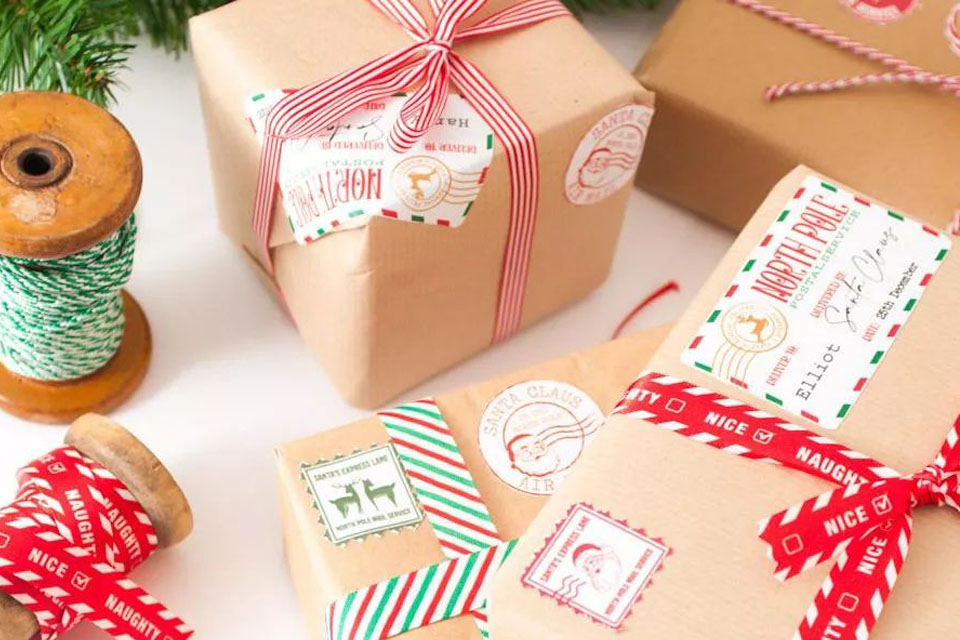
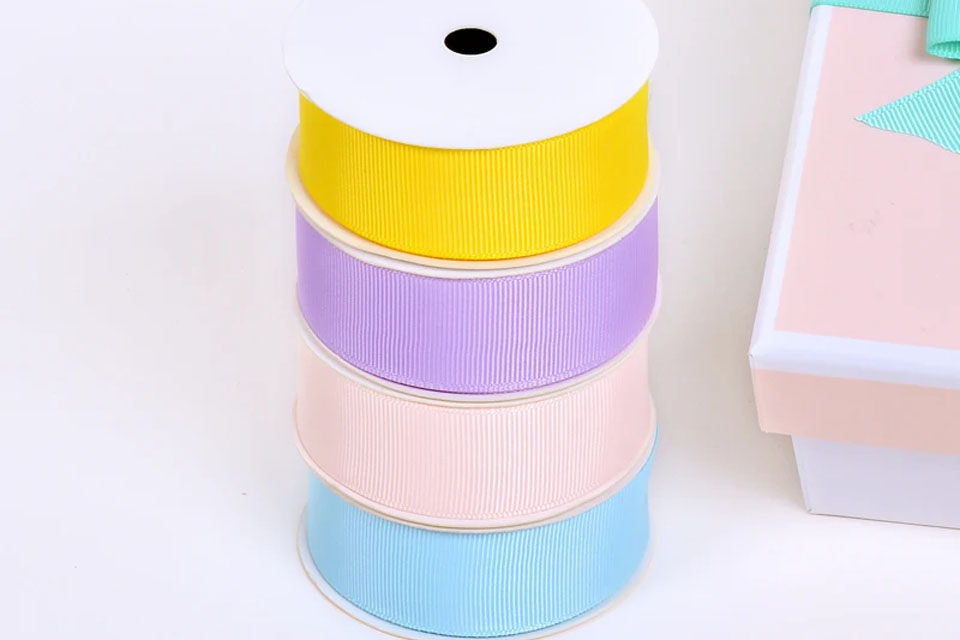
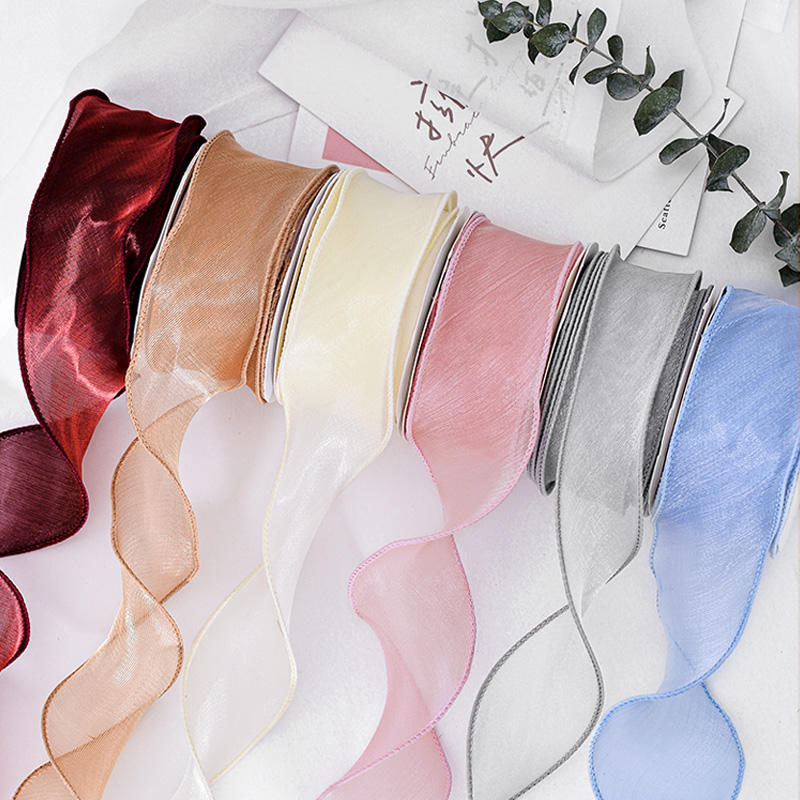
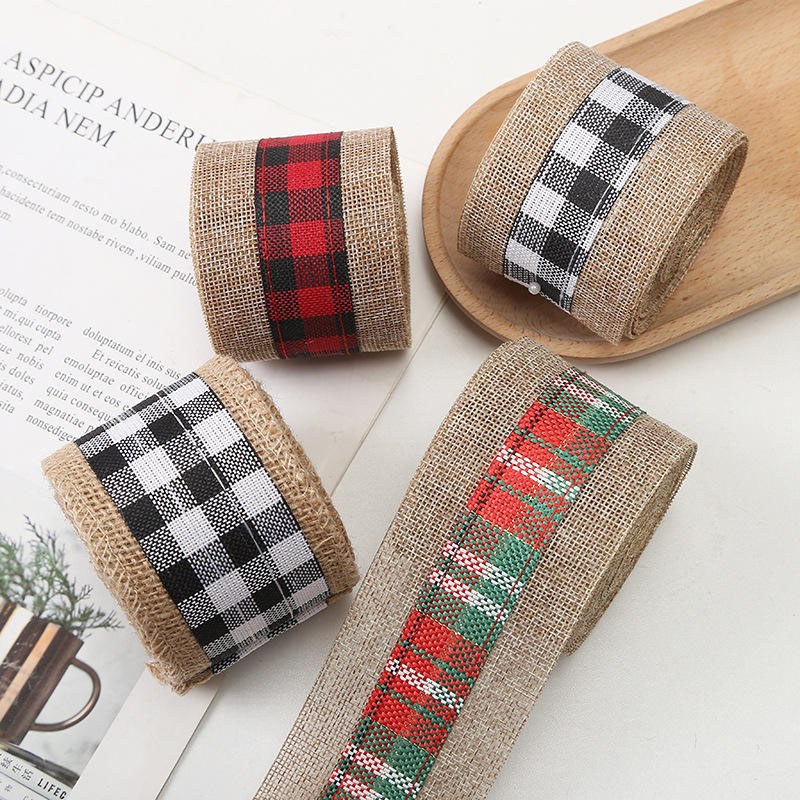
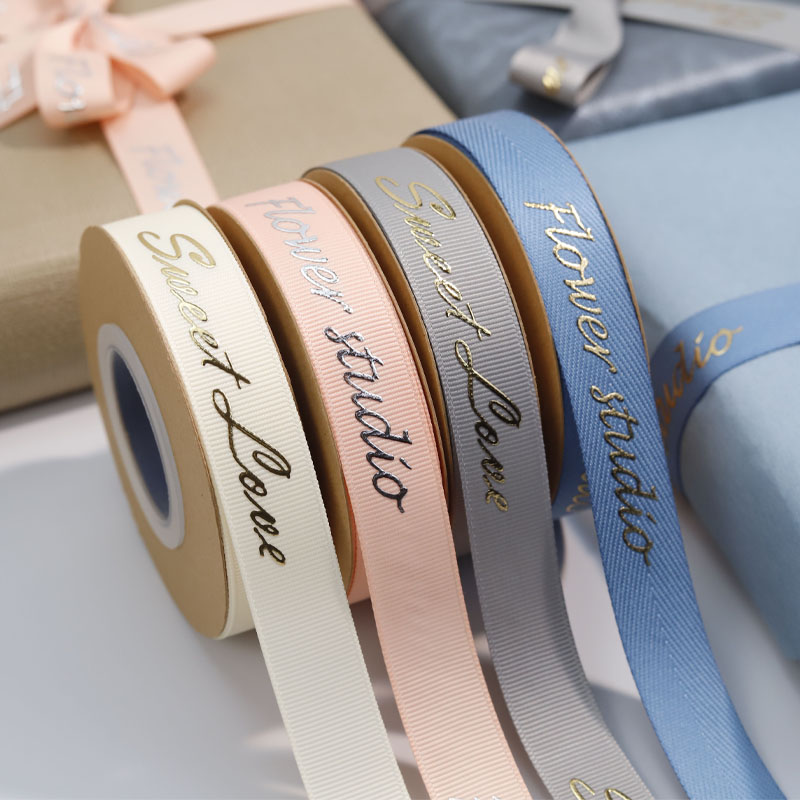
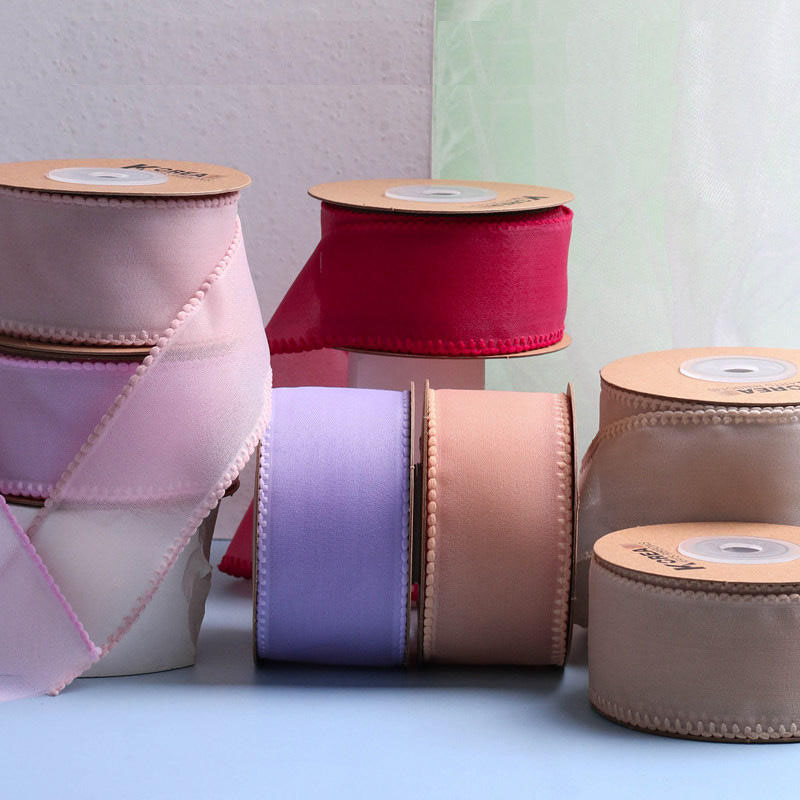
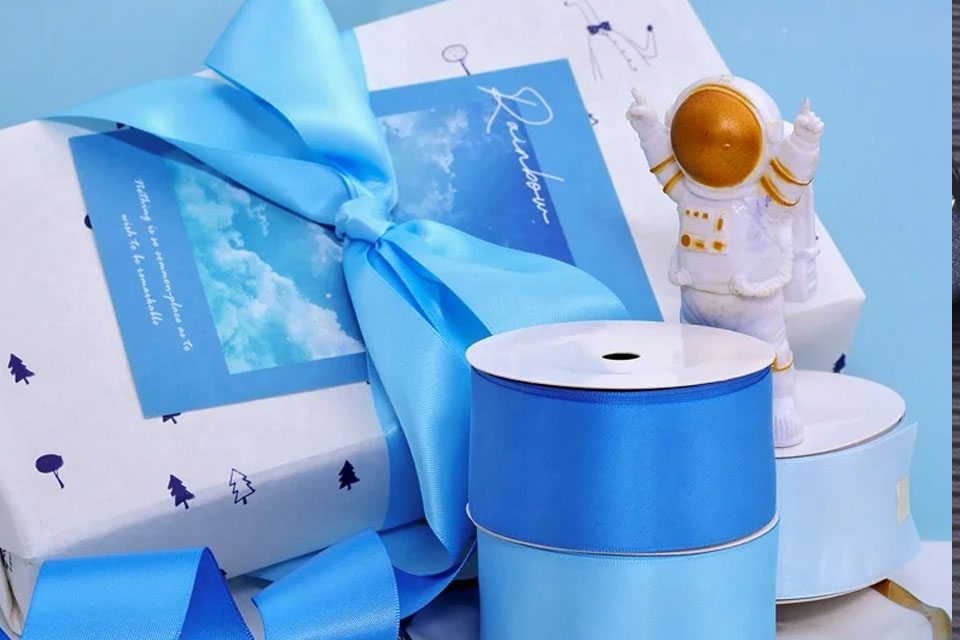
Whether you’re a retail & craft consumer, event planner, florist, or part of the fashion & apparel industry, mastering ribbon embroidery can elevate your creations to new heights. This comprehensive guide explores various embroidery techniques, tools, and best practices to help you achieve stunning results with your ribbons. Discover how to transform simple ribbons into intricate masterpieces that will impress your clients and enhance your products.
What Makes Ribbon Embroidery Special?
Ribbon embroidery is a delicate and versatile art form that combines the beauty of embroidery with the flexibility of ribbons. This technique allows for intricate designs and patterns to be applied to ribbons, making them perfect for a variety of applications such as gift wrapping, fashion accessories, and event decorations.
Characteristics of Ribbon Embroidery
- Delicate Detail: The fine strands of ribbon provide a unique texture that enhances embroidered designs.
- Versatility: Suitable for both hand and machine embroidery, allowing for a range of creative possibilities.
- Aesthetic Appeal: Adds a touch of elegance and sophistication to any project, making it ideal for high-end products.
- Customization: Easily customized with different colors, patterns, and stitches to match specific themes or branding.
Understanding these unique qualities of ribbon embroidery highlights why it is a favored technique among various industries.
Why Choose Silk Ribbons for Embroidery?
Silk ribbons are renowned for their luxurious texture and natural sheen, making them an ideal choice for embroidery projects. Unlike synthetic materials, silk ribbons offer a smooth surface that allows embroidery threads to glide effortlessly, resulting in vibrant and detailed designs.
Benefits of Silk Ribbons
- High Absorbency: Silk fibers absorb embroidery threads well, ensuring colors remain vibrant and designs stand out.
- Smooth Texture: The sleek surface of silk ribbons facilitates precise and consistent stitching.
- Durability: Despite their delicate appearance, silk ribbons are strong and resistant to wear when properly cared for.
- Versatility: Perfect for a wide range of applications, from fashion accessories to decorative elements in event planning.
Choosing silk ribbons for your embroidery projects ensures that your creations are not only beautiful but also of high quality and longevity.
What Tools and Materials Do You Need for Ribbon Embroidery?
Having the right tools and materials is essential for successful ribbon embroidery. Here’s a comprehensive list to get you started:
| Tool/Material |
Description |
| Silk Ribbons |
Choose undyed or naturally colored silk ribbons for the best embroidery results. |
| Embroidery Threads |
High-quality threads in various colors to match your design palette. |
| Needles |
Fine embroidery needles suitable for delicate fabrics like silk. |
| Embroidery Hoop |
Maintains tension and keeps your ribbon steady while stitching. |
| Stabilizer |
Prevents the ribbon from puckering and provides a smooth surface for embroidery. |
| Scissors |
Sharp scissors for precise cutting of threads and ribbons. |
| Embroidery Design Templates |
Pre-designed patterns or custom designs to guide your embroidery work. |
| Thread Organizer |
Keeps your threads neatly arranged and easily accessible. |
| Lighting |
Adequate lighting to ensure visibility of your intricate designs. |
Having these tools and materials on hand will streamline your embroidery process and help you achieve professional-quality results.
How to Prepare Your Ribbon for Embroidery?
Proper preparation of your silk ribbon is crucial to ensure even embroidery and vibrant designs. Follow these steps to prepare your ribbons effectively:
Cleaning the Ribbon
Before starting, ensure your silk ribbon is clean and free from any impurities. Gently hand wash the ribbon using a mild detergent and cold water, then lay it flat to dry. This removes any residues that might interfere with the embroidery process.
Stretching and Securing
Lay the ribbon flat in an embroidery hoop to maintain tension and prevent stretching during stitching. Ensure the ribbon is taut but not overly tight, allowing the fabric to lay smoothly without wrinkles.
Transferring the Design
If using a pre-designed template, transfer the pattern onto the ribbon using a fabric-safe pencil or water-soluble marker. This guides your stitching and ensures accuracy in your design.
By taking these preparatory steps, you set the foundation for a successful embroidery process, ensuring your ribbons absorb the threads uniformly and your designs come out beautifully.
What Are the Basic Stitches for Ribbon Embroidery?
Mastering basic stitches is essential for creating intricate and beautiful ribbon embroidery designs. Here are some fundamental stitches to get you started:
Running Stitch
A simple and versatile stitch used for outlining and filling small areas. It involves making a series of straight stitches in a continuous line, ideal for creating detailed patterns.
Backstitch
Provides a strong and defined line, perfect for outlining shapes and adding structure to your designs. The backstitch creates a solid line that stands out against the ribbon’s sheen.
Satin Stitch
Used to fill shapes with a smooth, even texture. This stitch is ideal for adding depth and dimension to your embroidery, creating a rich, lustrous finish on the ribbon.
French Knot
Adds decorative dots to your design, enhancing texture and visual interest. French knots are perfect for creating floral patterns and other intricate details on silk ribbons.
Stem Stitch
Creates a slightly raised, rope-like line that adds a three-dimensional effect to your embroidery. This stitch is excellent for outlining petals, leaves, and other organic shapes.
By mastering these basic stitches, you can create a wide range of embroidery designs on your silk ribbons, enhancing their beauty and sophistication.
How to Use a Machine to Embroider Ribbons?
Machine embroidery offers precision and speed, making it an excellent choice for large-scale or intricate ribbon projects. Here’s how to effectively use a machine to embroider ribbons:
Selecting the Right Machine
Choose an embroidery machine that can handle delicate fabrics like silk and satin. Ensure it has adjustable tension settings and supports fine embroidery threads for optimal results.
Preparing the Ribbon
Secure the ribbon in an embroidery hoop, ensuring it is taut and free from wrinkles. Attach a stabilizer beneath the ribbon to provide a smooth surface and prevent puckering during stitching.
Designing and Digitizing
Create or select an embroidery design and digitize it using embroidery software. Ensure the design is scaled appropriately for your ribbon and adjust the stitch density to suit the fabric’s delicacy.
Stitching Process
Load the ribbon into the machine and start the embroidery process. Monitor the stitching to ensure threads are laying correctly and adjust tension settings if necessary. Use fine needles designed for silk to prevent damage to the fabric.
Finishing Touches
Once the embroidery is complete, gently remove the ribbon from the hoop and trim any excess threads. Remove the stabilizer and lay the ribbon flat to ensure the design remains smooth and crisp.
Machine embroidery allows for consistent and detailed designs, making it ideal for professional and high-volume ribbon projects.
What Are the Best Practices for Hand Embroidery on Ribbons?
Hand embroidery on ribbons requires patience and precision to achieve detailed and beautiful designs. Follow these best practices to ensure successful hand embroidery:
Use High-Quality Threads
Select fine, high-quality embroidery threads that complement the ribbon’s color and texture. Using the right thread ensures vibrant colors and smooth stitches that enhance your design.
Maintain Proper Tension
Keep your stitches even and consistent by maintaining proper tension. Avoid pulling the thread too tight, which can distort the ribbon, or leaving it too loose, which can create gaps in your design.
Secure Your Threads
Secure the beginning and end of your embroidery with small knots or by weaving the thread into the fabric. This prevents unraveling and ensures your design remains intact over time.
Work Slowly and Carefully
Take your time with each stitch, especially when working with intricate designs. Precision is key to creating detailed and accurate embroidery on delicate ribbons.
Use a Lightbox or Tracing Paper
For complex designs, use a lightbox or tracing paper to transfer your pattern onto the ribbon. This helps maintain accuracy and consistency throughout your embroidery work.
By following these best practices, you can create stunning hand-embroidered designs on silk ribbons, adding a personal and artistic touch to your projects.
How to Incorporate Designs into Ribbon Embroidery?
Incorporating designs into your ribbon embroidery involves careful planning and execution to ensure your patterns are accurately and beautifully represented. Here’s how to effectively integrate designs into your embroidery work:
Selecting the Right Design
Choose designs that complement the ribbon’s width and texture. Intricate patterns work well on wider ribbons, while simpler designs are better suited for narrower ribbons. Consider the final application of the ribbon to ensure the design aligns with your project’s theme.
Transferring the Design
Use a water-soluble marker or fabric-safe pencil to transfer your design onto the ribbon. For more complex patterns, consider using tracing paper or a lightbox to ensure precision and accuracy.
Planning Your Stitches
Map out your stitches according to the design, deciding where to use different stitch types for optimal effect. Plan the flow of your embroidery to maintain consistency and prevent overlapping or gaps in your design.
Adding Depth and Dimension
Incorporate shading and layering techniques to add depth and dimension to your embroidery. Use varying stitch densities and directions to create a three-dimensional effect that enhances the overall design.
Finalizing the Design
Once you’ve completed the embroidery, gently press the ribbon with a cool iron to set the stitches and smooth out any minor wrinkles. Trim any excess threads and ensure the design is clean and polished.
By thoughtfully incorporating designs into your ribbon embroidery, you can create intricate and visually appealing patterns that elevate the beauty of your silk ribbons.
What Are Common Mistakes to Avoid in Ribbon Embroidery?
Ribbon embroidery is a delicate craft that requires attention to detail and precision. Avoiding common mistakes can significantly improve the quality of your embroidery work. Here are some pitfalls to watch out for:
Over-Tight Stitching
Pulling the thread too tight can distort the ribbon, causing it to pucker or warp. Maintain even tension to ensure your stitches lie flat and smooth on the ribbon’s surface.
Using the Wrong Thread
Using heavy or coarse threads can weigh down the ribbon, making it stiff and prone to fraying. Opt for fine embroidery threads that complement the silk ribbon’s delicate texture.
Ignoring Stabilizers
Skipping the use of a stabilizer can lead to puckering and uneven stitches. Always use a suitable stabilizer to provide a stable surface for your embroidery work.
Rushing the Process
Embroidery requires patience and meticulous attention to detail. Rushing can result in uneven stitches, missed areas, and overall poor-quality designs.
Inconsistent Stitches
Maintaining consistent stitch size and spacing is crucial for a professional-looking embroidery. Varying your stitches can make the design appear messy and unpolished.
Improper Handling
Handling the ribbon too roughly can cause damage and disrupt the embroidery pattern. Handle your ribbons gently, especially when moving or adjusting them during the embroidery process.
By being aware of these common mistakes and taking steps to avoid them, you can enhance the quality and beauty of your ribbon embroidery projects.
Frequently Asked Questions
What type of needle is best for ribbon embroidery?
For ribbon embroidery, use fine embroidery needles such as size 7 or 8. These needles have smaller eyes, making them ideal for working with delicate silk ribbons and fine threads.
Can I use machine embroidery for narrow ribbons?
Yes, machine embroidery can be used for narrow ribbons, but it requires careful setup. Use a smaller hoop and adjust the tension settings to accommodate the ribbon’s width, ensuring precise and detailed stitching.
How do I prevent thread from breaking during ribbon embroidery?
To prevent thread breakage, ensure you’re using high-quality, strong embroidery threads and that your needle is sharp and appropriate for the ribbon’s thickness. Avoid excessive pulling and maintain proper tension to reduce stress on the threads.
Is it necessary to iron ribbons after embroidery?
Yes, lightly ironing ribbons after embroidery helps set the stitches and smooth out any minor wrinkles. Use a low heat setting and a pressing cloth to protect the ribbon from direct heat.
How can I create multi-colored designs on ribbons?
Create multi-colored designs by switching embroidery threads as you work. Plan your color palette in advance and ensure smooth transitions between colors to maintain the design’s integrity and vibrancy.
What is the best way to store embroidered ribbons?
Store embroidered ribbons in a cool, dry place away from direct sunlight. Use flat storage methods or gently roll the ribbons to prevent creasing and maintain their smooth texture.
Key Takeaways
- Choose Quality Materials: Select high-quality silk ribbons and fine embroidery threads to ensure vibrant and lasting designs.
- Use Proper Tools: Invest in the right tools, including embroidery needles, hoops, and stabilizers, to facilitate smooth and precise stitching.
- Maintain Even Tension: Keep your stitches consistent and avoid over-tightening to prevent distorting the ribbon.
- Plan Your Design: Carefully transfer and plan your embroidery design to ensure accuracy and consistency throughout your project.
- Practice Basic Stitches: Master fundamental embroidery stitches like running stitch, backstitch, and satin stitch to build a strong foundation for intricate designs.
- Handle with Care: Gently handle your ribbons to avoid damage and maintain their delicate texture and sheen.
- Iron Properly: Use low heat settings and a pressing cloth to set your embroidery without damaging the silk ribbon.
- Avoid Common Mistakes: Be mindful of over-tight stitching, improper thread use, and rushing the embroidery process to enhance the quality of your work.
- Customize Thoughtfully: Incorporate multi-colored designs and unique patterns to personalize your ribbon embroidery projects.
- Store Correctly: Proper storage techniques preserve the beauty and integrity of your embroidered ribbons for future use.
By adhering to these guidelines, you can create stunning, professional-quality ribbon embroidery that enhances your products and impresses your clients.
