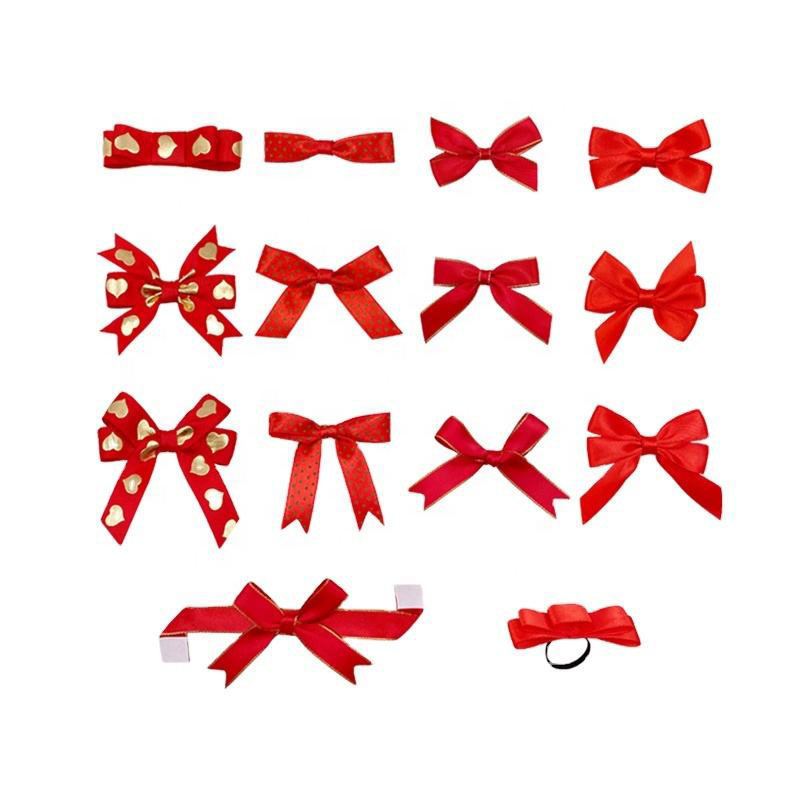
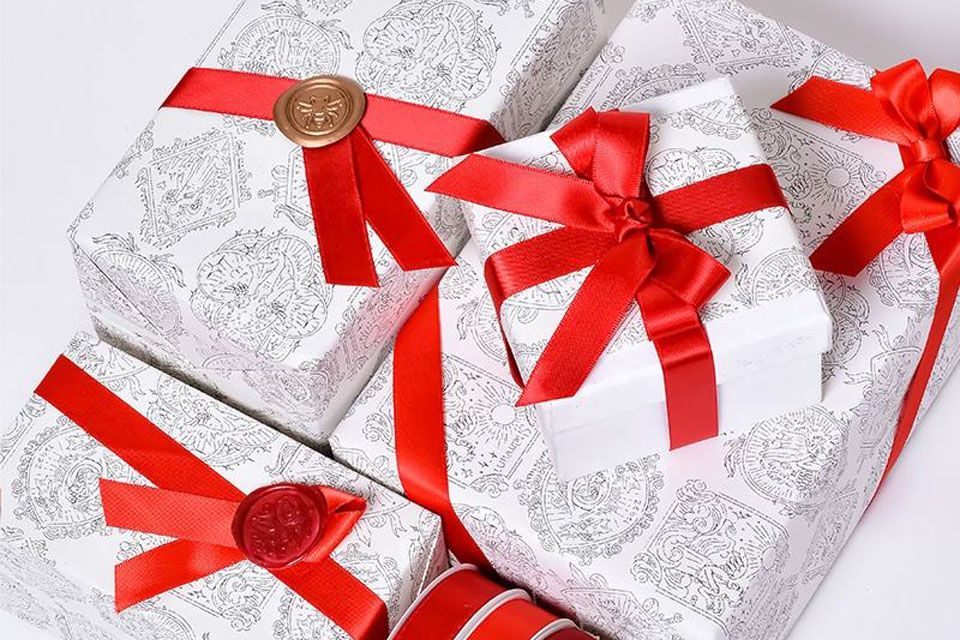
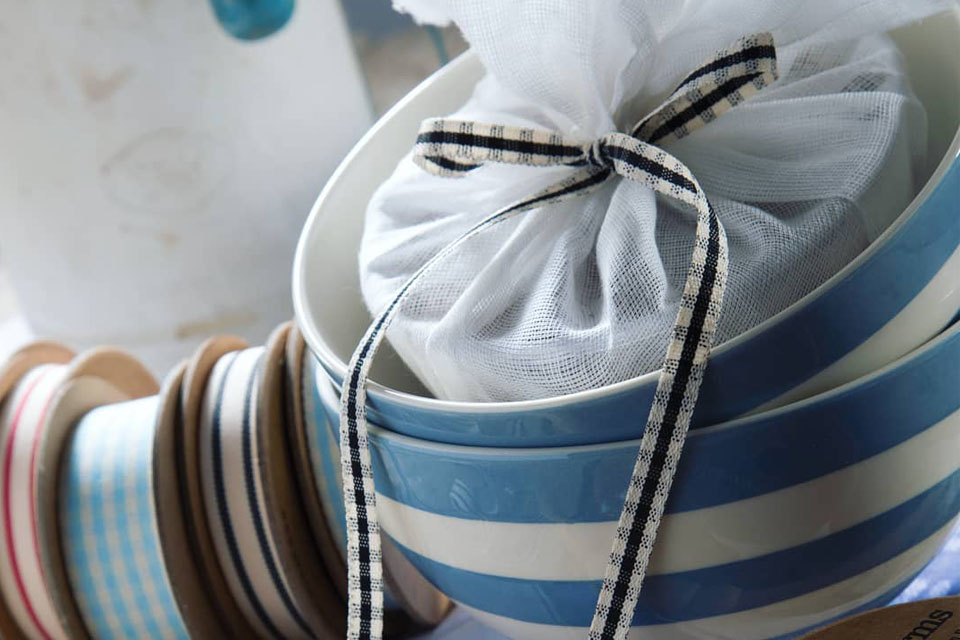
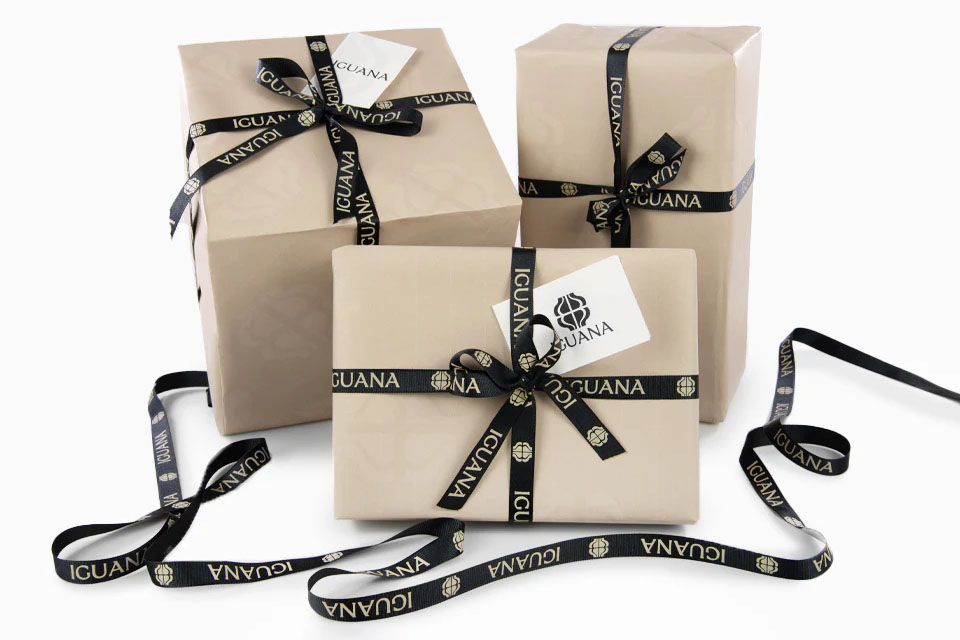
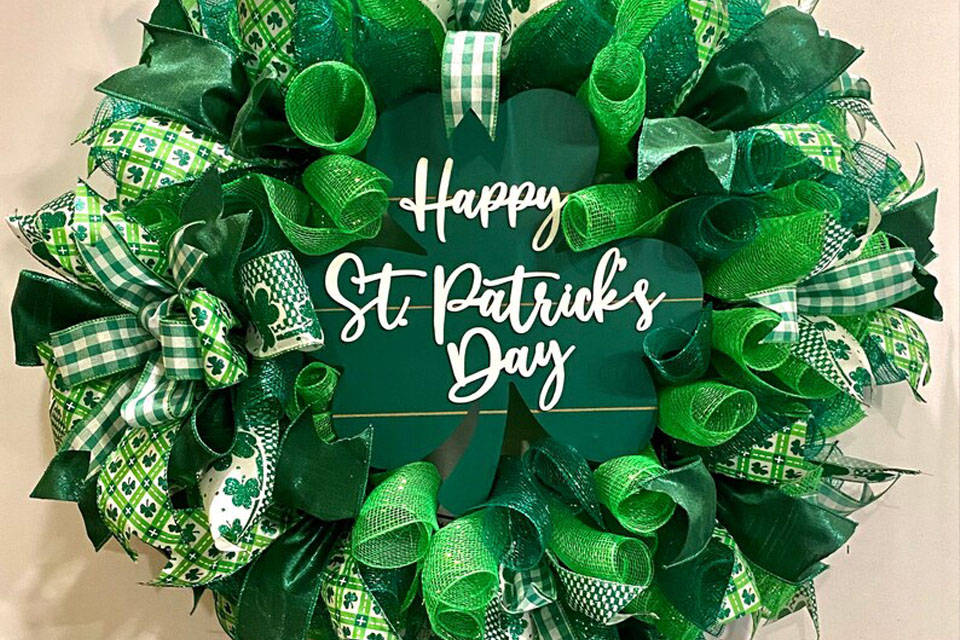
Whether you’re a seasoned tailor, a DIY enthusiast, or a professional decorator, understanding the techniques and best practices for sewing with ribbons can elevate your projects to new heights. This comprehensive guide explores various methods, tools, and tips to help you seamlessly integrate ribbons into your sewing endeavors, ensuring beautiful and durable results.
What Types of Ribbons Are Best for Sewing?
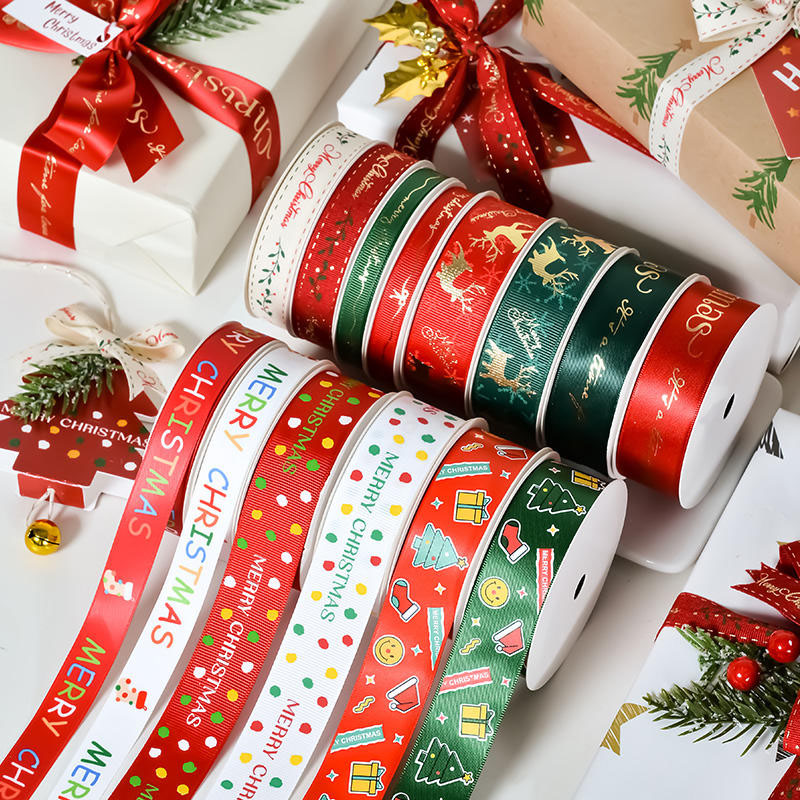
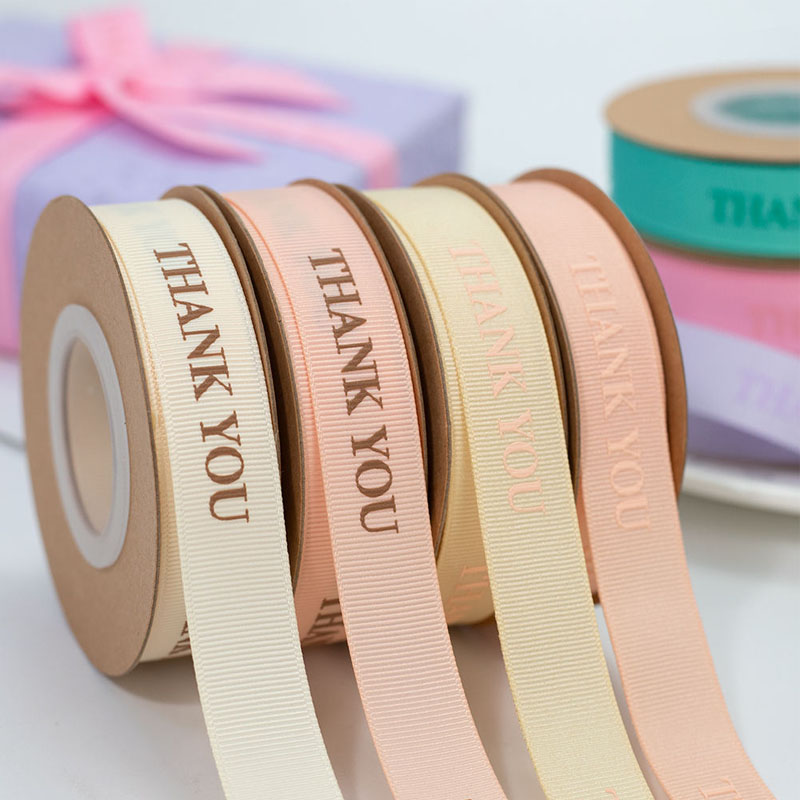
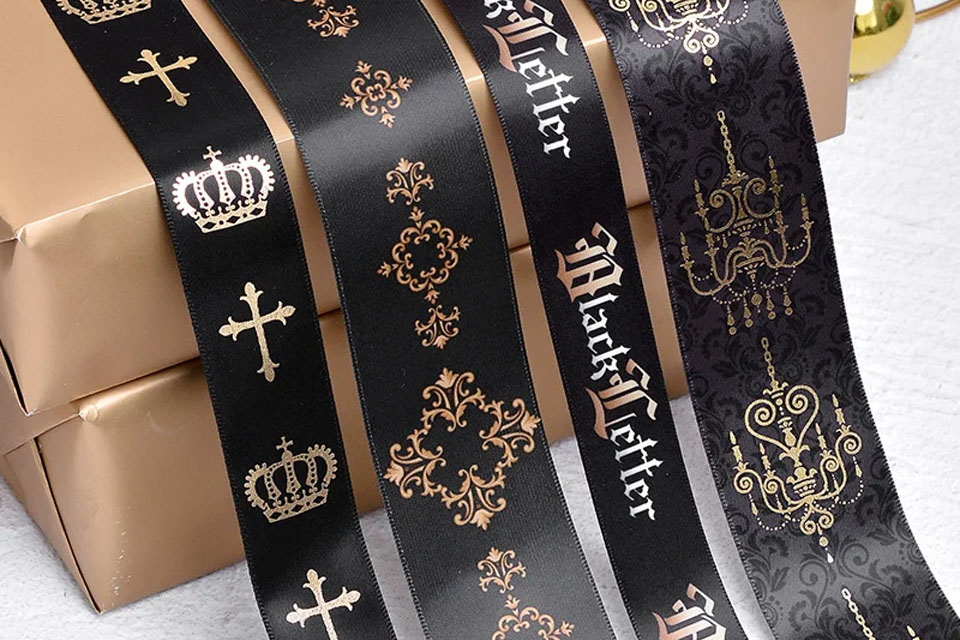
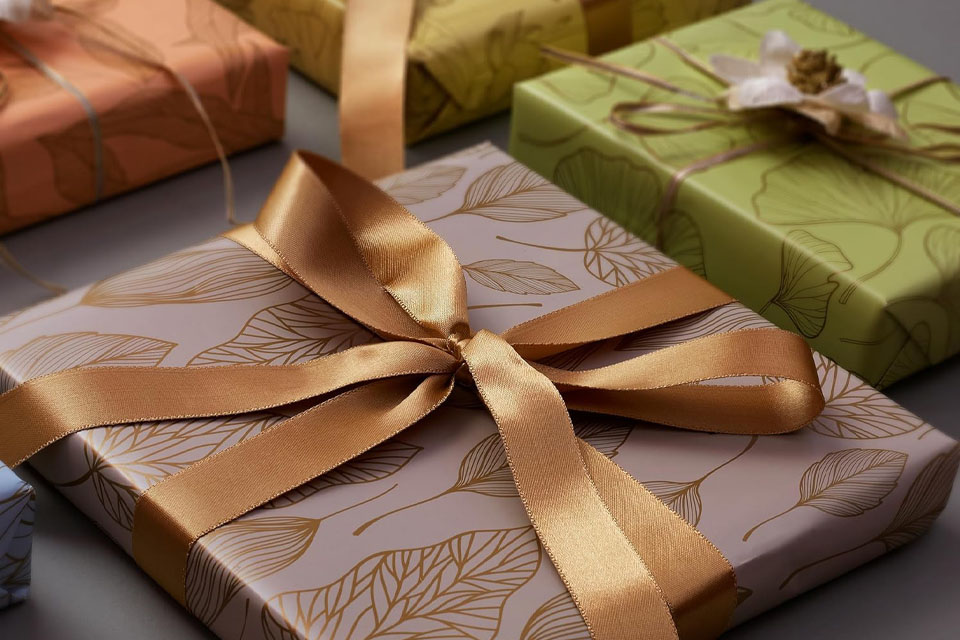
Choosing the right type of ribbon is crucial for achieving the desired look and durability in your projects. Satin ribbons are a popular choice due to their smooth texture and glossy finish, making them ideal for both decorative and functional applications. Polyester satin ribbons are particularly favored for their durability and resistance to fraying, ensuring long-lasting embellishments.
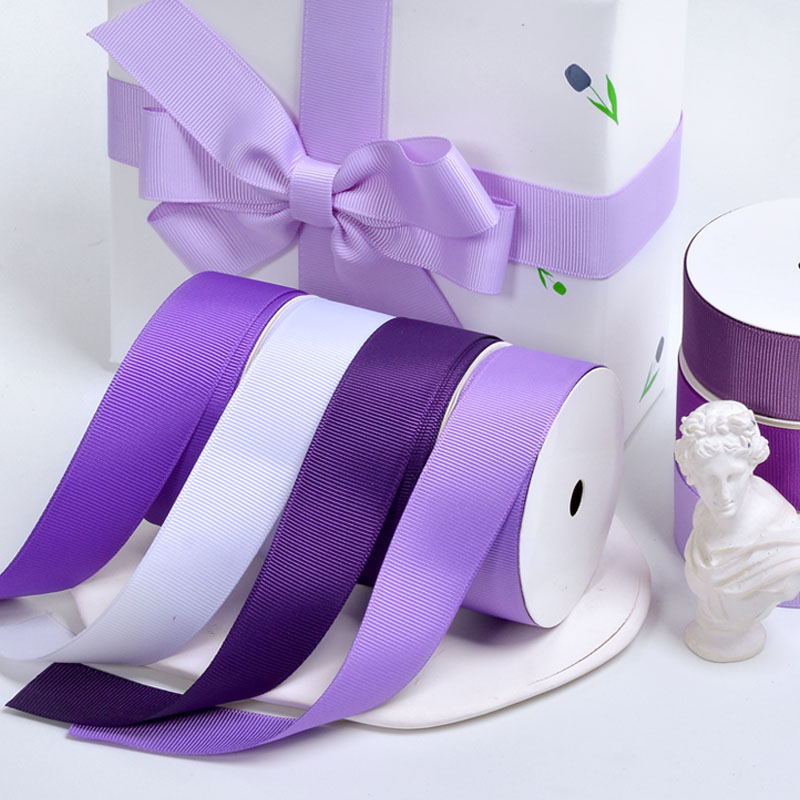
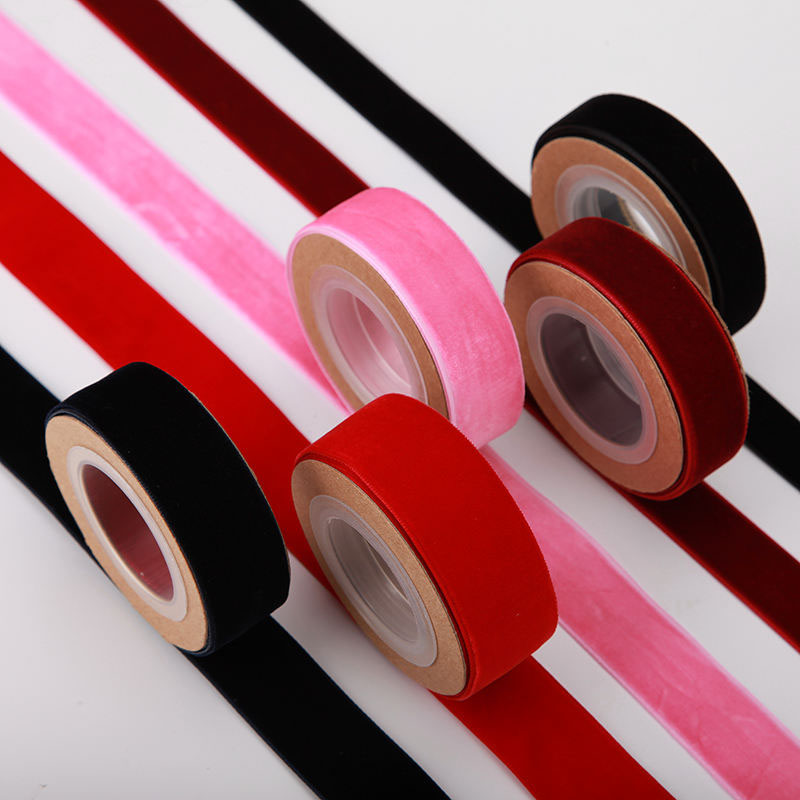
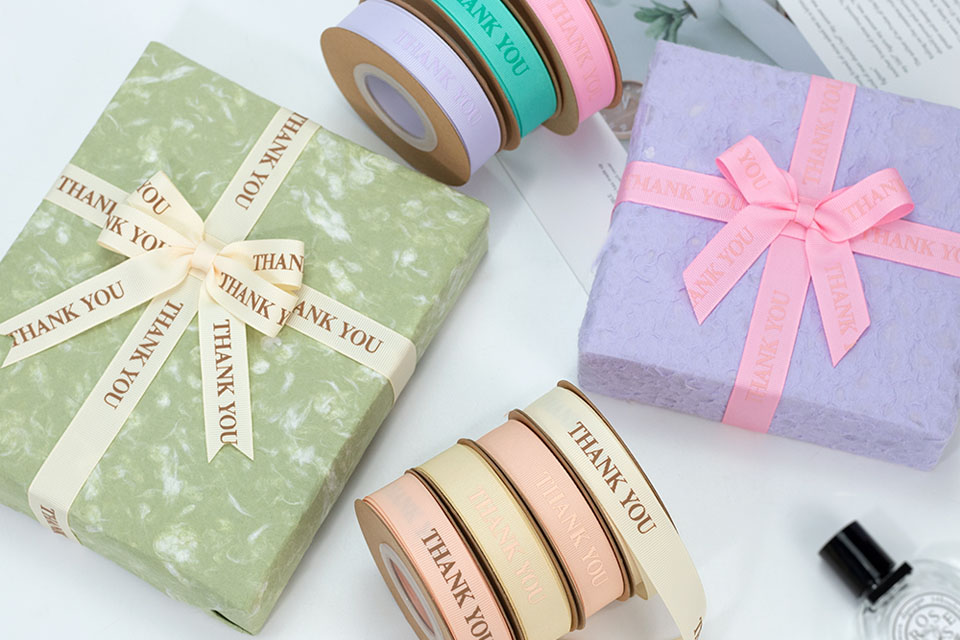
Grosgrain ribbons offer a ribbed texture, providing a sturdy option for bows and trims that require structure. Velvet ribbons add a rich, luxurious feel, perfect for upscale projects and festive decorations. When selecting ribbons, consider the width and color that best complement your fabric and design intentions.
Pro Tip: Opt for double-faced satin ribbons for projects requiring both sides to display color and design, enhancing the overall aesthetic appeal.
How to Choose the Right Stitch for Sewing Ribbons?
Selecting the appropriate stitch is essential for securing ribbons without compromising their appearance. The zigzag stitch is highly recommended for sewing ribbons onto fabric as it provides flexibility and strength, preventing the ribbon from fraying and maintaining a neat finish. Straight stitches can also be used for simpler applications but may not offer the same level of durability.
For delicate projects, consider using a fine needle and lightweight thread to minimize fabric distortion and ensure a smooth attachment. When working with wider ribbons, a triple straight stitch can offer additional security, especially for items that will undergo frequent handling.
Expert Insight: “The key to successful ribbon stitching lies in selecting the right stitch type and maintaining consistent tension,” says a professional seamstress. “This ensures that the ribbon stays in place and retains its intended shape.”
What Are the Essential Tools for Sewing with Ribbons?
Having the right tools at your disposal can significantly enhance your sewing experience with ribbons. Here are the essential tools you’ll need:
- Sewing Machine: A reliable sewing machine with adjustable settings for different ribbon widths and thicknesses.
- Scissors: Sharp fabric scissors to ensure clean cuts without fraying.
- Pins and Pincushion: To hold ribbons in place while sewing, preventing shifting.
- Measuring Tape: For precise measurements to achieve balanced and symmetrical embellishments.
- Thread: High-quality thread that matches the ribbon color for a seamless look.
- Needles: Fine needles suitable for delicate fabrics and ribbons to prevent snagging.
Additional Tools:
- Embroidery Hoop: Useful for stabilizing fabric when incorporating embroidery with ribbons.
- Fabric Glue: For temporary holding or additional reinforcement in certain projects.
Pro Tip: Keep a dedicated set of tools for ribbon sewing to maintain organization and efficiency in your crafting workspace.
How to Sew Ribbon onto Fabric Seamlessly?
Sewing ribbons onto fabric requires precision to ensure a smooth and professional finish. Follow these steps for a seamless attachment:
Step 1: Preparation
- Measure and Cut: Determine the length of ribbon needed and cut it using sharp scissors to avoid fraying.
- Pin the Ribbon: Place the ribbon on the fabric where you want to attach it and secure it with pins, ensuring it lies flat.
Step 2: Stitching
- Select Stitch Type: Choose a zigzag stitch for flexibility and strength.
- Adjust Settings: Set your sewing machine to a narrow zigzag width to prevent bulkiness.
- Sew Carefully: Stitch along the edge of the ribbon, keeping a consistent distance to maintain neatness.
Step 3: Finishing
- Secure the Ends: Backstitch at the beginning and end of the seam to prevent unraveling.
- Trim Excess Ribbon: Carefully trim any excess ribbon close to the stitches for a tidy appearance.
What Techniques Enhance Ribbon Embellishments?
Enhancing ribbon embellishments can add depth and interest to your projects. Here are some techniques to consider:
Embroidery
Incorporate embroidery along the edges of ribbons to add intricate patterns and textures. Using a machine embroidery feature can streamline the process, allowing for detailed designs that complement the ribbon’s natural beauty.
Layering
Layer multiple ribbons of different widths or colors to create a multi-dimensional effect. This technique is perfect for bows and trims, adding richness and complexity to the overall design.
Adding Beads and Sequins
Embellish ribbons with beads or sequins to introduce sparkle and glamour. Attach these decorative elements using a needle and thread or fabric glue for a secure finish.
Heat Pressing
Utilize a fusible web to adhere ribbons to fabric without sewing. This method is ideal for creating clean and precise embellishments, especially on delicate fabrics.
Creative Idea: Combine embroidery with bead embellishments for a unique and personalized touch, perfect for high-end garments and bespoke decorations.
How to Prevent Ribbon Ends from Fraying?
Preventing ribbon ends from fraying is essential for maintaining a polished and professional look. Here are effective methods to secure ribbon ends:
Heat Sealing
Using a lighter or a heat sealer, carefully melt the ends of polyester satin ribbons. This process fuses the fibers, preventing them from unraveling.
Clear Nail Polish
Apply a thin layer of clear nail polish to the cut ends of the ribbon. Allow it to dry completely, creating a protective barrier against fraying.
Fray Stop Liquid
Use a fabric-safe fray stop liquid to coat the ends of the ribbon. This method is quick and effective, suitable for various ribbon types.
Binding with Thread
Sew a small stitch at the end of the ribbon to secure the fibers. This technique adds both strength and durability to the ribbon ends.
Comparison Table:
| Method | Durability | Ease of Use | Suitable Ribbons |
|---|
| Heat Sealing | High | Moderate | Polyester, satin |
| Clear Nail Polish | Medium | Easy | Delicate, fine ribbons |
| Fray Stop Liquid | Medium | Easy | All types |
| Binding with Thread | High | Moderate | Handmade, decorative |
Pro Tip: For the best results, combine heat sealing with a final trim using sharp scissors to ensure a smooth and fray-free finish.
What Are the Best Practices for Machine Sewing with Ribbons?
Machine sewing with ribbons can enhance efficiency and consistency in your projects. Follow these best practices to achieve optimal results:
Use a Fine Needle
Select a fine needle suitable for delicate fabrics and ribbons. This prevents snagging and ensures smooth stitching.
Adjust Machine Tension
Proper tension settings are crucial for balanced stitches. Test your settings on a scrap piece of fabric with ribbon to ensure even stitching without puckering.
Choose the Right Thread
Use lightweight thread that matches the ribbon color for a seamless appearance. Polyester thread is recommended for its strength and durability.
Sew Slowly and Carefully
Maintain a steady pace to ensure accurate stitching. Rushing can lead to uneven seams and frayed edges.
Use a Walking Foot
A walking foot attachment helps feed the ribbon evenly through the machine, preventing bunching and ensuring smooth stitches.
Pro Tip: Regularly clean and maintain your sewing machine to prevent thread jams and ensure consistent performance when working with ribbons.
How to Incorporate Embroidery with Ribbons?
Incorporating embroidery with ribbons can add intricate designs and personalized touches to your projects. Here’s how to seamlessly blend the two:
Selecting Embroidery Designs
Choose designs that complement the ribbon’s width and color. Simple patterns like monograms, floral motifs, or geometric shapes work well without overwhelming the ribbon.
Stabilizing the Fabric
Use an embroidery hoop to keep the fabric taut while stitching. This ensures precise embroidery and prevents the ribbon from shifting.
Choosing Embroidery Thread
Select threads that contrast or complement the ribbon color. Polyester embroidery threads are durable and provide vibrant color options.
Stitching Techniques
Utilize stitches like the zigzag stitch, backstitch, or satin stitch to create defined and detailed embroidery on the ribbon.
Creative Idea: Embroider small symbols or initials onto ribbons used for personal gifts, adding a unique and thoughtful touch.
What Are Common Mistakes to Avoid When Sewing with Ribbons?
Avoiding common mistakes can save time and enhance the quality of your projects. Here are pitfalls to watch out for:
Overstretching the Ribbon
Stretching the ribbon too tightly while sewing can distort its shape and weaken the fibers. Handle ribbons gently and avoid pulling them taut.
Using the Wrong Stitch
Selecting an inappropriate stitch type can result in weak seams or bulky attachments. Stick to recommended stitches like zigzag for flexibility and strength.
Ignoring Fabric Compatibility
Not all fabrics work well with ribbons. Ensure that the fabric and ribbon are compatible in terms of weight and texture to prevent puckering or slipping.
Poor Cutting Techniques
Using dull scissors can fray ribbon edges prematurely. Always use sharp fabric scissors to make clean cuts.
Pro Tip: Test your sewing settings on a scrap piece of fabric with ribbon to identify and correct any issues before starting your main project.
FAQs
What types of ribbons are best for custom sewing projects?
Polyester satin ribbons are ideal for custom sewing projects due to their durability and smooth surface, which allows for easy stitching and vibrant embellishments. Grosgrain ribbons are also popular for their ribbed texture, providing a sturdy option for bows and trims.
How can I personalize satin ribbon for my crafts?
You can personalize satin ribbon by sewing your initials, logos, or unique patterns directly onto the ribbon. Incorporating embroidery or adding decorative elements like beads and sequins also enhances personalization, making your crafts stand out.
Can I sew ribbons onto both sides of the fabric?
Yes, you can sew ribbons onto both sides of the fabric. Ensure that the stitches are neat and secure to prevent the ribbons from shifting. Using a zigzag stitch provides flexibility and durability, making it suitable for both sides.
How do I maintain the quality of sewn ribbons over time?
To maintain the quality of sewn ribbons, handle them gently to prevent stretching and fraying. Store them in a dry, cool place away from direct sunlight to preserve their color and texture. Regularly inspect sewn ribbons for any signs of wear and address issues promptly.
What are the best sewing techniques for intricate ribbon designs?
For intricate ribbon designs, use a zigzag stitch for flexibility and strength. Incorporating machine embroidery techniques can add detailed patterns and textures, enhancing the complexity and beauty of your ribbon designs.
Summary
- Choose the Right Ribbon: Opt for high-quality polyester satin or grosgrain ribbons for durability and smooth stitching.
- Select Appropriate Stitches: Use zigzag stitches for flexibility and strength, adjusting machine settings for optimal results.
- Essential Tools: Ensure you have a reliable sewing machine, sharp scissors, fine needles, and high-quality thread.
- Seamless Attachment: Follow precise steps for sewing ribbons onto fabric to achieve a professional and neat finish.
- Enhance Embellishments: Incorporate embroidery, layering, and decorative elements like beads to add depth and interest.
- Prevent Fraying: Secure ribbon ends using heat sealing, clear nail polish, or fray stop liquids to maintain a polished look.
- Machine Sewing Best Practices: Use fine needles, adjust machine tension, and sew slowly for consistent and durable seams.
- Incorporate Embroidery: Blend embroidery with ribbons for personalized and intricate designs.
- Avoid Common Mistakes: Handle ribbons gently, use appropriate stitches, and ensure fabric compatibility to enhance project quality.
- FAQs: Address common questions to guide your ribbon sewing projects effectively.
Embark on your ribbon sewing journey today and transform simple fabrics into stunning creations that add elegance and charm to any setting. Whether you’re enhancing your wardrobe, creating personalized gifts, or designing unique home decor, mastering the art of sewing with ribbons offers endless possibilities for creativity and professional presentation.
