Ultimate Ribbon Tying Tutorial: Step-by-Step Gift Bows

Table of Contents

Summary

Creating the perfect gift presentation can elevate any occasion, making your present unforgettable.

Mastering the art of tying a ribbon is essential for anyone looking to add a personal and professional touch to their gifts. Whether you’re a retail and craft consumer, an event planner, or part of a corporate marketing team, this comprehensive guide will teach you everything you need to know about ribbons, bows, and gift wrapping.

Why is Ribbon Wrapping Important for Gift Presentation?

Ribbon wrapping transforms a simple gift box into a stunning visual statement. It not only enhances the aesthetic appeal but also conveys thoughtfulness and care. A beautifully tied ribbon can make your gift stand out, leaving a lasting impression on the recipient.

Moreover, ribbon wrapping is versatile and can be tailored to fit any occasion, whether it’s a birthday, wedding, corporate event, or holiday celebration. By mastering ribbon tying, you can ensure that your gifts always look professionally wrapped, regardless of the size or shape of the box.

What Are the Different Types of Ribbons?

Choosing the right type of ribbon is crucial for achieving the desired look and feel of your gift packaging. Here are some popular ribbon types:

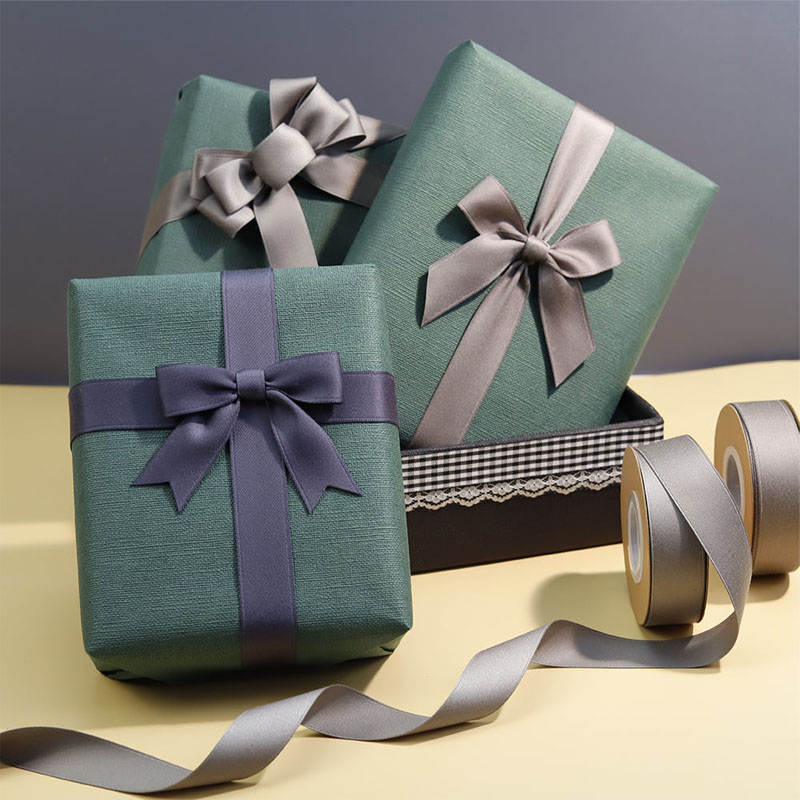
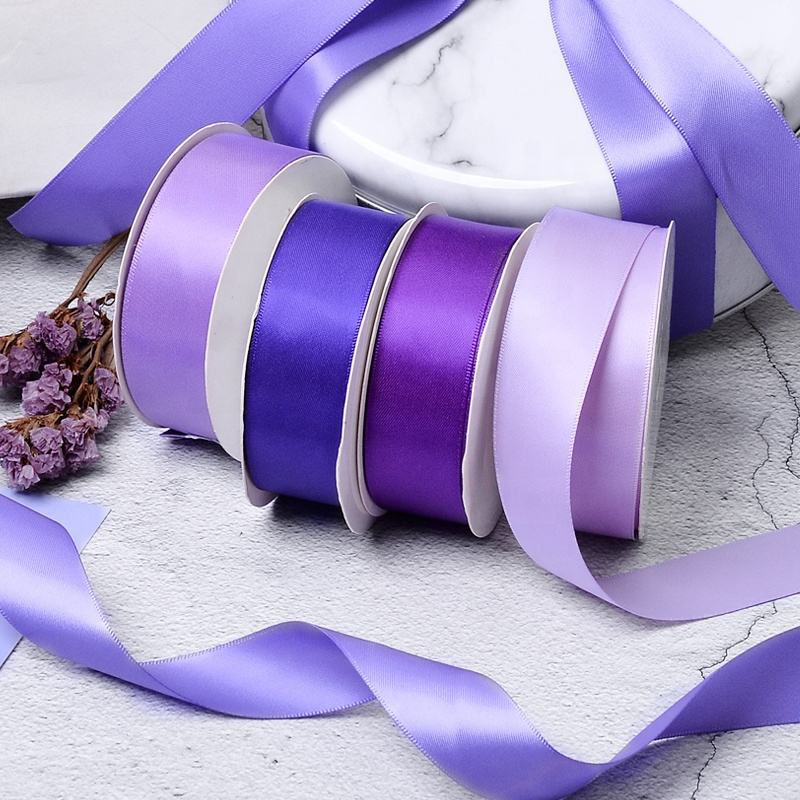
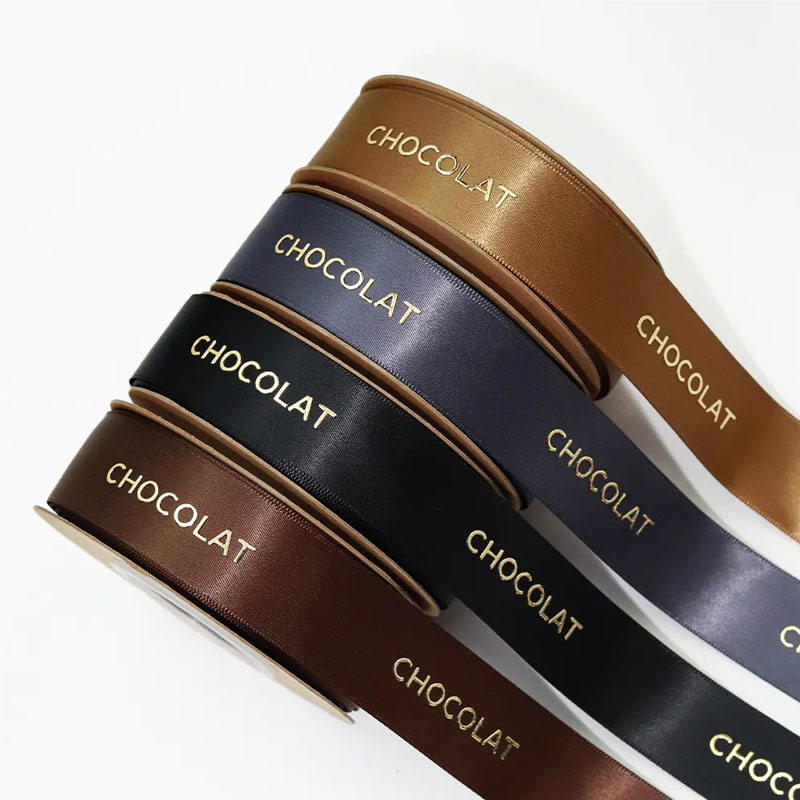
  • Satin Ribbon: Smooth and glossy, ideal for elegant and sophisticated bows.
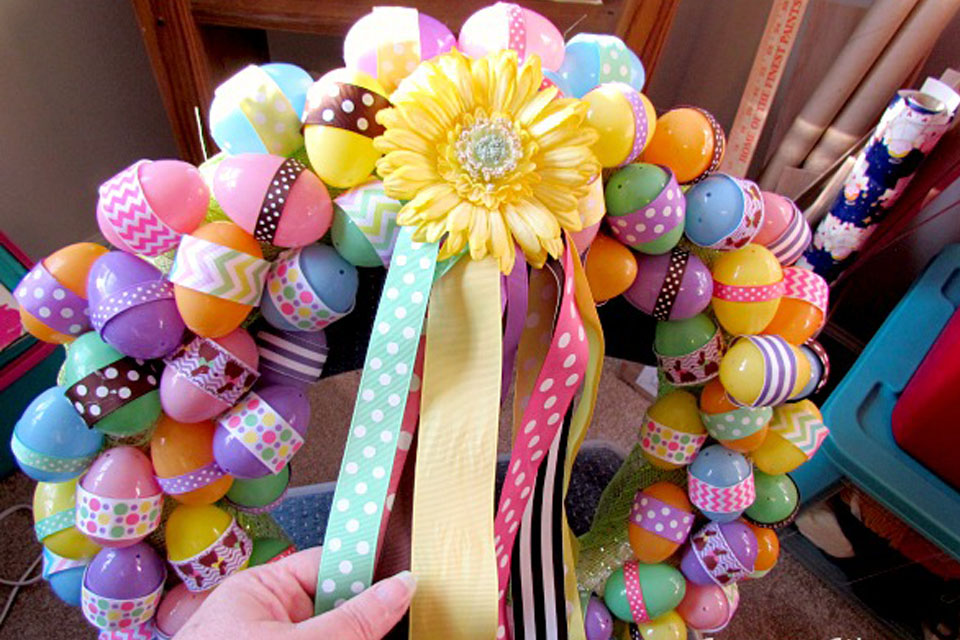
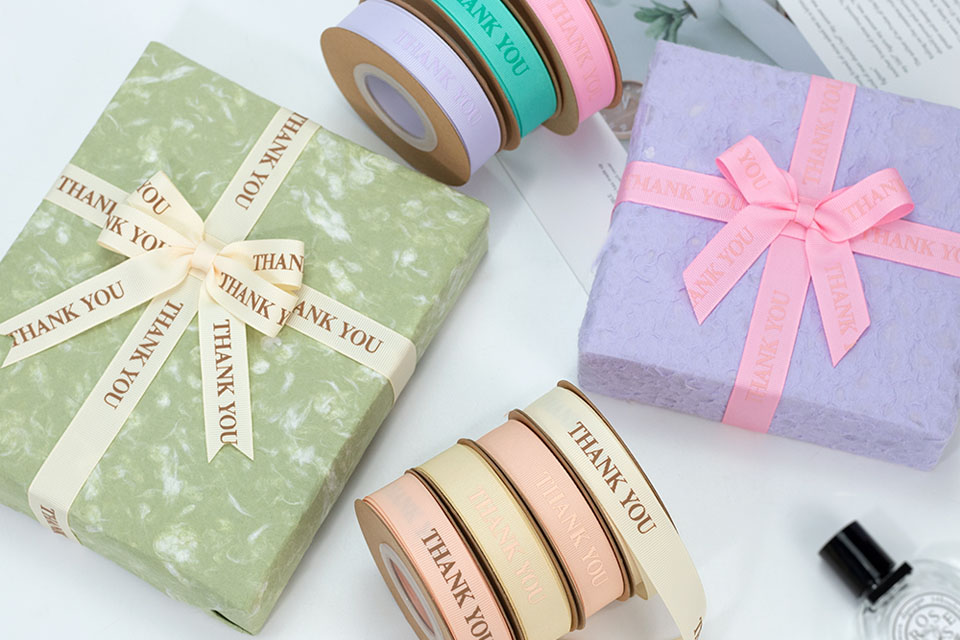
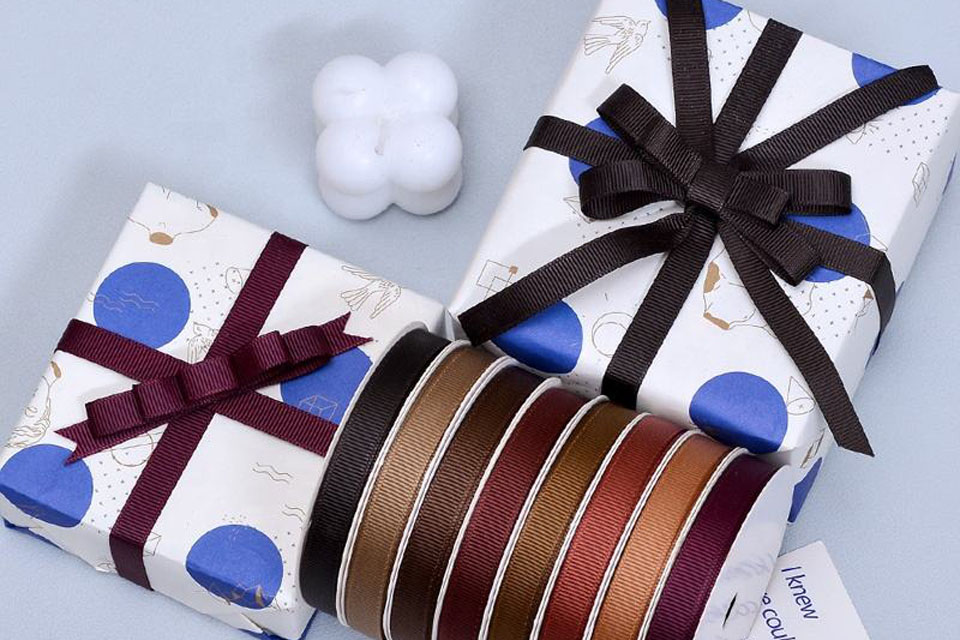
  • Grosgrain Ribbon: Features a ribbed texture, perfect for more casual or vintage-inspired wraps.
  • Velvet Ribbon: Luxurious and soft, great for high-end gifts or special occasions.
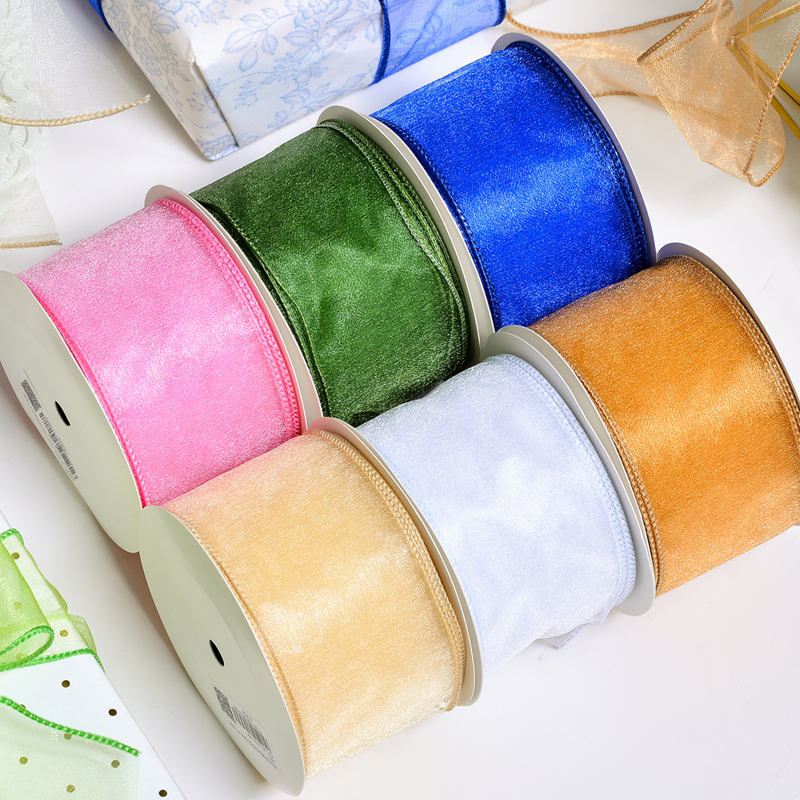
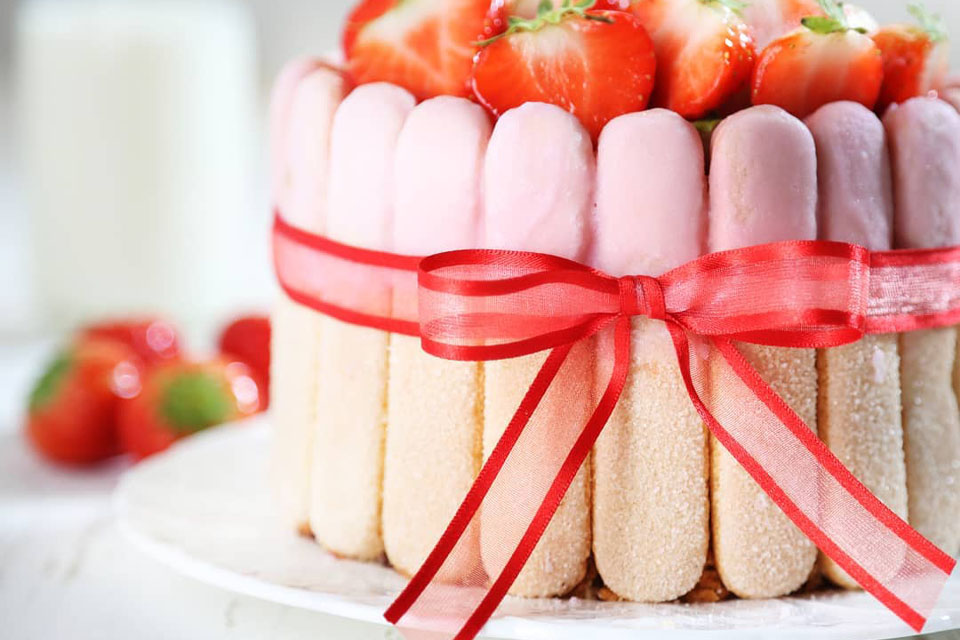
  • Organza Ribbon: Sheer and lightweight, adding a delicate touch to your gift presentation.
  • Cotton Ribbon: Durable and versatile, suitable for everyday gifting needs.

Each ribbon type offers unique characteristics that can enhance your gift wrapping in different ways. Understanding these differences will help you select the perfect ribbon for any situation.

How to Choose the Right Type of Ribbon for Your Gift

Selecting the appropriate ribbon type depends on several factors:

  1. Occasion: Formal events like weddings or corporate gifts often require satin or velvet ribbons, while casual celebrations may benefit from grosgrain or cotton ribbons.
  2. Color Scheme: Choose a ribbon color that complements the wrapping paper and the occasion’s theme.
  3. Texture and Thickness: Thicker ribbons like velvet provide a bold look, whereas lighter ribbons like organza offer a more subtle touch.
  4. Functionality: Wired ribbons allow for easy shaping of bows, while non-wired ribbons are better suited for simple ties.

By considering these factors, you can ensure that your ribbon choice enhances the overall presentation of your gift.

What Are the Best Ways to Tie a Ribbon Around a Gift Box?

Tying a ribbon around a gift box can be done in several stylish ways:

  • Classic Bow: Universally recognized and perfect for any occasion.
  • Diagonal Bow: Adds a unique twist, making your gift stand out.
  • Ribbon Loop: Simple and elegant, suitable for minimalist wraps.
  • Multiple Loops: Creates a fuller, more decorative appearance.

Each method offers a different aesthetic, allowing you to tailor your gift wrapping to your personal style or the event’s theme.

Step-by-Step Tutorial: How to Tie a Classic Bow

Creating a classic bow is straightforward and requires just a few simple steps. Follow this easy tutorial to achieve a perfect bow every time.

Materials Needed

  • Ribbon of your choice
  • Scissors
  • Double-sided tape or glue dots

Instructions

  1. Measure the Ribbon: Cut a piece of ribbon long enough to wrap around your gift box with some excess for tying.
  2. Wrap the Ribbon Around the Box: Place the ribbon under the box, bringing both ends to the top.
  3. Create Loops: Fold each end of the ribbon into loops, making sure they are equal in size.
  4. Tie the Knots: Cross the loops and tie them into a knot, forming the bow.
  5. Adjust the Bow: Fluff the loops and arrange them neatly for a polished look.
  6. Secure the Bow: Use double-sided tape or glue dots to attach the bow firmly to the box.

Classic Ribbon Bow

By following these steps, you can create a beautiful classic bow that enhances any gift box.

How to Create a Diagonal Bow for Your Gift Packaging

A diagonal bow offers a stylish variation to the traditional bow, adding an elegant flair to your gift wrapping. Here’s how to tie one:

Steps to Tie a Diagonal Bow

  1. Cut the Ribbon: Ensure the ribbon is long enough to go around the box diagonally.
  2. Position the Ribbon: Place the center of the ribbon at one corner of the box.
  3. Cross Over Diagonally: Bring the ends of the ribbon to the opposite corner, crossing them diagonally across the box.
  4. Form the Bow: Create loops with each end and tie them together in the center.
  5. Secure and Fluff: Adjust the loops and secure the bow with glue dots if necessary.

A diagonal bow not only looks sophisticated but also adapts well to various gift sizes and shapes.

Tips for Attaching the Bow: Ensuring a Professional Look

Attaching the bow properly is crucial for achieving a professional and polished appearance. Here are some tips to ensure your bow stays in place and looks flawless:

  • Use Quality Adhesives: Double-sided tape or glue dots provide a strong hold without damaging the ribbon.
  • Positioning: Place the bow centered on the top of the box for a balanced look.
  • Symmetry: Ensure both sides of the bow are even and symmetrical.
  • Fluffing: Gently fluff the loops to add volume and enhance the bow’s appearance.
  • Trim Excess Ribbon: Cut the ends of the ribbon at an angle to prevent fraying and maintain a neat look.

Implementing these tips will help your bows look professionally tied and enhance your overall gift presentation.

Handling Excess Ribbon: Cutting and Fluffing Tips

Managing excess ribbon is essential for a tidy and attractive finish. Follow these guidelines to handle excess ribbon effectively:

Cutting the Ribbon

  • Cut at an Angle: Diagonally cutting the ribbon ends prevents fraying and adds a polished edge.
  • Leave Enough Length: Ensure you leave a small amount of ribbon beyond the bow for a graceful drop.

Fluffing the Bow

  • Separate the Loops: Gently pull apart the bow loops to add volume and shape.
  • Adjust the Ends: Make sure the ribbon ends are even and positioned neatly.

By properly cutting and fluffing the excess ribbon, your bow will appear fuller and more refined.

Frequently Asked Questions about Ribbon Tying and Wrapping

How long should the ribbon be for tying a bow on a gift box?

The length of the ribbon depends on the size of the gift box. A general guideline is to use a ribbon length that allows you to wrap around the box with a few extra inches for tying the bow. For example, a medium-sized box typically requires a ribbon around 24-36 inches long.

Yes, mixing different types of ribbons can create a unique and personalized look. For example, combining satin and grosgrain ribbons can add texture and visual interest to your gift wrapping.

The essential tools for ribbon tying include ribbon of your choice, scissors, and adhesives such as double-sided tape or glue dots. Optional tools like ribbon bows or embellishments can further enhance your gift presentation.

To achieve a professional look, ensure that the bow is symmetrical, the loops are evenly fluffed, and the ribbon is securely attached. Using high-quality ribbon and precise cutting techniques also contributes to a polished appearance.

To make your bow more voluminous, ensure you have enough ribbon to create larger loops. After tying the bow, gently pull the loops apart and fluff them to add fullness.

Yes, ribbons can be reused if they are not too worn or damaged. Carefully remove the ribbon from one gift and use it again for another, ensuring it still looks fresh and intact.

For heavier gift boxes, thicker ribbons like velvet or grosgrain are more suitable as they provide better support and a sturdier appearance.

Using double-sided tape or glue dots to secure the ribbon can prevent it from slipping. Ensure the ribbon is tightly wrapped around the box before attaching the bow.

Absolutely! Combining different ribbon types, such as satin and organza, can create a unique and visually appealing gift presentation.

Why Choose RibbonOEM for Your Ribbon Needs?

RibbonOEM is your premier destination for high-quality ribbons tailored to your specific needs. Here’s why you should partner with us:

  • Wide Selection: We offer a diverse range of ribbons, including satin, grosgrain, velvet, organza, and cotton, ensuring you find the perfect match for any occasion.
  • Customization: From custom-printed ribbons to unique sizes and colors, we cater to your unique packaging requirements.
  • Wholesale Options: Ideal for businesses, our wholesale distribution ensures you receive top-quality ribbons at competitive prices.
  • Sustainability: We prioritize eco-friendly materials, offering recycled and sustainable ribbon options for environmentally conscious customers.
  • Expert Support: Our team of experts is dedicated to helping you select the right ribbon and providing tips for perfect ribbon tying and gift wrapping.

Discover more about our offerings with Satin Ribbons and Grosgrain Ribbons. Whether you’re a retail consumer or a wholesale distributor, RibbonOEM has the perfect ribbon solutions for you.

Conclusion

Mastering ribbon tying can significantly enhance your gift presentations, making them more beautiful and meaningful. By understanding the different types of ribbons, choosing the right one for your occasion, and applying effective tying techniques, you can create stunning bow-based decorations for any gift box. Whether you’re a craft enthusiast, event planner, or part of a corporate marketing team, RibbonOEM offers the perfect ribbon solutions to meet your needs. Elevate your gifting game today with our high-quality, customizable ribbons.

Key Takeaways

  • Ribbon Wrapping Enhances Gifts: Adds elegance and conveys thoughtfulness.
  • Various Ribbon Types Available: Satin, grosgrain, velvet, organza, and cotton each offer unique benefits.
  • Choosing the Right Ribbon: Depends on occasion, color scheme, texture, and functionality.
  • Tying Techniques: Classic and diagonal bows offer versatile styling options.
  • Professional Attachment Tips: Use quality adhesives and ensure symmetry for polished bows.
  • Handling Excess Ribbon: Cut thoughtfully and fluff for a refined finish.
  • RibbonOEM Advantages: Extensive selection, customization, wholesale options, sustainability, and expert support.

Master the art of ribbon tying with this guide and elevate your gift presentations to impress every recipient.

Comments

Learn the latest trends and knowledge from the leading manufacturer in China about ribbon business.
滚动至顶部

Online INQUIRY

We will reply to you in 30 minutes.

Talk to leader

Can’t find what you want? Ask our manager for help directly.

Talk to leader

Can’t find what you want? Ask our manager for help directly.

Talk to leader

Can’t find what you want? Ask our manager for help directly.