How To Make A Ribbon Wreath

Table of Contents

Summary

Creating your own wreath is a delightful way to add a personal touch to your home decor.

In this tutorial, you’ll discover how to craft an easy ribbon wreath using various types of ribbons and burlap. Whether you’re a seasoned DIY enthusiast or a beginner, this step-by-step guide will walk you through the process of making a stunning ribbon wreath perfect for the fall season or any occasion.

What Materials Do You Need to Make a Ribbon Wreath?

Before diving into the creative process, it’s essential to gather all the necessary materials. Having everything on hand ensures a smoother and more enjoyable crafting experience.

Essential Supplies

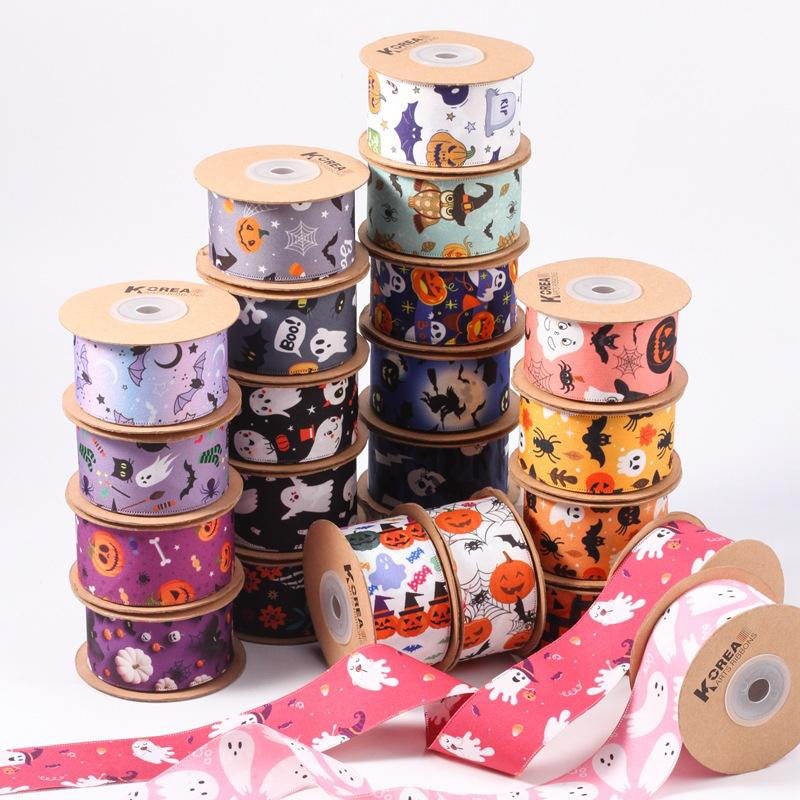
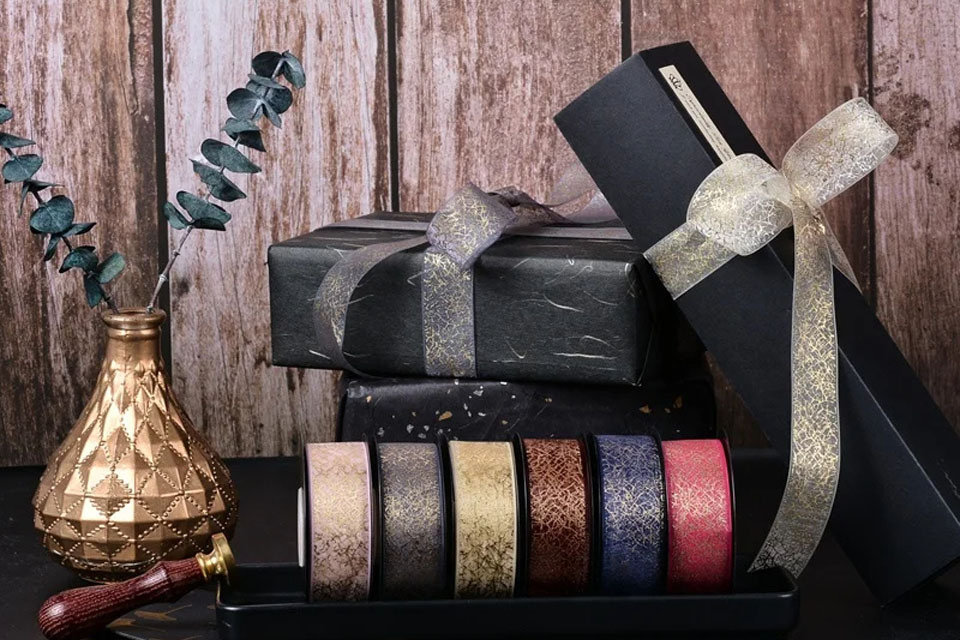
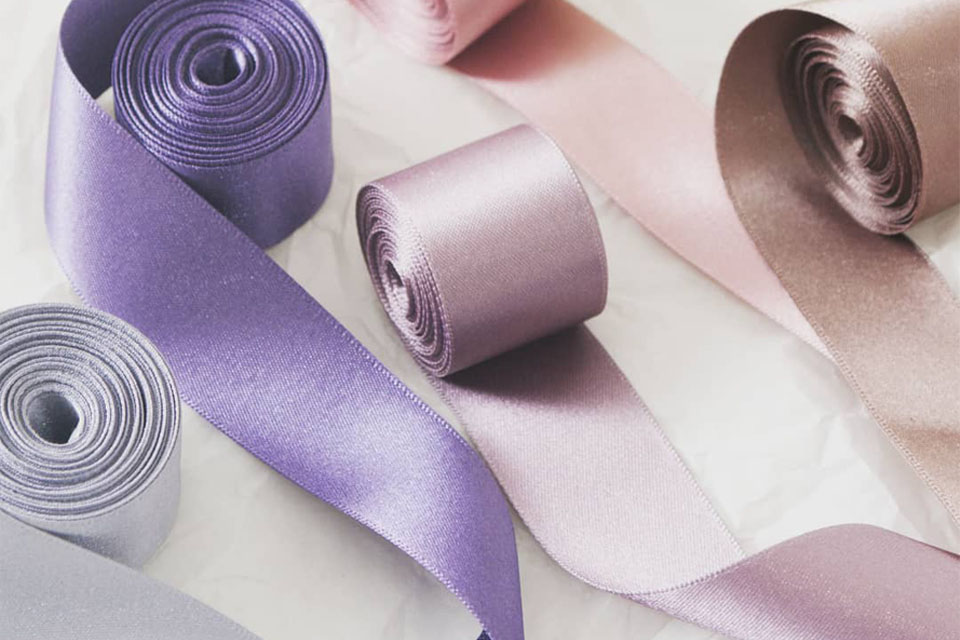
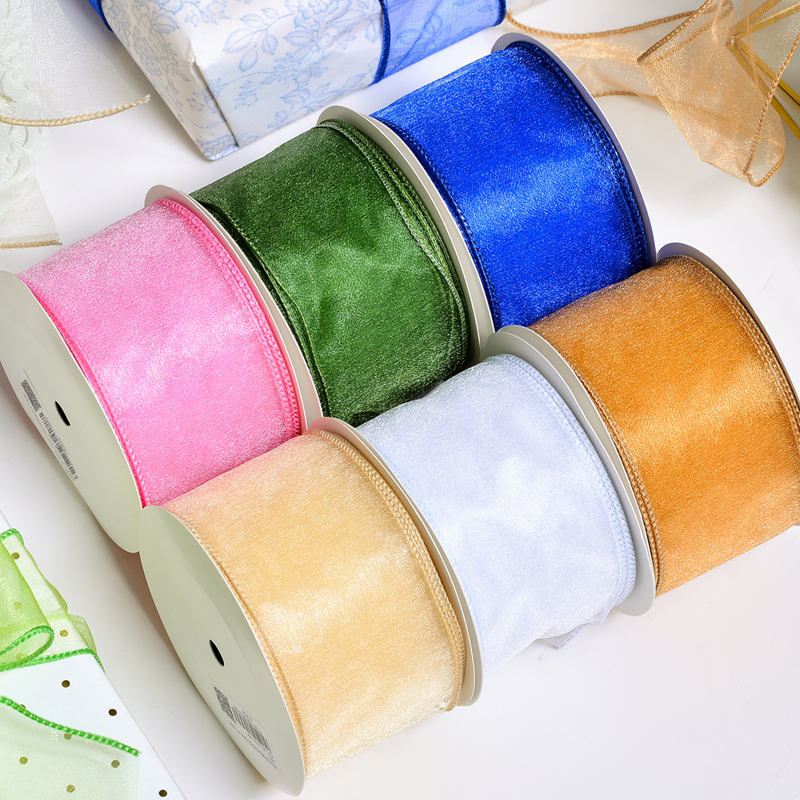
  • Ribbon: Choose a variety of ribbons in different colors, patterns, and widths to add depth and texture to your wreath. Popular choices include satin, grosgrain, and organza ribbons.
  • Wreath Form: You can use a traditional wire wreath frame or opt for a burlap-covered shape for a rustic look.
  • Hot Glue Gun and Glue Sticks: For securing ribbons and other decorative elements.
  • Scissors: Sharp scissors are a must for cleanly cutting ribbons without fraying.
  • Wire Cutters: Useful if you’re working with wired ribbons or need to trim wire wreath forms.
  • Decorative Elements: Consider adding elements like bows, leaves, or seasonal decorations to personalize your wreath.
  • Ribbon Hanger: To attach your wreath securely to your door or wall.

Optional Tools

  • Ribbon Weights: To help straighten and prepare ribbons before attaching them.
  • Measuring Tape: For precise measurements, especially when cutting ribbons to specific lengths.
  • Pins or Clips: To hold ribbons in place temporarily before gluing.

Table 1: Essential Materials for a Ribbon Wreath

MaterialPurpose
RibbonPrimary decorative element
Wreath FormBase structure for the wreath
Hot Glue GunSecuring ribbons and decorations
ScissorsCutting ribbons neatly
Wire CuttersTrimming wire frames and ribbons
Decorative ElementsPersonalizing and enhancing the design
Ribbon HangerDisplaying the finished wreath

How to Choose the Right Ribbons for Your DIY Wreath?

Selecting the appropriate ribbons is crucial for creating a visually appealing wreath. The right ribbons add color, texture, and character to your design.

Consider the Occasion and Season

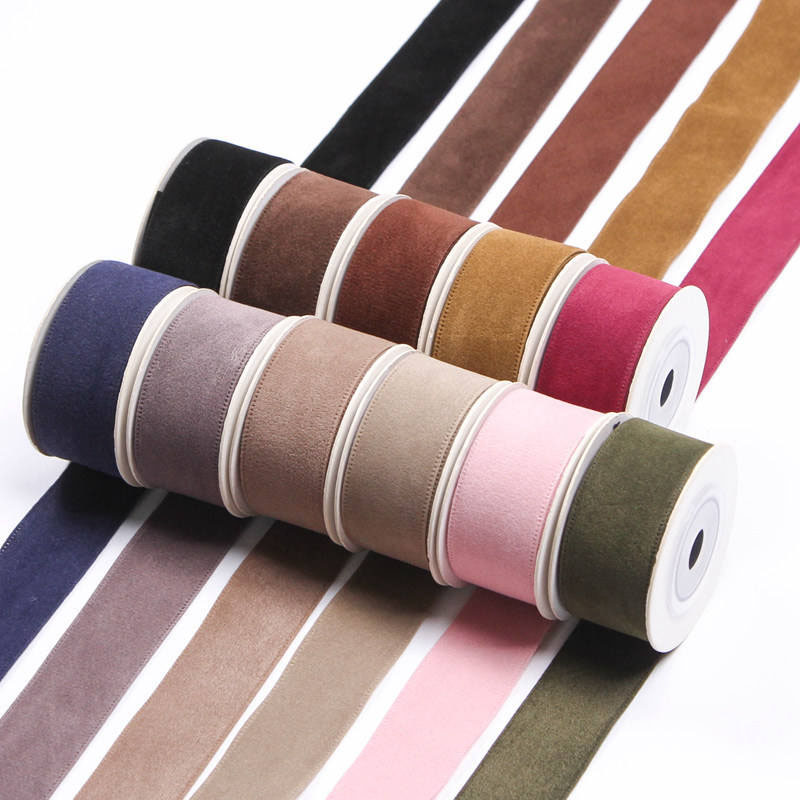
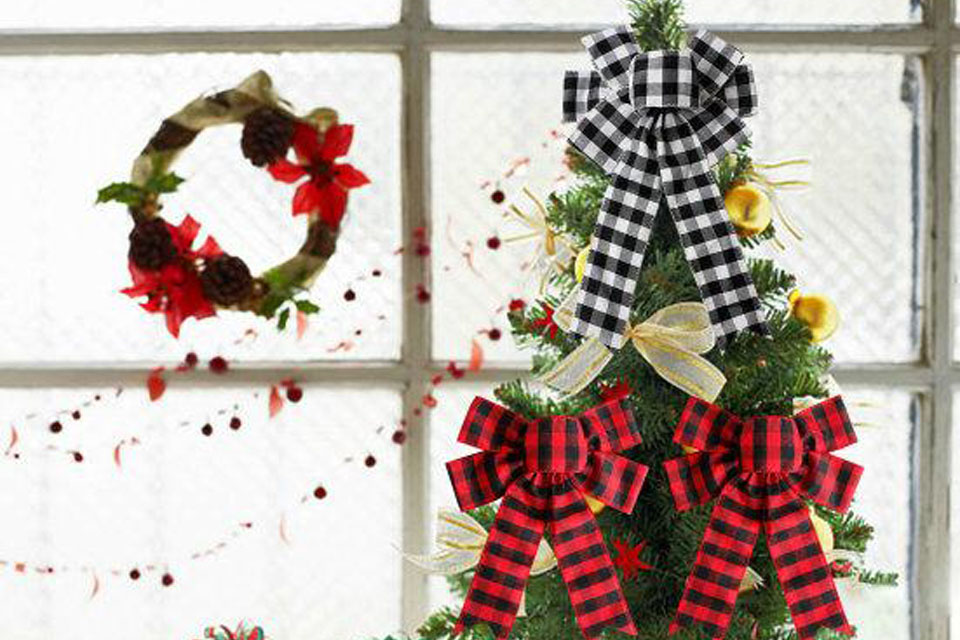
  • Fall Wreaths: Opt for warm colors like orange, red, yellow, and brown. Textured ribbons such as burlap or velvet work beautifully.
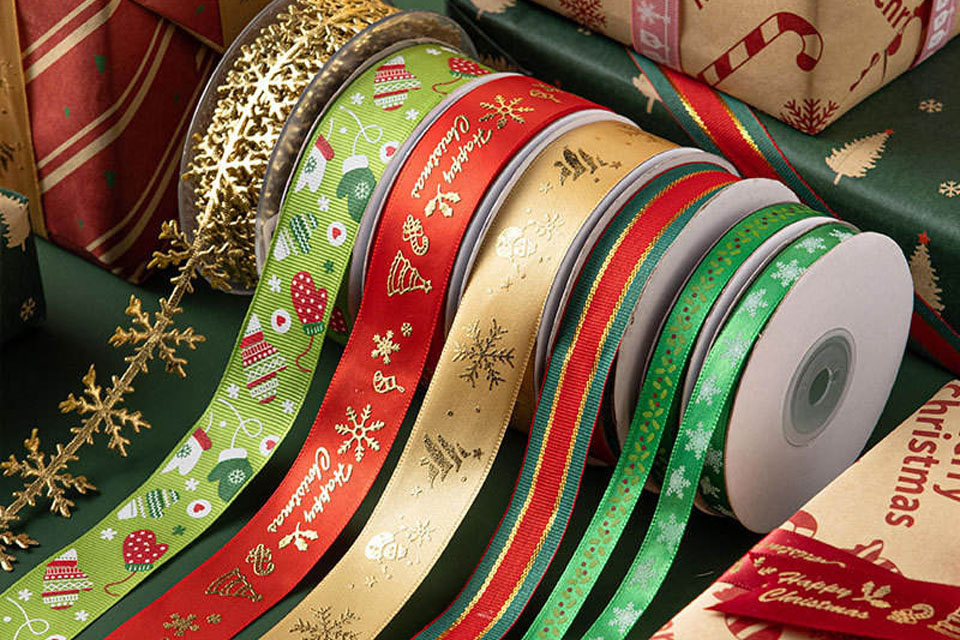
  • Christmas Wreaths: Rich colors like green, red, gold, and silver are traditional. Metallic ribbons can add a festive sparkle.
  • Neutral Decor: Choose ribbons in beige, cream, or white for a minimalist and elegant look.

Mix and Match Patterns and Textures

Combining different ribbon patterns and textures can create depth and interest. For example:

  • Satin and Grosgrain: Mix the smooth sheen of satin with the ribbed texture of grosgrain for a balanced look.
  • Printed and Solid: Pair printed ribbons with solid-colored ones to highlight specific areas of your wreath.
  • Wide and Narrow Ribbons: Varying ribbon widths add dimension and prevent the wreath from looking flat.

Quality Matters

Invest in high-quality ribbons to ensure durability and a professional finish. Cheaper ribbons may fray easily or lose their shape over time.

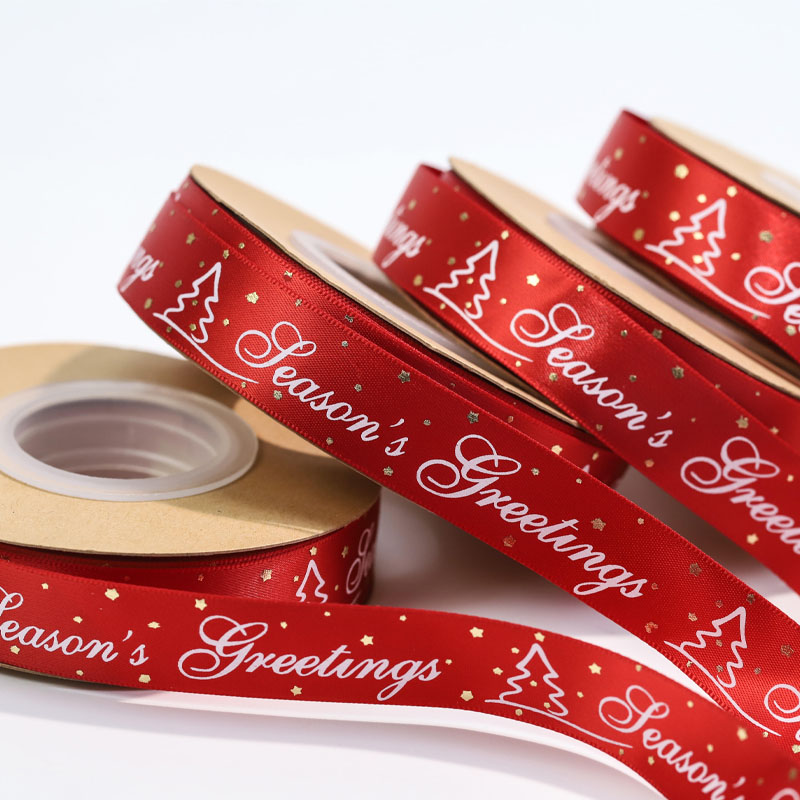
Image Example:
Beautiful Satin Ribbons

Step-by-Step Tutorial: Making an Easy Ribbon Wreath

Creating a ribbon wreath is simpler than you might think. Follow these steps to craft your own beautiful wreath.

Step 1: Prepare Your Wreath Form

  • If using a wire frame, consider covering it with burlap for a rustic appearance.
  • Secure the burlap with hot glue, ensuring it covers the outer ring completely.

Step 2: Cut the Ribbons

  1. Decide on the length of your ribbons based on the size of your wreath form.
  2. Use the make a ribbon technique by cutting ribbons to uniform lengths or varying them for a more dynamic look.

Step 3: Attach Ribbons to the Frame

  1. Start by attaching ribbons to the inner ring, working your way outwards.
  2. Twist the ribbon and use hot glue to secure it around the frame. Ensure each ribbon overlaps slightly for a lush effect.

Step 4: Add Decorative Elements

  1. Incorporate ribbon bows, leaves, or other adornments to personalize your wreath.
  2. Use wired ribbon to create shapes or patterns within the wreath.

Step 5: Final Touches

  1. Once all ribbons are attached, inspect your wreath for any gaps or loose ends.
  2. Trim any excess ribbon and ensure all elements are securely glued in place.

Tips for Success

  1. Consistency: Keep your ribbon lengths consistent unless intentionally creating variations.
  2. Layering: Layering different types of ribbons can add depth and richness to your wreath.
  3. Patience: Take your time to ensure each ribbon is properly attached for a polished finish.

How to Incorporate Burlap into Your Ribbon Wreath?

Burlap adds a rustic charm to your ribbon wreath, making it perfect for fall and farmhouse-style decor.

Choosing the Right Burlap

  • Color: Natural burlap offers a neutral palette, while dyed or painted burlap can introduce different hues.
  • Texture: Select burlap with a coarser texture for a more rugged look or smoother burlap for a refined appearance.

Attaching Burlap to the Wreath Form

  1. Measure and Cut: Align the burlap around your wreath form, cutting it to fit snugly.
  2. Secure with Glue: Use hot glue to attach the burlap, ensuring there are no wrinkles or bubbles.
  3. Layering: For added texture, consider layering multiple pieces of burlap in different shades or textures.

Enhancing with Ribbons

  • Tie burlap ribbons into bows and scatter them around the wreath for a cohesive look.
  • Mix burlap with other materials like lace or twine to elevate the design.

Bold Tip: Combining burlap with metallic or colorful ribbons can create a striking contrast, enhancing the overall aesthetic of your wreath.

What Are Some Creative Ribbon Patterns for Wreaths?

Exploring different ribbon patterns can elevate your wreath’s design, making it unique and eye-catching.

Spiral Patterns

  • How to Create: Start at the inner ring and spiral outwards with ribbons, overlapping each layer slightly.
  • Effect: This pattern creates a dynamic and flowing appearance, adding movement to the wreath.

Chevron and Zigzag

  • Design: Arrange ribbons in a zigzag or chevron pattern for a modern and stylish look.
  • Variation: Use alternating colors or patterns to highlight the zigzag lines.

Banded Sections

  • Implementation: Divide the wreath into sections and use different ribbon types or colors in each band.
  • Result: This creates a segmented and organized aesthetic, perfect for themed decorations.

Layered Widths

  • Technique: Combine ribbons of varying widths, layering wide ribbons with narrow ones.
  • Benefit: Adds depth and prevents the wreath from looking monotonous.

Mixed Patterns

  • Combination: Use a mix of solid, printed, and textured ribbons for a rich and varied design.
  • Balance: Ensure that the patterns complement each other to maintain visual harmony.

List of Popular Ribbon Patterns:

    • Spiral
    • Chevron
    • Zigzag
    • Banded
    • Layered Widths
    • Mixed Patterns

How to Make a Ribbon Bow for Your Wreath?

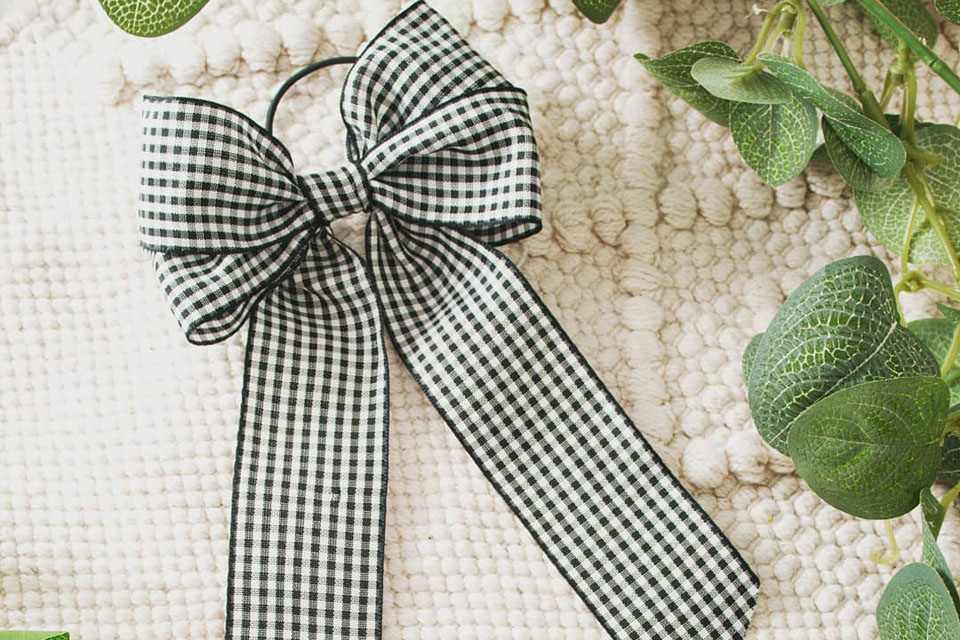
ribbon bow serves as a stunning focal point for your ribbon wreath, adding elegance and charm.

Steps to Create a Classic Ribbon Bow

  1. Fold the Ribbon: Fold your ribbon in half to find the center point.
  2. Create Loops: Make two loops with the ribbon, one on each side of the center fold.
  3. Secure the Bow: Cross the loops and tie a knot at the center using the ribbon’s ends.
  4. Adjust the Loops: Fluff and adjust the loops to achieve a balanced and symmetrical bow.

Incorporating Wired Ribbons

  • Shape Control: Use wired ribbons to shape the bow precisely, ensuring it maintains its form.
  • Customization: Bend the wires to create unique shapes or add embellishments like beads or charms.

Attaching the Bow to the Wreath

  • Position the bow prominently on the wreath.
  • Use hot glue to secure it, ensuring it stands upright and remains in place.

Pro Tip: Experiment with different ribbon textures and colors to create bows that complement your wreath’s overall design.

Tips for Hanging Your Ribbon Wreath

Displaying your ribbon wreath correctly ensures it remains a beautiful ornament on your door or wall.

Choosing the Right Hanger

  • Ribbon Hanger: Use a neat ribbon hanger for a cohesive look, matching the wreath’s color or pattern.
  • Traditional Hanger: Wire hangers work well with wired wreath forms but may be less aesthetically pleasing.

Placement Tips

  • Visibility: Hang your wreath at eye level to maximize its visual impact.
  • Surrounding Decor: Consider the wreath’s surroundings, ensuring it complements existing decor elements.

Ensuring Stability

  • Secure Attachment: Make sure the hanger is firmly attached to prevent the wreath from slipping or falling.
  • Balanced Weight: Distribute the wreath’s weight evenly, especially if it has heavy decorations.

Bullet Points for Hanging Tips:

  • Use ribbon or traditional hangers based on aesthetic preference.
  • Hang at eye level for maximum visibility.
  • Ensure secure attachment for stability.
  • Balance the wreath’s weight evenly.

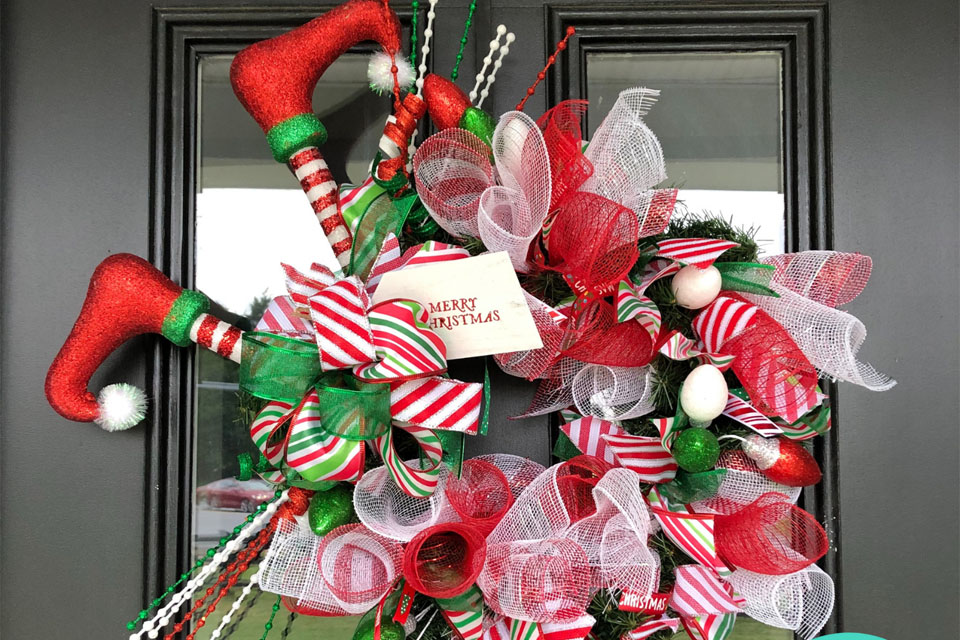
Decorating Your Wreath for Christmas with Ribbons

Transform your ribbon wreath into a festive Christmas centerpiece with these creative ideas.

Incorporate Seasonal Elements

  • Colors: Use traditional Christmas colors like red, green, gold, and silver.
  • Accents: Add ornaments, pinecones, or faux berries to enhance the holiday theme.

Festive Ribbon Patterns

  • Red and Green: Alternate between red and green ribbons for a classic look.
  • Metallic Touches: Incorporate gold or silver ribbons for a touch of sparkle.

Highlighting with Bows

  • Place a large, festive bow at the center or as a focal point on the wreath.
  • Use glittery or patterned ribbons to make the bow stand out.

Personalized Touches

  • Monograms: Add personalized initials using ribbon letters.
  • Name Tags: Attach small name tags with festive greetings.

List of Christmas Decoration Ideas:

  • Traditional colors (red, green, gold, silver)
  • Ornaments and pinecones
  • Glittery or patterned bows
  • Personalized initials or name tags

Frequently Asked Questions

How Long Does a Ribbon Wreath Last?

A well-crafted ribbon wreath can last for several seasons with proper care. Using high-quality, durable ribbons and maintaining the wreath away from moisture and direct sunlight can extend its lifespan.

While you can experiment with various ribbon types, some ribbons are more suitable for wreath-making. Wired ribbons are excellent for shaping, while satin and grosgrain ribbons offer beautiful textures and sheen.

Store your wreath in a cool, dry place away from direct sunlight. Using a wreath storage bag or box can help protect it from dust and damage.

Absolutely! Customize your wreath by choosing different ribbon colors, patterns, and decorative elements to match your personal style and the occasion.

Similar DIY Projects: Beyond the Ribbon Wreath

If you enjoyed creating a ribbon wreath, here are some other DIY projects you might love:

Ribbon Bows

Create beautiful handmade bows to use as embellishments for gifts, decorations, or as standalone art pieces.

Ribbon Garlands

Craft ribbon garlands to adorn your walls, staircases, or mantels, adding a festive and colorful touch to any space.

Ribbon Table Runners

Design elegant table runners using ribbons, enhancing your dining area with personalized and stylish accents.

Ribbon Stars

Form star shapes with ribbons for a whimsical addition to your wreaths or as decorative elements for various occasions.

Explore More DIY Projects:

  • Handmade bows
  • Ribbon garlands
  • Ribbon table runners
  • Ribbon stars

Conclusion

Creating a ribbon wreath is a rewarding DIY project that allows you to express your creativity and enhance your home decor. By selecting the right materials, experimenting with patterns, and incorporating personal touches, you can craft a wreath that is both beautiful and meaningful.

Key Takeaways:

  • Choose high-quality ribbons that match your decor theme.
  • Incorporate different patterns and textures for depth.
  • Use a sturdy wreath form as your base.
  • Personalize with bows and decorative elements.
  • Properly hang and maintain your wreath for lasting beauty.

Explore More Ribbon Designs

Enhance your crafting experience by exploring our Custom Elastic Stretch Loop Pre-Made Ribbon Bows and Custom Size Gifts Wrapping Star Bows Supplier. Discover a wide range of beautiful ribbons to elevate your DIY projects!


Thank you for joining this ribbon wreath tutorial. Happy crafting!

Comments

Learn the latest trends and knowledge from the leading manufacturer in China about ribbon business.
滚动至顶部

Online INQUIRY

We will reply to you in 30 minutes.

Talk to leader

Can’t find what you want? Ask our manager for help directly.

Talk to leader

Can’t find what you want? Ask our manager for help directly.

Talk to leader

Can’t find what you want? Ask our manager for help directly.