How To Make A Bow With Ribbon Step By Step

Table of Contents

Summary

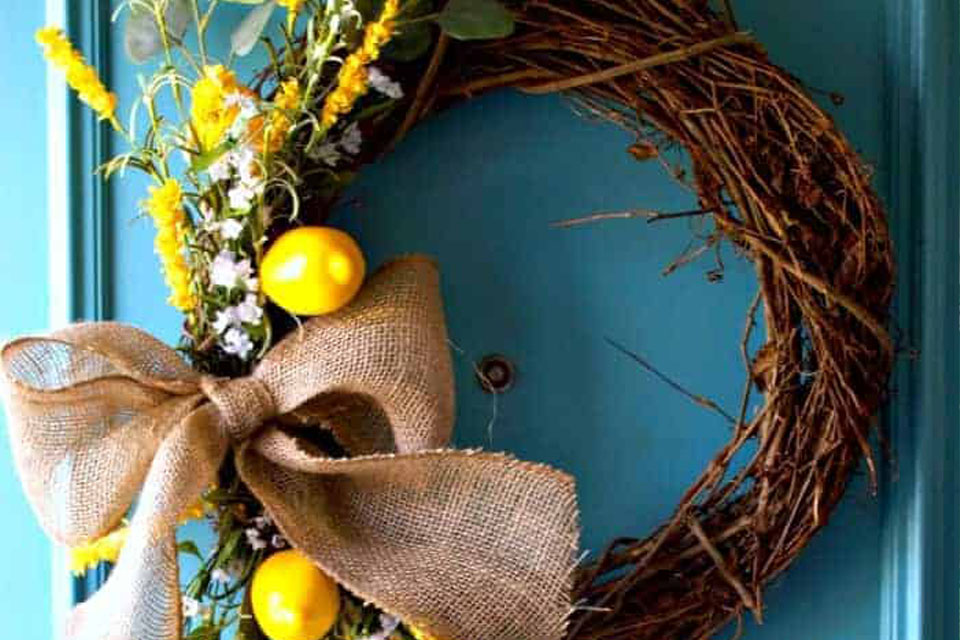
Creating stunning ribbon bows for your wreaths can transform ordinary decorations into eye-catching masterpieces.

Whether you’re a DIY enthusiast, event planner, or part of a retail business, mastering the art of bow making with ribbons can enhance your projects and offerings. This comprehensive tutorial will guide you through the simple steps to craft perfect ribbon bows that add elegance and charm to any wreath.

What Materials Do I Need to Make a Ribbon Bow?

Before diving into bow making, it’s essential to gather all necessary materials to ensure a smooth crafting experience. Here’s a checklist to get you started:

  • Ribbon: Choose a wide or wired ribbon depending on the desired bow style. For durable and voluminous bows, wired ribbons are highly recommended.
  • Scissors: A sharp pair of scissors will help in achieving clean cuts and precise trimming.
  • Hot Glue Gun: Essential for securing the bow onto your wreath or other surfaces.
  • Wreath Base: Whether you’re using a traditional wreath or a modern variant, ensure it’s sturdy enough to hold the bow.
  • Measuring Tape or Ruler: For measuring the exact length of ribbon needed.

Having these materials on hand will streamline the bow-making process, allowing you to create beautiful decorations effortlessly.

Choosing the Right Type of Ribbon

The type of ribbon you select plays a pivotal role in the overall appearance and functionality of your bow. Here’s a breakdown of popular ribbon types:

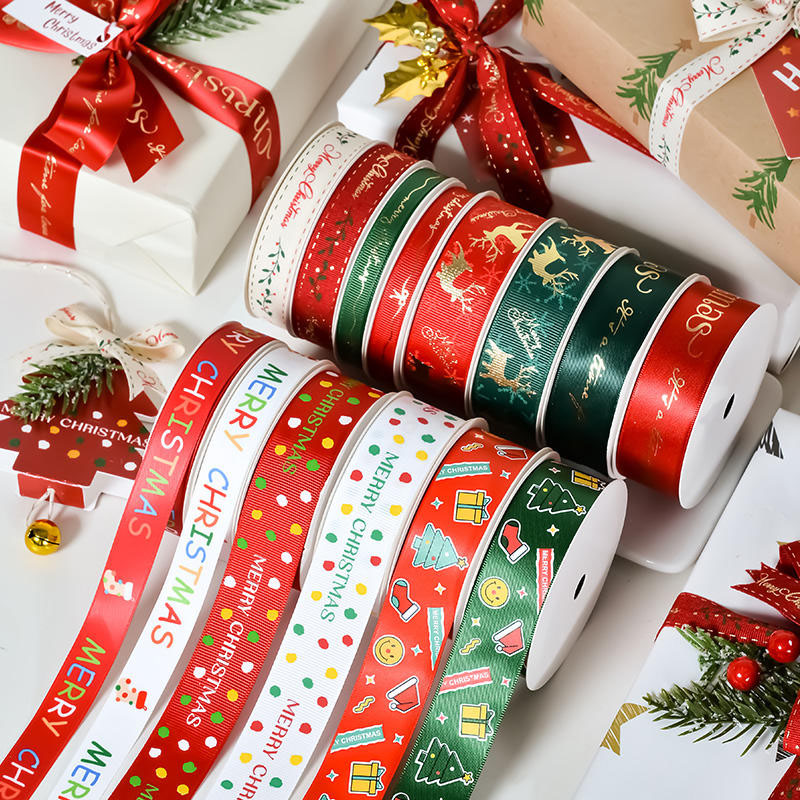
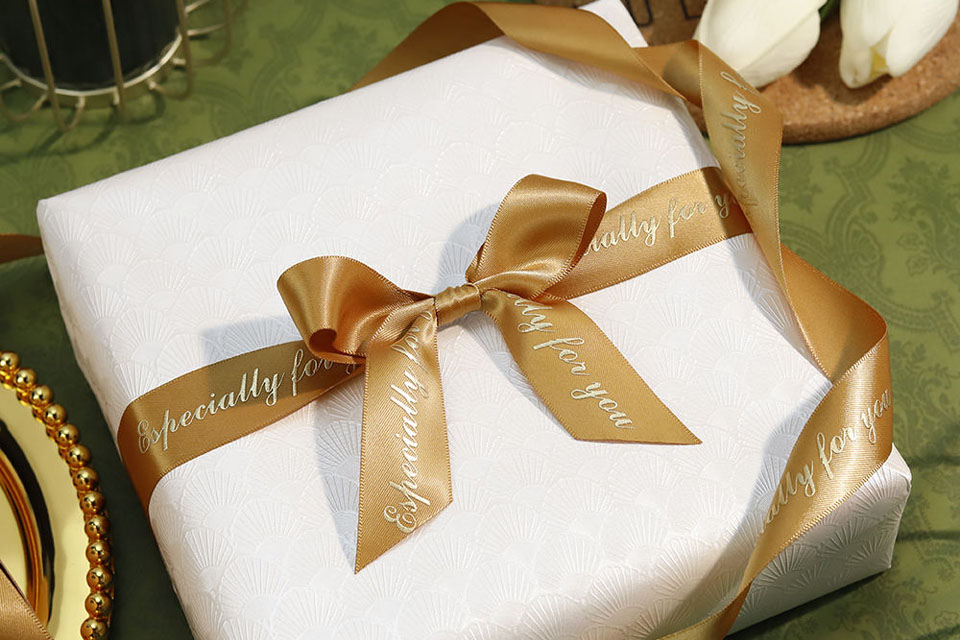
  1. Satin Ribbon: Smooth and glossy, ideal for elegant and formal bows.
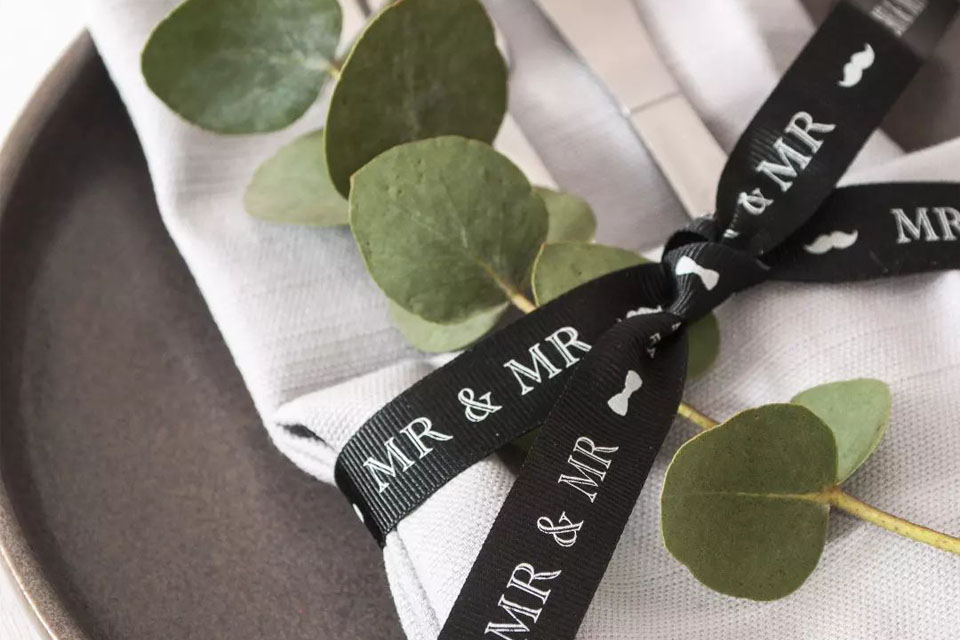
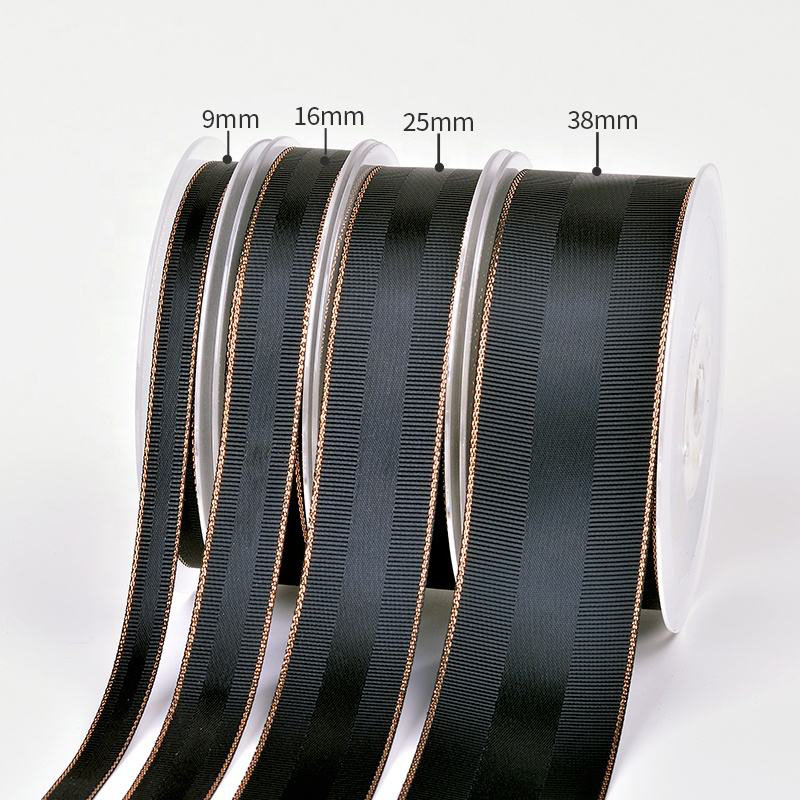
  2. Grosgrain Ribbon: Features a ribbed texture, perfect for textured and traditional bows.
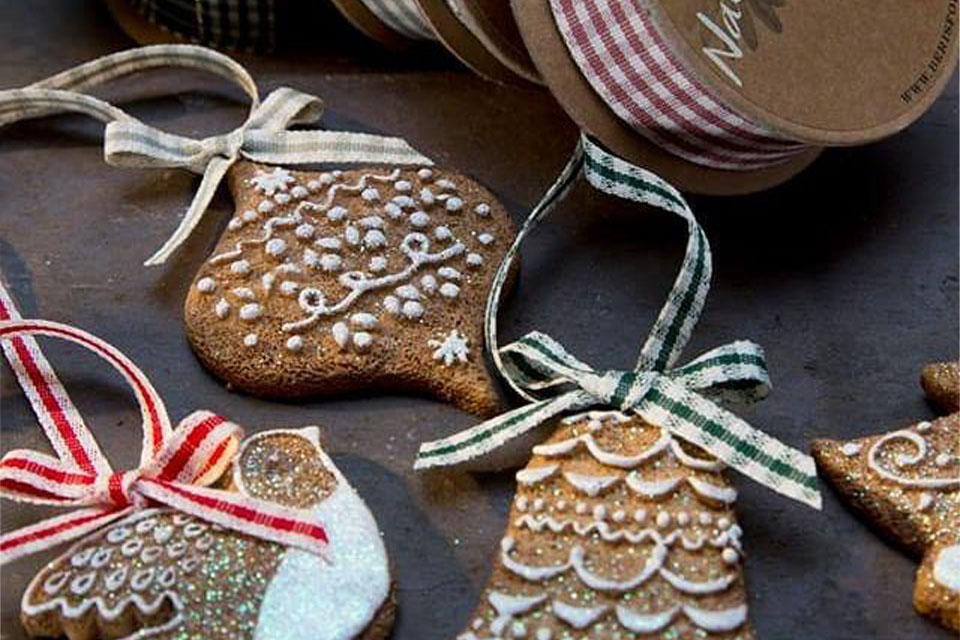
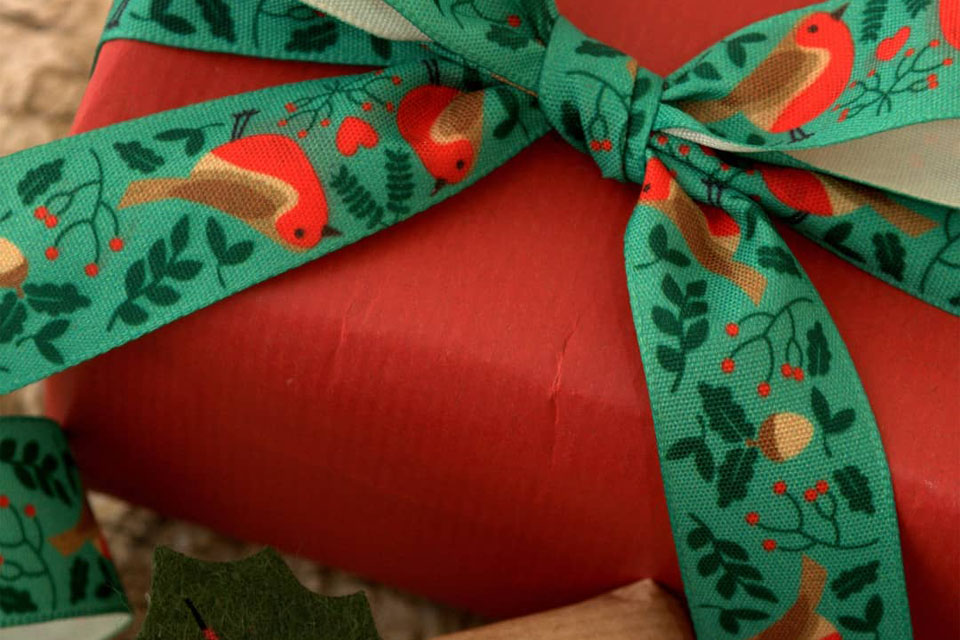
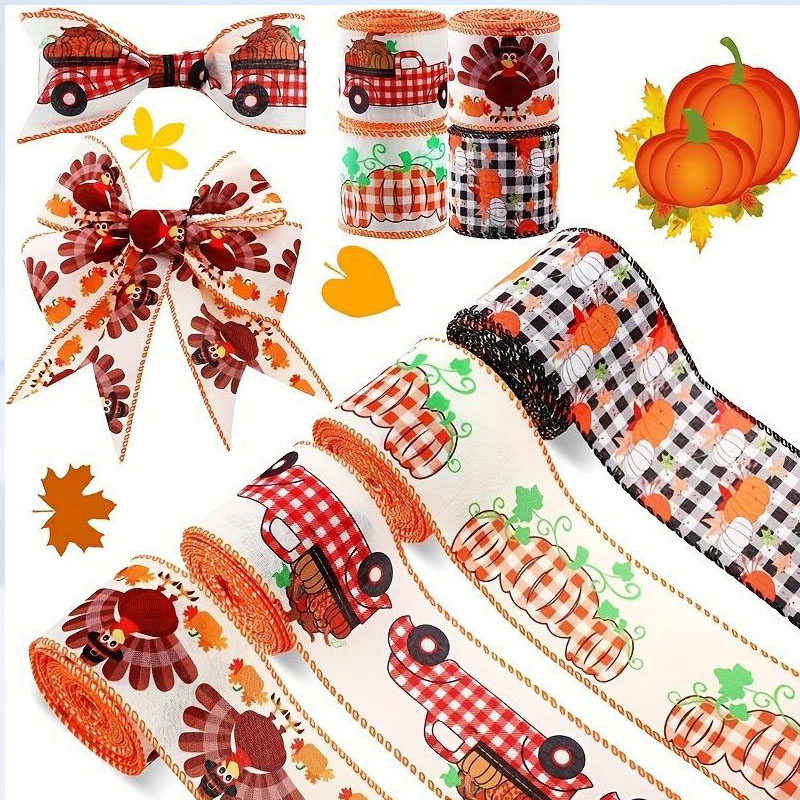
  3. Cotton Ribbon: Soft and versatile, suitable for casual and rustic bows.
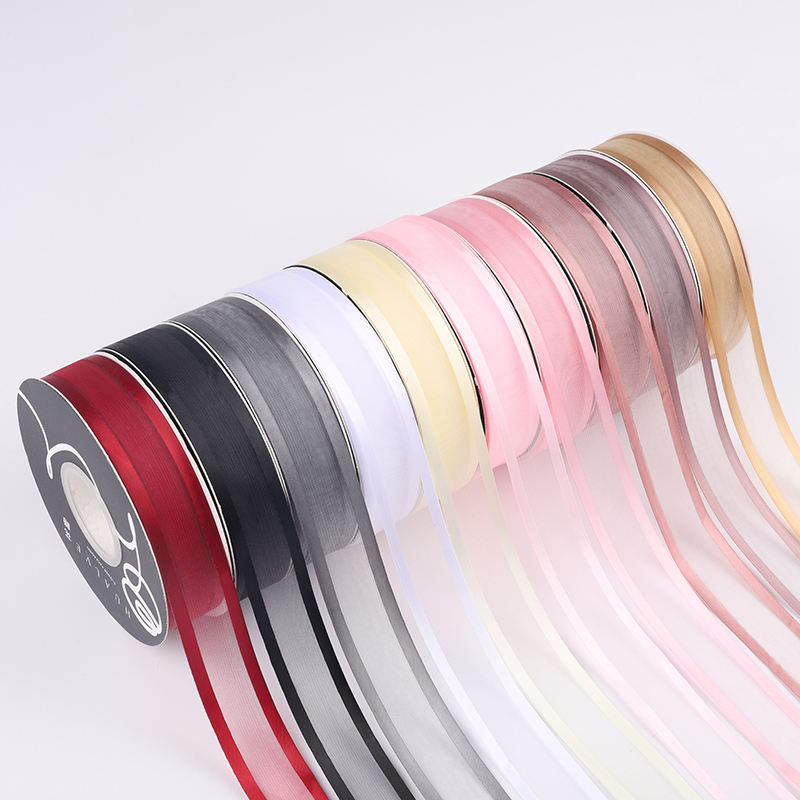
  4. Organza Ribbon: Lightweight and sheer, adding a delicate touch to your bow creations.
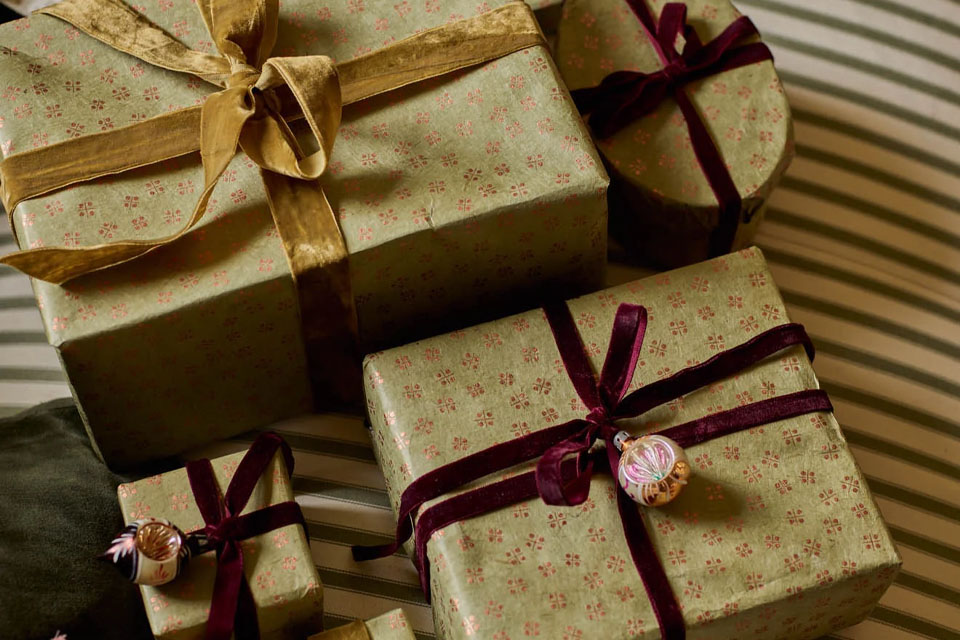
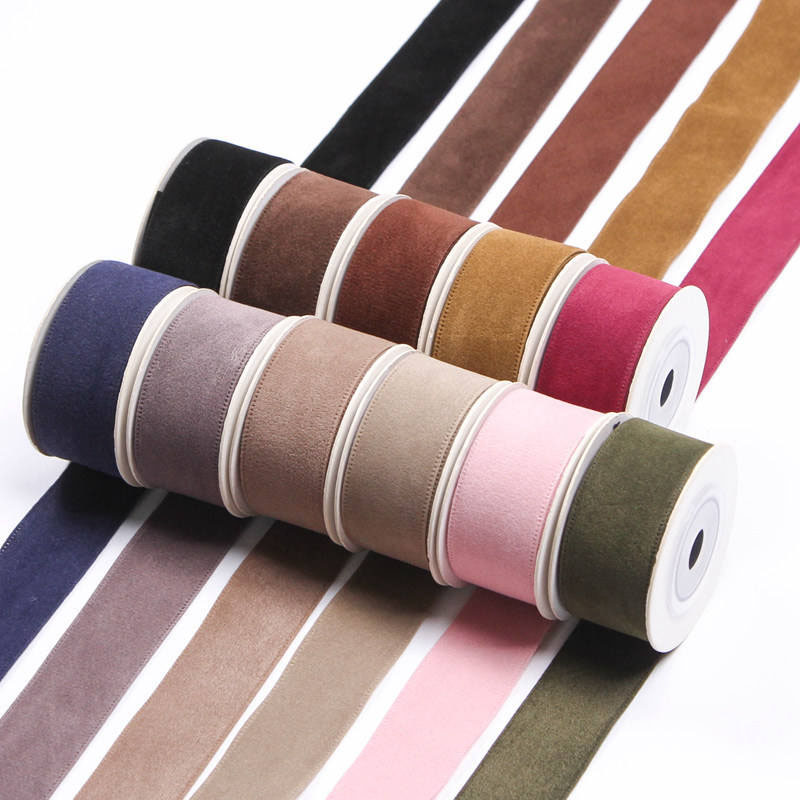
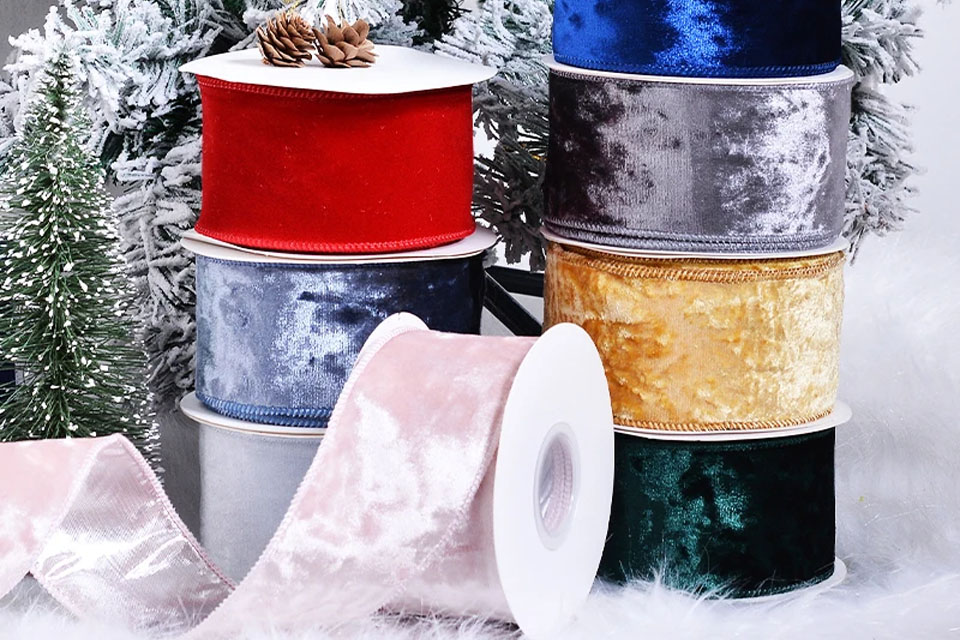
  5. Velvet Ribbon: Luxurious and rich, great for plush and opulent bows.

Choosing the right ribbon ensures that your bows not only look stunning but also complement the theme of your wreath or event.

Step-by-Step Instructions to Make a Ribbon Bow

Creating a ribbon bow is simpler than it might seem. Follow these step-by-step instructions to craft a perfect bow every time:

  1. Measure and Cut the Ribbon:
    • Cut a long piece of ribbon. The length depends on the desired bow size. A good starting point is 3 feet for a standard bow.
  2. Form the Loops:
    • Fold the ribbon in half to find the center.
    • Create two loops on either side of the center, ensuring they are equal in size.
  3. Secure the Center:
    • Use a small piece of hidden ribbon or a wired piece to secure the center where the loops meet.
  4. Adjust the Loops:
    • Fluff and straighten the loops to achieve the desired shape and fullness.
  5. Trim the Ends:
    • Cut the ends of the ribbon at an angle or into a V-shape for a polished look.
  6. Attach the Bow:
    • Glue the center of the bow onto your wreath or desired surface using a hot glue gun.

By following these steps, you’ll be able to create beautiful ribbon bows that enhance any decoration.

Using wired ribbon can significantly improve the stability and durability of your bow. Here’s how to incorporate it effectively:

  • Pre-Made Wired Bows: For those who prefer an easier option, consider Custom Elastic Stretch Loop Pre-Made Ribbon Bows that can be easily attached to your wreath.
  • DIY Wired Ribbon Bows: If you opt to make your own, insert a small wire into the back of the ribbon before shaping your loops. This allows you to mold and adjust the bow as needed, ensuring it stays in place and maintains its shape over time.

Wired ribbons offer flexibility and resilience, making them ideal for creations that need to withstand handling or weather conditions.

Attaching the Bow to Your Wreath

Once your bow is crafted, securely attaching it to your wreath is crucial for a professional finish. Here’s how to do it:

  1. Select the Bow Placement:
    • Decide where on the wreath you want your bow to sit. Common placements include the top or off-center for a dynamic look.
  2. Use Hot Glue:
    • Apply a generous amount of hot glue to the center of the bow.
  3. Press and Hold:
    • Place the bow onto the wreath and hold it in place for a few seconds to ensure it adheres properly.
  4. Secure and Adjust:
    • Once the glue cools, adjust the bow to your liking, fluffing the loops to achieve the desired appearance.

For more intricate designs, consider attaching multiple smaller bows or combining different ribbon types using Wholesale Gift Packaging Decorative Pre-Tie Ribbon Bows.

Tips for Fluffing and Perfecting Your Bow

Achieving a perfect bow requires attention to detail. Follow these tips to enhance your bow’s appearance:

  • Equal Loop Sizes: Ensure both loops are of equal size for symmetry.
  • Fluff the Loops: Gently pull and fluff the loops to add volume and prevent them from looking flat.
  • Secure the Back: If using wired ribbon, mold the back to hide any visible wires, giving the bow a clean finish.
  • Trim Excess Ribbon: After fluffing, trim the ribbon ends to remove any uneven lengths or frayed edges.

These simple adjustments can make your bow look polished and professionally made.

Creative Styles of Ribbon Bows

Explore different styles of bow to suit various aesthetic preferences and occasions:

  1. Classic Bow: Symmetrical loops with neatly trimmed ends, perfect for timeless decorations.
  2. Rosette Bow: Flat loops resembling a rose, ideal for sophisticated and elegant settings.
  3. Fancy Tie Bow: Incorporates additional elements like pearls or beads for a luxurious touch.
  4. Layered Bow: Multiple layers of ribbon create a fuller and more intricate bow.

Experimenting with different styles allows you to customize your decorations to match any theme or event.

Common Mistakes to Avoid When Making Bows

Avoiding common pitfalls can save you time and ensure your bows look their best:

  • Uneven Loops: Always measure and fold your ribbon accurately to achieve equal loop sizes.
  • Excess Ribbon Length: Using too much ribbon can make the bow bulky and difficult to manage. Start with the recommended length and adjust as needed.
  • Weak Attachment: Ensure the bow is firmly attached to the wreath to prevent it from slipping or falling off.
  • Ignoring Fluffing: Skimping on fluffing can make the bow appear flat and lifeless.

By being mindful of these mistakes, your bow-making process will yield better results consistently.

Enhancing Your Bows with Decorations

Add extra flair to your ribbon bows by incorporating various decorations:

  • Beads and Pearls: Insert small beads or pearls into the bow’s loops for added sparkle.
  • Sequins: Attach sequins to the bow’s center to create a glittering effect.
  • Feathers: Integrate feathers into the bow for a whimsical touch.
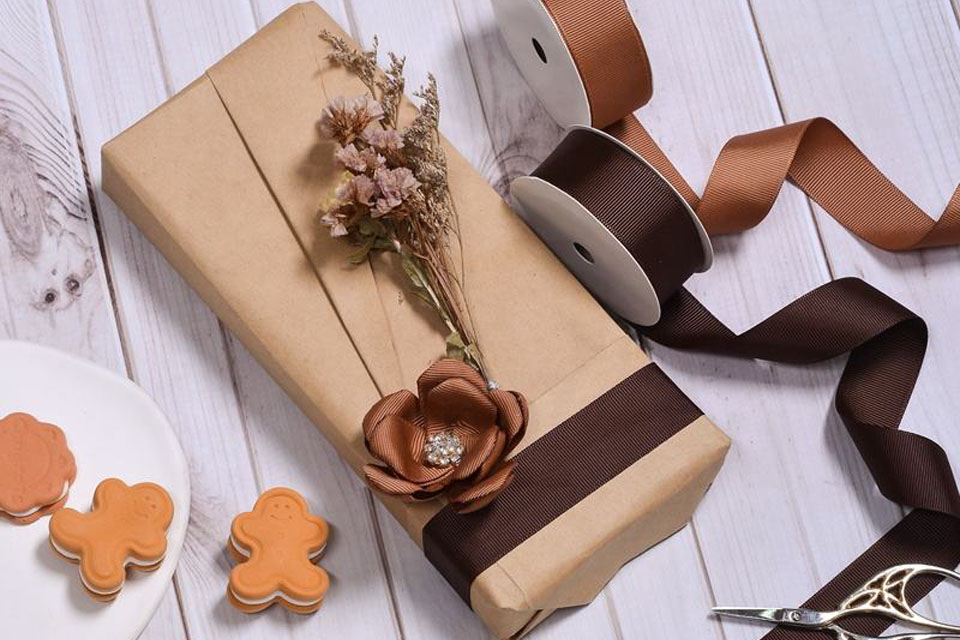
  • Flower Embellishments: Combine your bow with fresh or artificial flowers to enhance its beauty.

These additional elements can elevate your bow from simple to stunning, making your decorations truly stand out.

Frequently Asked Questions

How long should the ribbon be for making a bow?

The length of the ribbon depends on the desired bow size. A standard bow typically requires about 3 feet of ribbon, but you can adjust the length based on how large or small you want your bow to be.

Yes, bows made from wired ribbon are often reusable. Ensure you handle them gently and store them properly to maintain their shape for future use.

For outdoor wreaths, wire-backed ribbons like Velvet Ribbons or Organza Ribbons are ideal as they withstand weather conditions better and maintain their shape.

Using a hot glue gun ensures a strong attachment. Additionally, choosing durable ribbon types and storing your wreath in a dry place can prolong the life of your ribbons.

Summary of Key Points

  • Gather Essential Materials: Ribbon, scissors, hot glue, and a wreath.
  • Choose the Right Ribbon: Select based on texture and desired bow style.
  • Follow Step-by-Step Instructions: Measure, loop, secure, and attach.
  • Use Wired Ribbon for Stability: Ensures durability and maintains shape.
  • Perfect Your Bow: Fluff loops, trim edges, and ensure symmetry.
  • Explore Creative Styles: Classic, rosette, fancy tie, and layered bows.
  • Avoid Common Mistakes: Ensure even loops, proper attachment, and adequate fluffing.
  • Enhance with Decorations: Incorporate beads, sequins, feathers, or flowers.
  • Refer to Experts: Check out Custom Size Gifts Wrapping Star Bows Supplier for specialized needs.

By adhering to these guidelines and utilizing quality ribbons from RibbonOEM, you can create stunning ribbon bows that elevate any wreath or decorative project. Whether for personal use or commercial purposes, mastering ribbon bow making opens up a world of creative possibilities.

Comments

Learn the latest trends and knowledge from the leading manufacturer in China about ribbon business.
滚动至顶部

Online INQUIRY

We will reply to you in 30 minutes.

Talk to leader

Can’t find what you want? Ask our manager for help directly.

Talk to leader

Can’t find what you want? Ask our manager for help directly.

Talk to leader

Can’t find what you want? Ask our manager for help directly.