How Do You Make A Bow With Thin Ribbon

Table of Contents

Summary

Creating beautiful ribbon bows is an art that adds a touch of elegance and charm to any gift, decoration, or craft project.

Whether you’re a DIY enthusiast, a professional event planner, or a retailer looking to enhance your product offerings, mastering the techniques of bow making can significantly elevate your creations. This guide provides detailed steps, tips, and insights to help you craft stunning ribbon bows effortlessly.

What Materials Do You Need to Make a Ribbon Bow?

To start crafting stunning ribbon bows, you need the right materials. The primary components include:

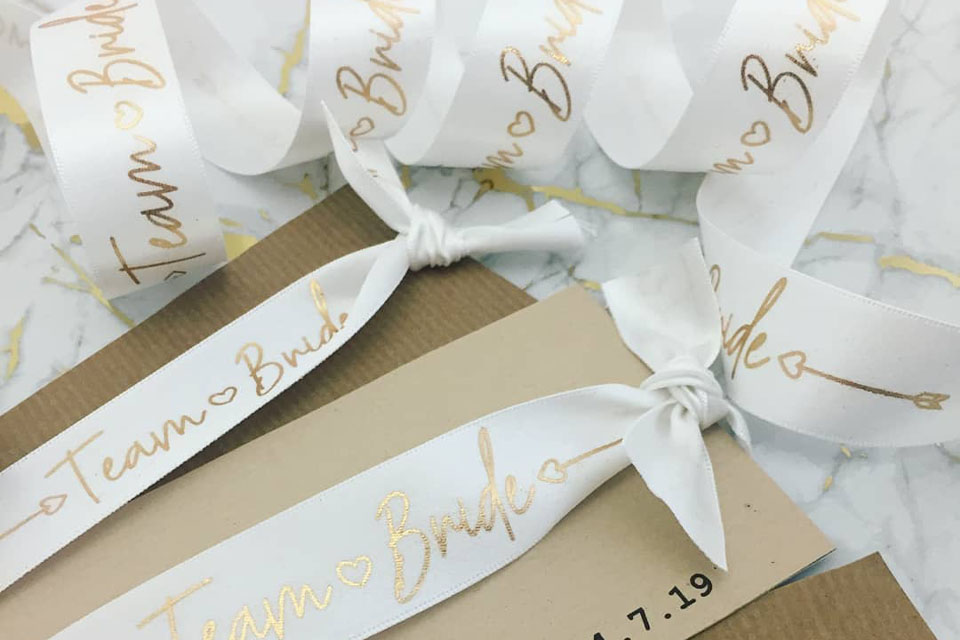
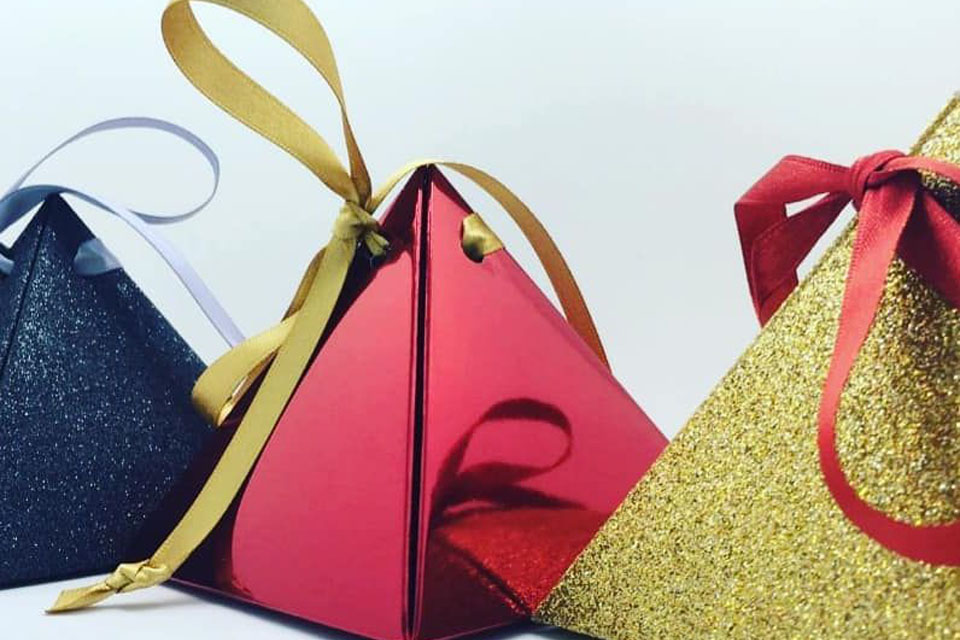
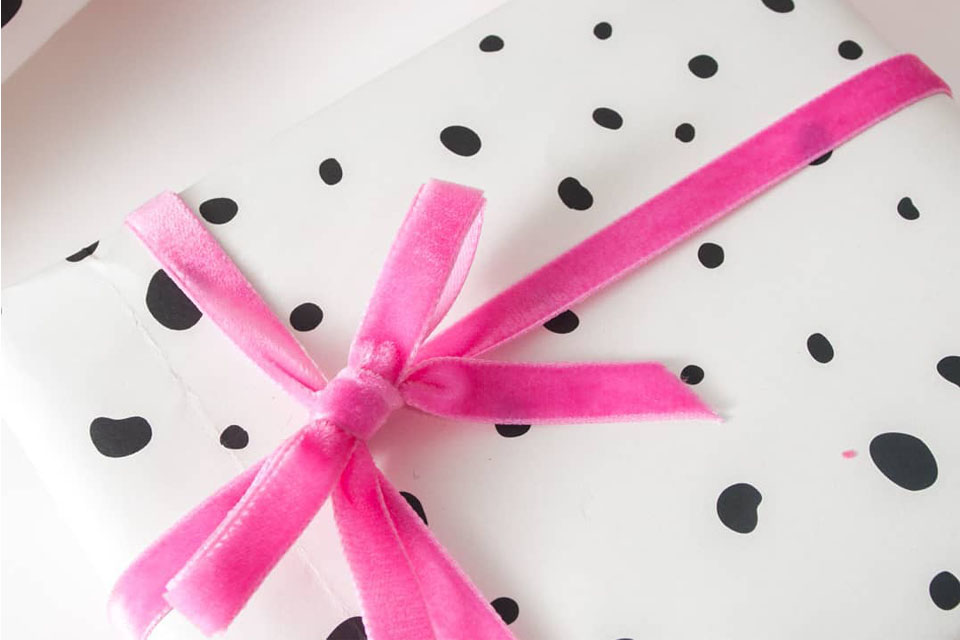
  • Ribbon: Choose from a variety of fabrics like satin, grosgrain, cotton, organza, or velvet. Each type offers a different texture and appearance.
  • Scissors: Sharp scissors are essential for clean cuts.
  • Bow Maker Tool (Optional): This can help in shaping and securing your bow.
  • Glue or Double-Sided Tape: For additional security if needed.
  • Hook or Fastener: To attach the bow to your gift or decoration.

Having high-quality materials ensures that your ribbon bow looks professional and lasts longer. For a wide selection of satin ribbons, visit our Satin Ribbons page.

How to Choose the Right Ribbon for Your Bow

Selecting the right ribbon is crucial for the overall look of your bow. Consider the following factors:

  1. Width: Thin ribbons (e.g., 0.5 inches) are perfect for delicate bows, while wider ribbons (e.g., 2 inches) provide a more substantial appearance.
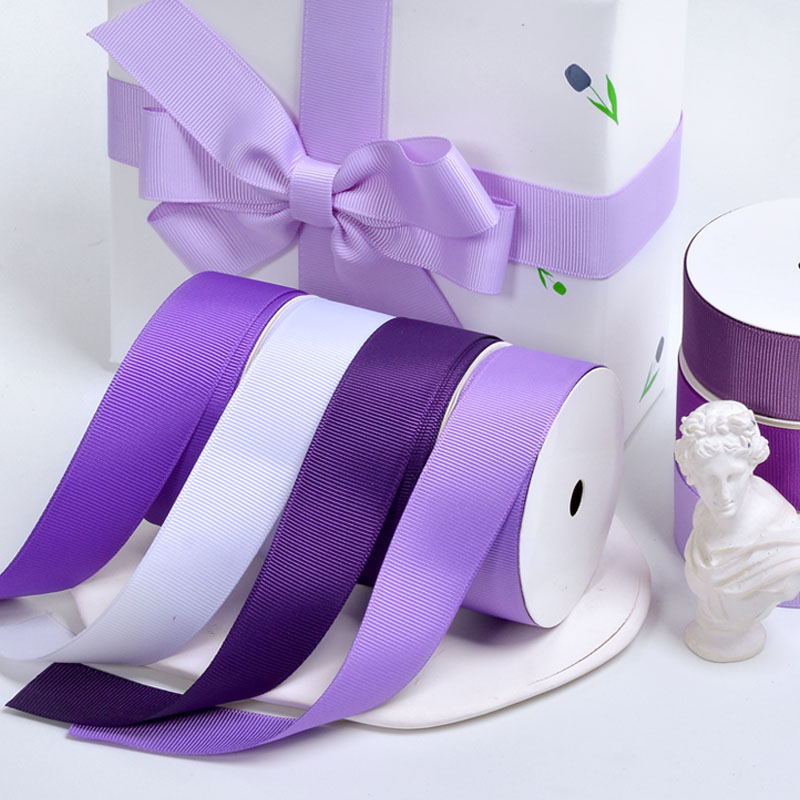
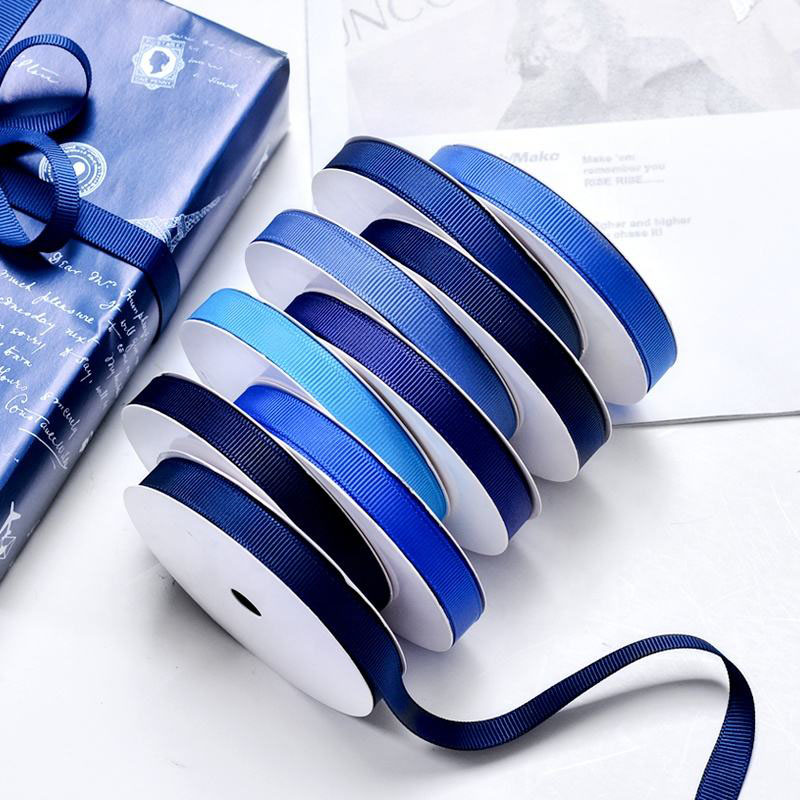
  2. Fabric Type: Satin ribbons offer a smooth and glossy finish, ideal for elegant gifts. Grosgrain ribbons have a ribbed texture, suitable for crafts and casual decorations.
  3. Color and Pattern: Choose colors that complement your project. Solid colors are versatile, while patterned ribbons can add a unique touch.
  4. Flexibility: Some ribbons are stiffer, making them easier to shape into bows, whereas others are more pliable and require gentle handling.

Explore our extensive collection of grosgrain ribbons and other fabric options to find the perfect match for your needs.

Step-by-Step Tutorial: Making a Classic Ribbon Bow

Creating a classic ribbon bow is simple and rewarding. Follow these steps to craft a perfect bow every time:

  1. Measure and Cut the Ribbon: Cut a piece of ribbon approximately 18 inches long for a standard bow.
  2. Create Loops: Divide the ribbon into two equal sections and create a loop with each section.
  3. Cross the Loops: Cross the right loop over the left loop.
  4. Secure the Knot: Pull the loops through the center and tighten the knot gently.
  5. Adjust the Loops: Fluff and shape each loop to achieve the desired fullness.
  6. Trim the Ends: Cut the ends of the ribbon at an angle for a neat finish.

For more detailed instructions and visual aids, check out our Ribbon Bow Tutorial.

Tips for Making a Bow with Thin Ribbon

Making a bow with thin ribbon can be challenging due to its lack of volume. Here are some tips to help you achieve a beautiful bow:

  • Double the Ribbon: Layer two thin ribbons together to add thickness and dimension.
  • Use a Bow Maker: This tool helps in securing the loops tightly, preventing the ribbon from slipping.
  • Fold Carefully: Ensure that each fold is even to maintain symmetry.
  • Secure with Glue: Apply a small amount of glue at the knot for extra stability.

For an extensive range of thin ribbons, visit our Cotton Ribbons section.

How to Tie a Neat and Secure Knot

A well-tied knot is essential for a tidy and enduring ribbon bow. Follow these steps to tie a perfect knot:

  1. Position the Ribbon: Place the ribbon evenly around the center point.
  2. Twist and Wrap: Twist the ribbons together, then wrap them around the center.
  3. Pull Through: Bring the ends through the loop formed around the knot.
  4. Tighten Gently: Pull the ends firmly but carefully to ensure the knot is secure without stretching the ribbon.
  5. Adjust as Needed: Make slight adjustments to balance the bow and enhance its appearance.

Learn more about securing your bows with our Ribbon Bows collection.

Creative Variations: Loop Bows and Twist Bows

Once you’ve mastered the classic bow, you can experiment with creative variations to add uniqueness to your projects:

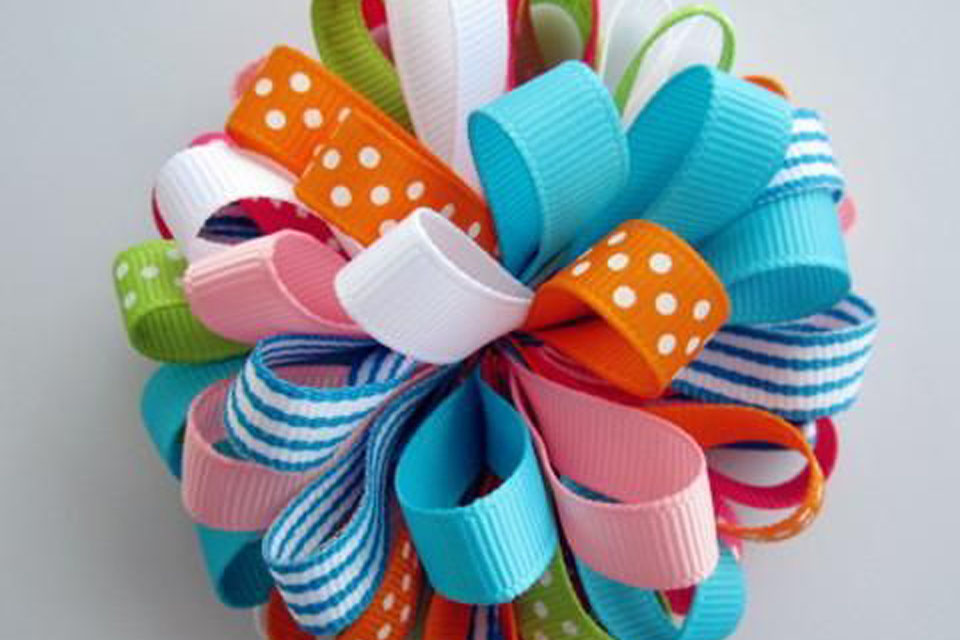
  • Loop Bows: Create loops of different sizes for a layered effect.
  • Twist Bows: Incorporate twists in the ribbon for a textured look.
  • Asymmetrical Bows: Arrange the loops unevenly for a modern twist.
  • Bubble Bows: Use rubber bands to create bubble-like loops for a playful appearance.

Explore our Special Occasion Ribbons to find the perfect ribbons for your creative variations.

Common Mistakes to Avoid When Making Bows

Avoid these common mistakes to ensure your ribbon bows look flawless:

  • Uneven Loops: Ensure both loops are the same size for a balanced bow.
  • Over-Tightening: Pulling too hard can distort the ribbon or weaken the knot.
  • Inconsistent Lengths: Keep the ribbon ends at equal lengths for a neat finish.
  • Skipping Trimming: Always trim the ends at an angle to prevent fraying and enhance the bow’s appearance.

For high-quality organza ribbons, visit our Organza Ribbons page.

How to Incorporate Bows into Gift Wrapping

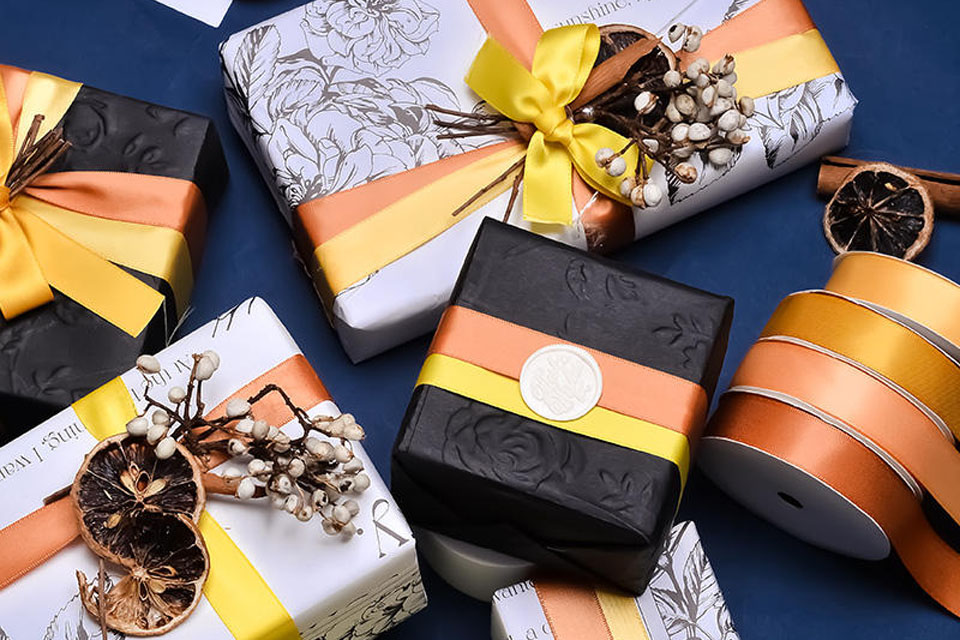
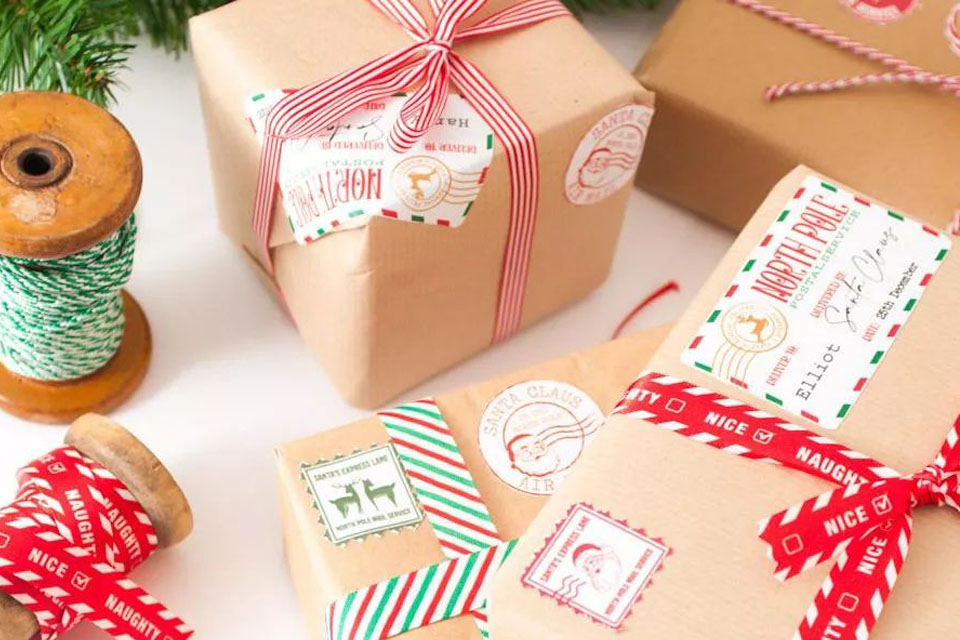
Ribbon bows are a perfect finishing touch for any gift. Here’s how to incorporate them into your gift wrapping:

  1. Choose the Right Ribbon: Select a ribbon that complements your gift and wrapping paper.
  2. Wrap the Gift: Secure the wrapping paper around the gift tightly.
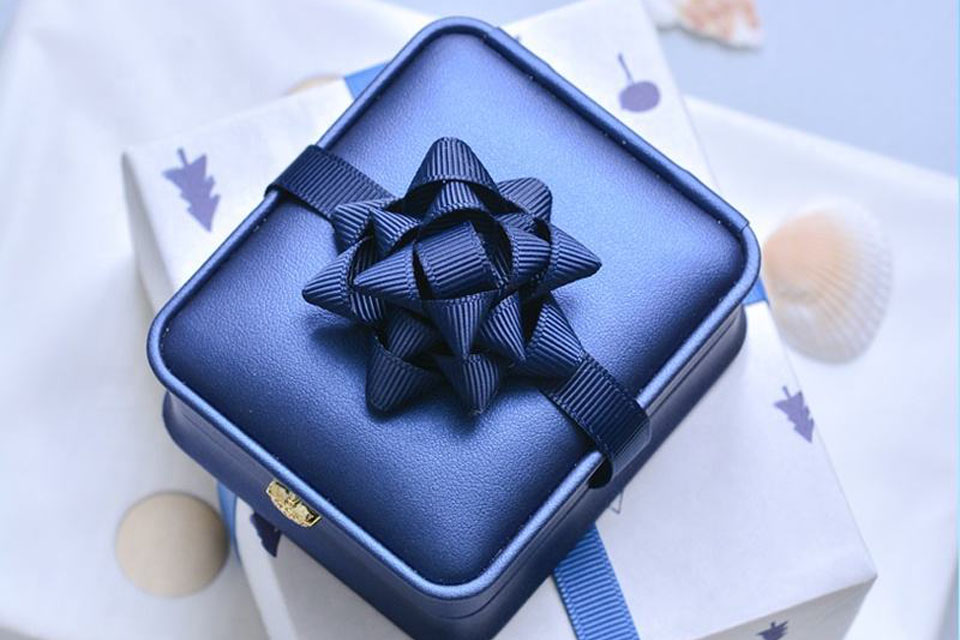
  3. Add the Bow: Place the bow on top of the gift, ensuring it sits neatly.
  4. Secure the Bow: Tie the bow around the package or attach it using glue or tape.
  5. Add Decorations: Enhance the bow with additional elements like flowers or tags for a personalized touch.

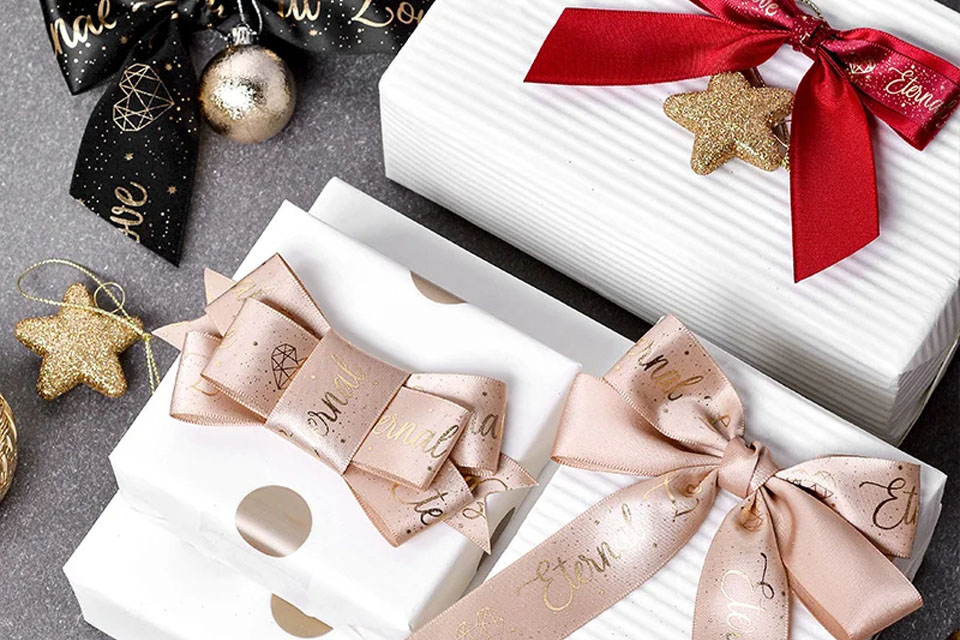
Discover our Gift Packaging Decorative Pre-Tie Ribbon Bows for elegant gift wrapping solutions.

Advanced Techniques: Adding Texture and Volume

Taking your bow making to the next level involves adding texture and volume. Here are some advanced techniques:

  • Layering Ribbons: Combine different types of ribbons to create a multi-dimensional bow.
  • Using Wire: Incorporate wire in the center of the bow to help maintain its shape.
  • Embellishments: Add beads, charms, or flowers to enhance the bow’s appearance.
  • Curling the Ribbon Ends: Use curling techniques to give the ribbon a more dynamic look.

Check out our Velvet Ribbons for luxurious options that add depth and richness to your bows.

Where to Buy Quality Ribbons for Your Projects

Sourcing high-quality ribbons is essential for achieving professional-looking bows. Consider the following options:

  • Online Retailers: Websites like RibbonOEM offer a vast selection of ribbons suitable for various projects.
  • Craft Stores: Local craft stores often carry a range of ribbons, but the selection might be limited compared to online options.
  • Wholesale Distributors: For bulk purchases, wholesale distributors provide cost-effective solutions with a wide variety of choices.
  • Specialty Suppliers: For unique or custom ribbons, specialty suppliers like Custom Printed Ribbon Bows offer tailored options to meet specific needs.

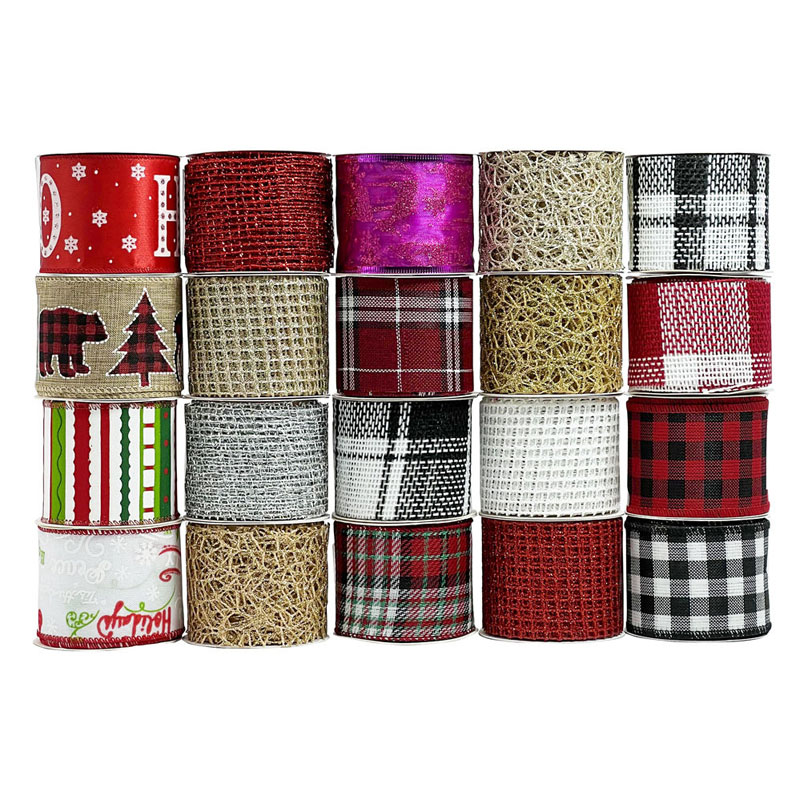
Explore our comprehensive Ribbon Collection to find the perfect ribbons for all your bow-making projects.

Frequently Asked Questions

How long should the ribbon be for a standard bow?

For a standard bow, a ribbon length of approximately 18 inches is ideal. However, you can adjust the length based on the size and fullness you desire for your bow.

Yes, combining different types of ribbons can create a unique and textured look. For example, pairing satin with grosgrain can add both shine and structure to your bow.

The classic ribbon bow is the easiest for beginners. It requires minimal materials and simple steps, making it perfect for those new to bow making.

To achieve a professional look, ensure your loops are even, trim the ribbon ends neatly at an angle, and secure the knot firmly. Using high-quality ribbons and adding embellishments can also enhance the bow’s appearance.

Absolutely! For larger bows, use wider ribbons and longer lengths to maintain proportion and fullness. Incorporating wire can help support the structure of larger bows.

Using a bow maker tool can help secure the loops tightly. Additionally, applying a small amount of glue or double-sided tape to the knot can prevent slipping.

Key Takeaways

    • Choose the Right Ribbon: Select appropriate width, fabric type, and color to match your project.
    • Follow a Clear Tutorial: Step-by-step guidance ensures you create neat and symmetrical bows.
    • Avoid Common Mistakes: Even loops, proper knotting, and neat trimming are essential for a polished look.
    • Enhance with Creativity: Experiment with different techniques to add texture and volume to your bows.
    • Source Quality Materials: High-quality ribbons from reliable suppliers like RibbonOEM ensure professional results.

    By mastering these techniques and utilizing quality materials, you can create stunning ribbon bows that enhance any project, whether it’s a gift, decoration, or craft. Start crafting your beautiful bows today and add a personal touch that leaves a lasting impression.


    For more inspiration and high-quality ribbons, visit our Velvet Ribbons and Organza Ribbons collections. Whether you’re wrapping a gift, decorating for an event, or crafting a bespoke project, our extensive range of ribbons caters to all your creative needs.

Comments

Learn the latest trends and knowledge from the leading manufacturer in China about ribbon business.
滚动至顶部

Online INQUIRY

We will reply to you in 30 minutes.

Talk to leader

Can’t find what you want? Ask our manager for help directly.

Talk to leader

Can’t find what you want? Ask our manager for help directly.

Talk to leader

Can’t find what you want? Ask our manager for help directly.