How To Tie Ribbon Bow

Table of Contents

Summary

Creating the perfect ribbon bow can transform any gift, decoration, or craft project into something truly special.

Whether you’re wrapping a present, embellishing a room, or adding a personal touch to your handmade creations, mastering the art of tying a bow with ribbon is a valuable skill. This comprehensive tutorial will guide you through each step, ensuring your bows look professional and beautiful every time.

What You Need to Tie a Perfect Ribbon Bow

Before diving into the bow-making process, it’s essential to gather all the necessary materials. Having the right tools and ribbons can make the difference between a mediocre bow and a stunning one.

Materials Required

  • Ribbon: Choose from various types such as satin ribbons, grosgrain, cotton, or velvet depending on your project’s needs.
  • Scissors: A sharp pair of scissors ensures clean cuts without fraying.
  • Optional: Wired ribbons for added structure, glue for securing the bow, and a ruler for precise measurements.

Choosing the Perfect Ribbon

Selecting the right ribbon is crucial. Consider the occasion and the weight of the ribbon:

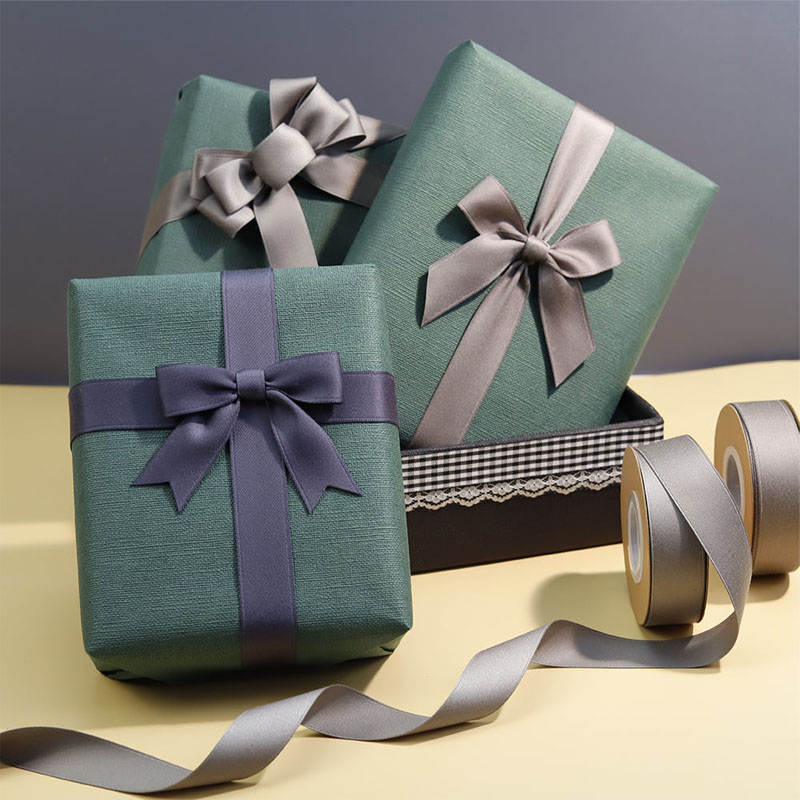
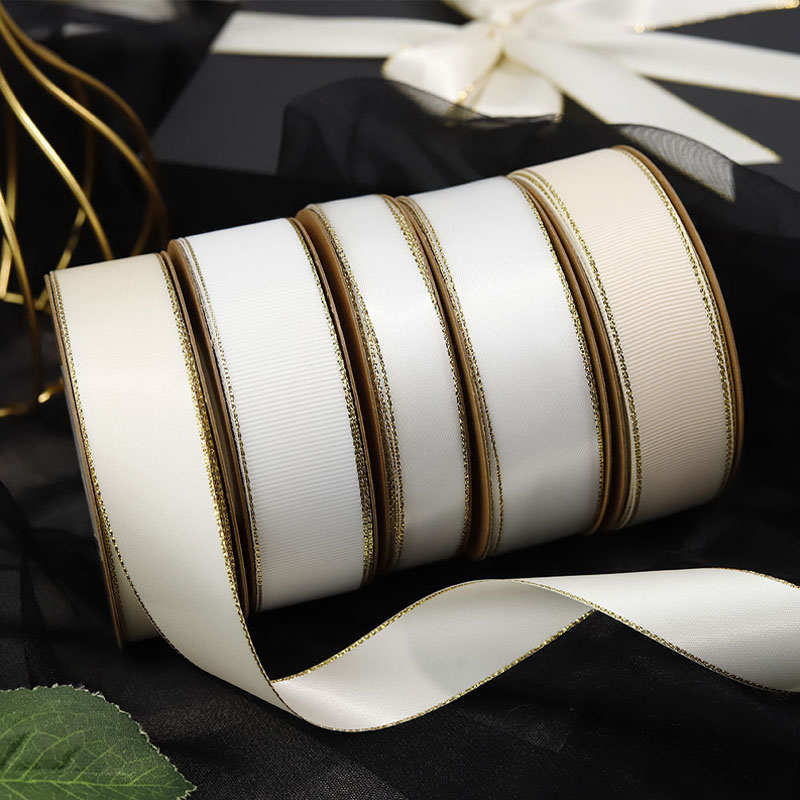
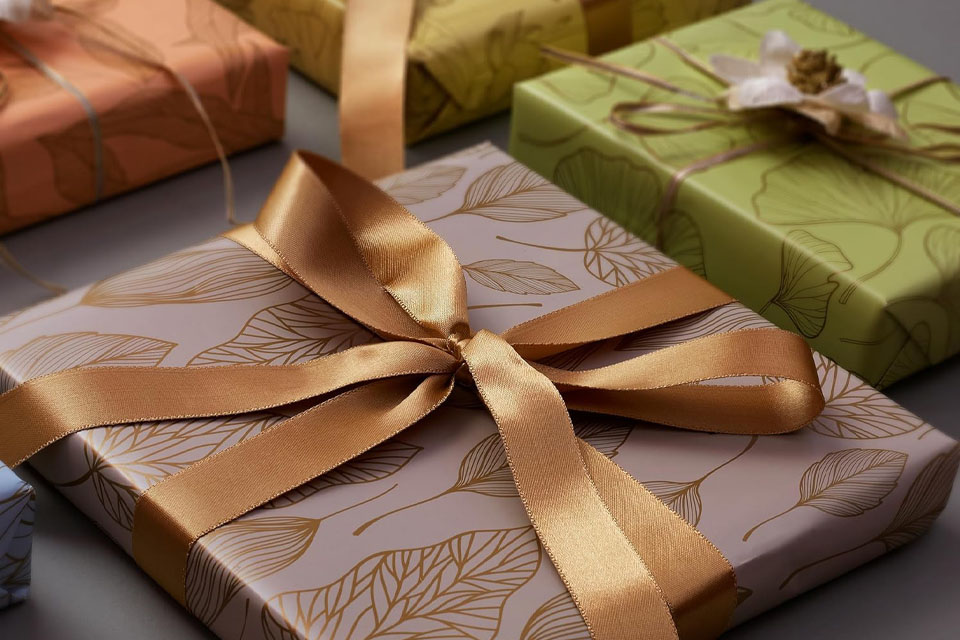
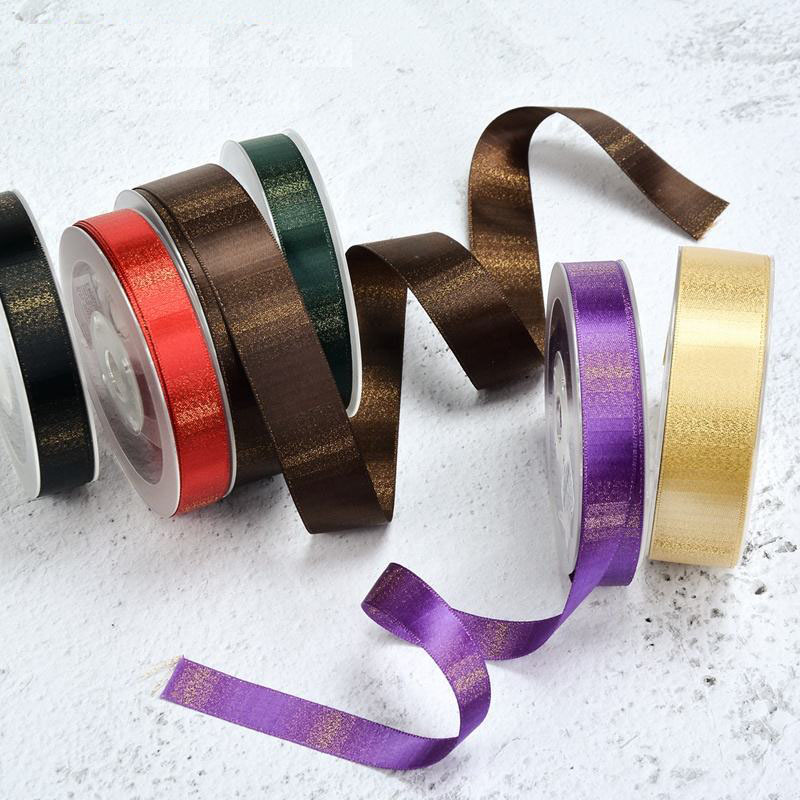
  • Satin Ribbon: Smooth and glossy, perfect for elegant bows.
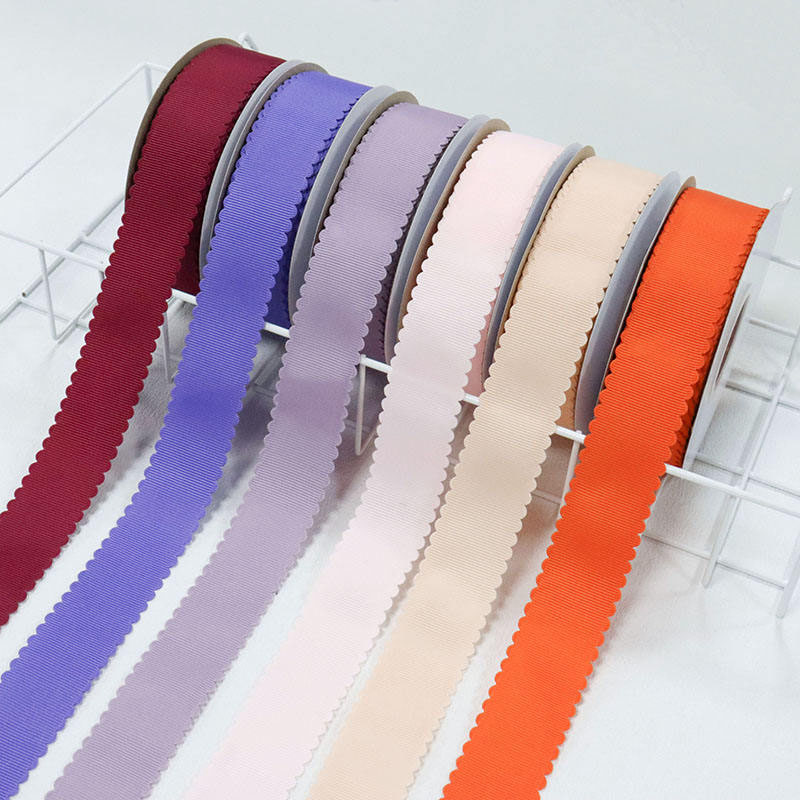
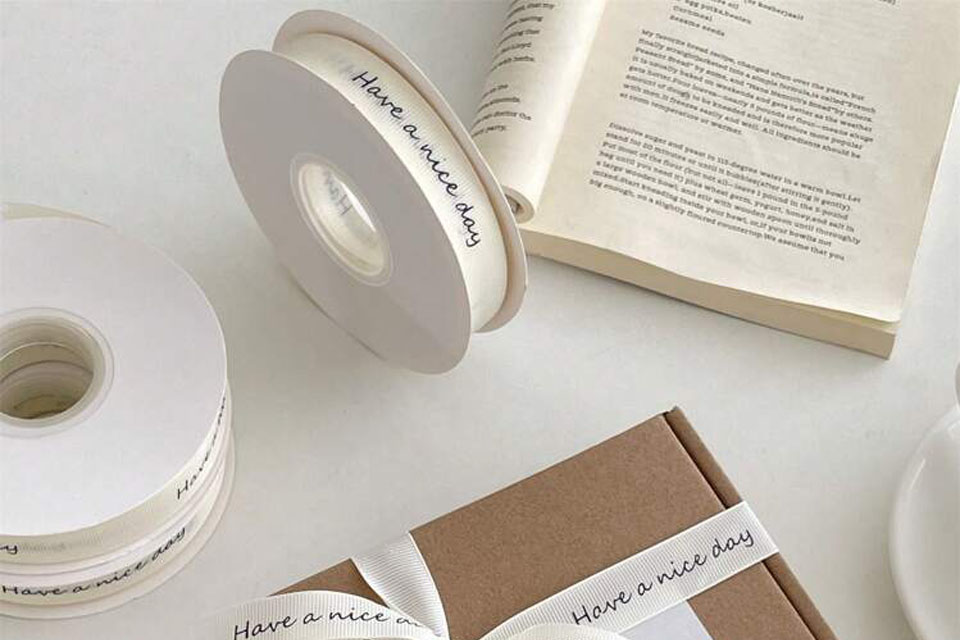
  • Grosgrain Ribbon: Offers a ribbed texture, ideal for casual and versatile bows.
  • Velvet Ribbon: Luxurious and thick, great for winter and holiday themes.

Tip: For a structured bow, opt for wired ribbon, which holds its shape better.

Choosing the Right Ribbon for Your Bow

Selecting the appropriate ribbon is fundamental to achieving the desired look for your bow. Different ribbons offer varying textures, weights, and flexibilities, which can significantly impact the final appearance.

Types of Ribbons

  • Satin Ribbons: Ideal for formal occasions, providing a glossy finish that catches the eye.
  • Grosgrain Ribbons: Versatile and durable, suitable for both casual and festive bows.
  • Cotton Ribbons: Soft and pliable, perfect for rustic or handmade projects.
  • Organza Ribbons: Lightweight and sheer, adding a delicate touch to your bows.

Color and Pattern Selection

  • Solid Colors: Best for a classic and elegant look.
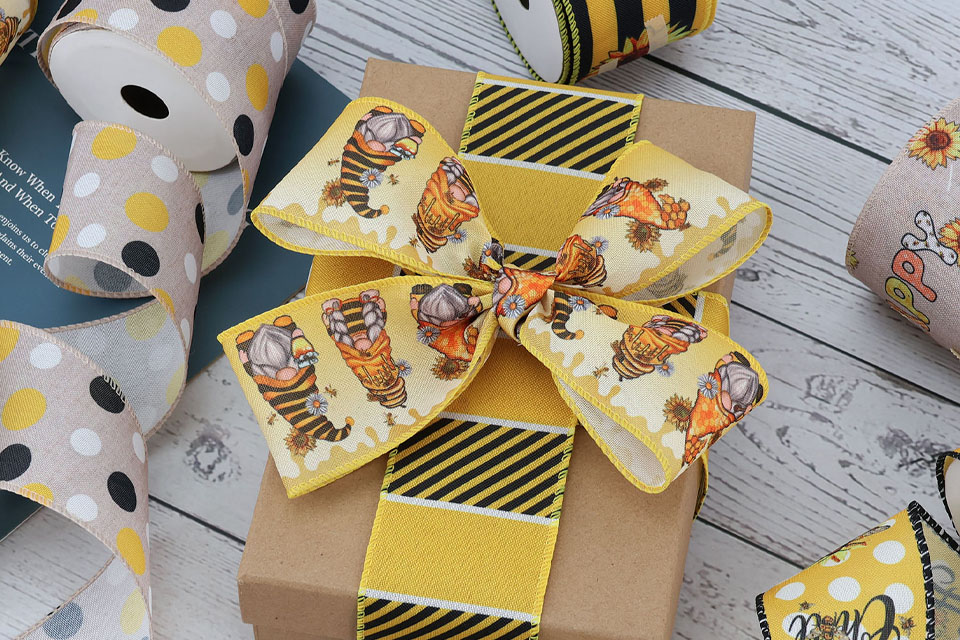
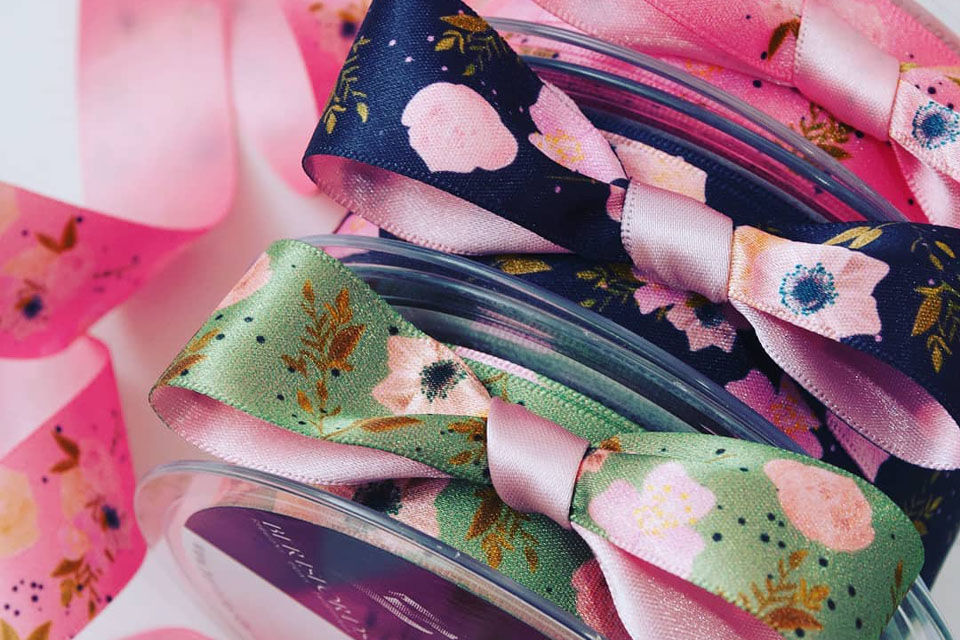
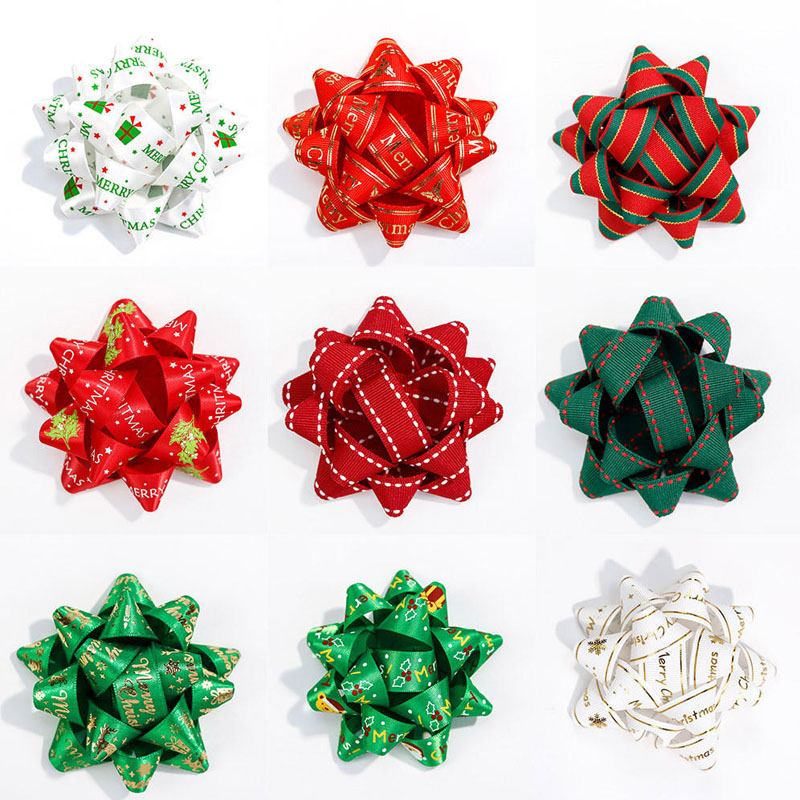
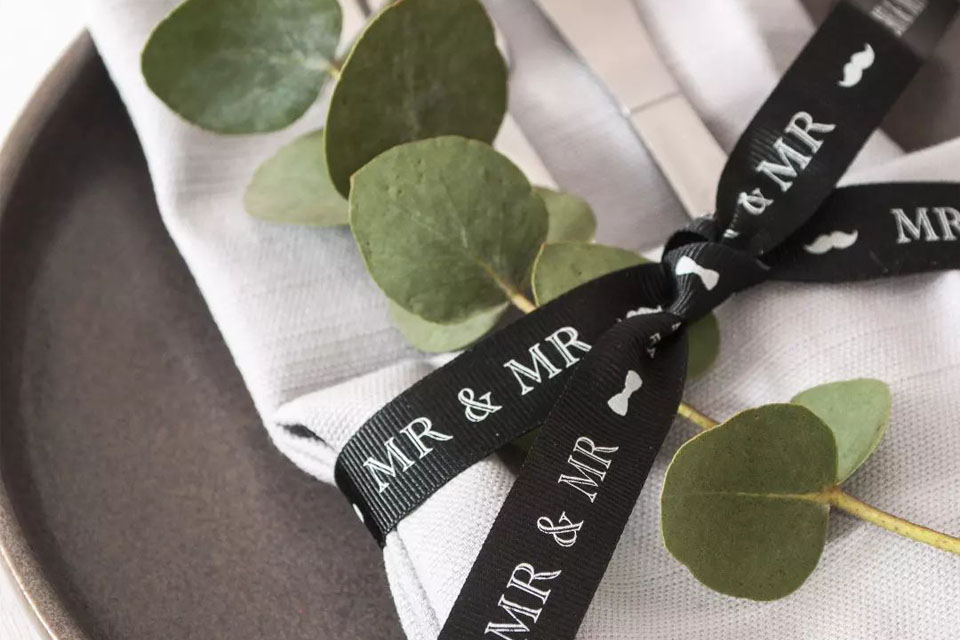
  • Patterns and Prints: Add personality and vibrancy to your bows. Consider using seasonal patterns for holidays.
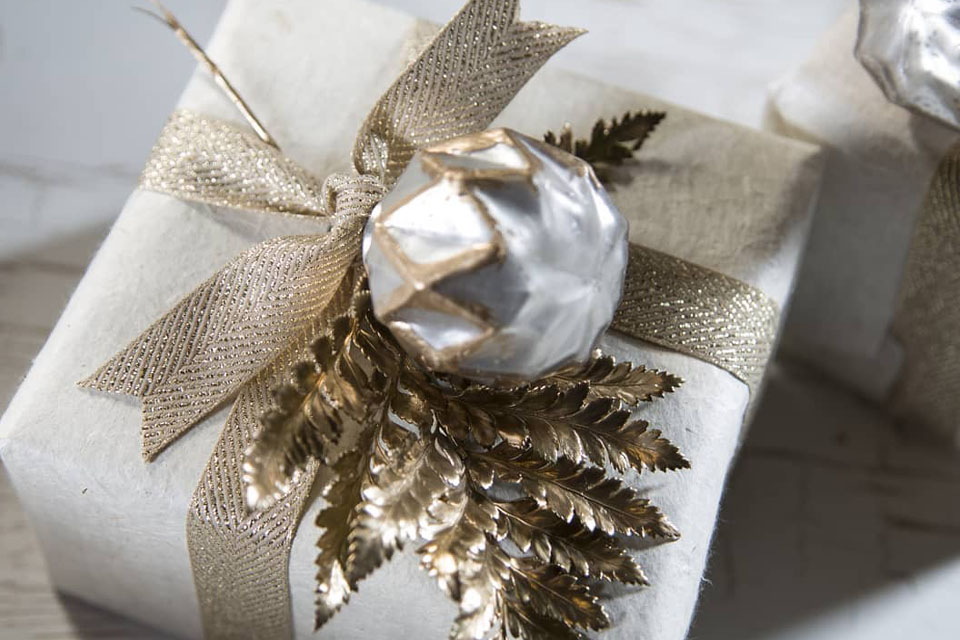
  • Metallics and Glitter: Great for adding sparkle and a luxurious feel.

Remember: The length of the ribbon will determine the size of your bow. A longer ribbon creates a fuller and more dramatic bow, while a shorter piece results in a petite and subtle accent.

Step-by-Step Guide: How to Tie a Basic Ribbon Bow

Tying a basic ribbon bow is a simple process that anyone can master with a little practice. Follow these steps to create a beautiful bow every time.

Step 1: Measure and Cut the Ribbon

Start by measuring the desired length of your ribbon. A good rule of thumb is to use at least 24 inches for a standard bow. Cut the ribbon using sharp scissors to ensure clean ends.

Step 2: Create the First Loop

Fold the ribbon in half to find the center point. Hold the center firmly and create a loop by doubling the ribbon back over itself.

Step 3: Make the Second Loop

Create a second loop on the opposite side, ensuring both loops are of equal size. This symmetry is key to a balanced bow.

Step 4: Tie the Knot

Take the ends of the ribbon and tie them into a knot at the center. Make sure the knot is tight enough to hold the loops in place but not so tight that it distorts the bow.

Step 5: Adjust and Fluff

Adjust the loops and tails to achieve the desired fullness. Fluffing the bow gives it a more polished and voluminous appearance.

Visual Guide:

Step Description Visual Aid
1 Measure and cut the ribbon Step 1
2 Create the first loop  
3 Make the second loop  
4 Tie the knot  
5 Adjust and fluff

Adjusting Your Bow for a Fluffy Finish

A fluffy bow adds elegance and charm to any project. Here’s how to achieve that full, lush look.

Fluffing the Loops

After tying the knot, gently pull on the loops to widen them. This creates a more substantial and attractive bow.

Tweaking the Tails

Adjust the tails by making small twists or folds. This can add texture and prevent the bow from looking too flat.

Ensuring Symmetry

Make sure both sides of the bow are even. Symmetrical bows appear more professional and aesthetically pleasing.

Pro Tip: Use a Grosgrain Ribbon for easier fluffing due to its ribbed texture, which naturally holds its shape better than other ribbons.

Using Wired Ribbon for More Structured Bows

Wired ribbons are perfect for projects that require a bow to maintain its shape over time. They offer added rigidity, making them ideal for display pieces and certain types of gift wrapping.

Benefits of Wired Ribbon

  • Shape Retention: Maintains loops and overall structure without frequent adjustments.
  • Durability: Resistant to stretching and deformation.
  • Versatility: Can be easily manipulated into various bow styles.

How to Use Wired Ribbon

  1. Prepare the Ribbon: Cut the wired ribbon to your desired length.
  2. Shape the Loops: Form the loops and position them as needed.
  3. Secure the Bow: Tie the ends tightly to maintain the bow’s shape.

Using wired ribbon can elevate your bow-making, ensuring your bows are both beautiful and long-lasting.

Creating a Fancy Bow for Special Occasions

For weddings, anniversaries, or other special events, a fancy bow can add a touch of sophistication and elegance.

Choosing the Right Ribbon

Opt for high-quality ribbons like velvet or metallic satin to create a luxurious appearance.

Enhancing the Bow

  • Layering: Use multiple layers of ribbon for a more intricate design.
  • Embellishments: Add beads, crystals, or other decorations to enhance the bow’s beauty.
  • Different Textures: Combine different ribbon types to create depth and interest.

Application Ideas

  • Gift Wrap: Perfect for wrapping presents for weddings or formal events.
  • Decorations: Ideal for centerpieces, floral arrangements, and other decorative elements.
  • Clothing and Accessories: Add a fancy bow to garments or accessories for a polished look.

Example: A Custom Elastic Stretch Loop Pre-Made Ribbon Bow can save time while providing a consistent and elegant appearance for your special event decor.

Attaching the Bow to Your Gift Wrap

Properly attaching your bow ensures it stays in place and enhances the overall presentation of your gift.

Methods of Attachment

  • Glue Dots: Easy to use and secure for lightweight bows.
  • Tack Glue: Provides a stronger bond for heavier bows.
  • Ribbon Tails: Wrap the tails around the package and tie them under the bow for a seamless look.

Positioning the Bow

Place the bow at the top center of the package or at one side, depending on the desired aesthetic. Ensure it’s securely fastened and evenly positioned.

Final Adjustments

Once attached, make any necessary adjustments to the bow’s shape and fullness. Ensure the tails are even and the bow sits flat against the package.

Tip: For intricate wrapping, consider using Wholesale Gift Packaging Decorative Pre-Tie Ribbon Bows which come pre-tied for convenience and consistency.

Common Mistakes and How to Avoid Them

Even with a simple tutorial, beginners might make a few common mistakes when tying ribbon bows. Here’s how to avoid them for a flawless finish every time.

Uneven Loops

Solution: Take your time to create loops of equal size. Use a ruler or measuring tape if necessary to ensure symmetry.

Sloppy Knots

Solution: Tie the knot tightly and neatly. Practice makes perfect—don’t hesitate to redo the knot until it looks clean.

Ribbon Fraying

Solution: Use sharp scissors to cut the ribbon cleanly. For natural ribbons like cotton, consider sealing the ends with a flame or applying a small amount of glue to prevent fraying.

Overfluffing

Solution: Fluff the bow gently to maintain its shape without making it look too big or bulky.

Advanced Bow-Making Techniques

Once you’ve mastered the basic bow, you can explore more advanced techniques to create unique and intricate designs.

Layered Bows

Create depth by layering multiple bows of different sizes and colors. This adds a dynamic and eye-catching element to your projects.

Bow Variations

Experiment with different bow styles, such as:

  • Peacock Bows: Wide loops with a grand flourish.
  • Butterfly Bows: Slender loops that resemble butterfly wings.
  • Pom-Pom Bows: Incorporate pom-poms for a playful and textured look.

Combining Materials

Mix different ribbon types or incorporate other materials like lace or twine to add texture and interest.

Inspiration: Check out our Custom Size Double Sided Twist Tie Thick Velvet Ribbon Bows for ideas on creating elaborate and eye-catching bows.

Attaching the Bow to Your Gift Wrap

Properly attaching your ribbon bow ensures it stays in place and enhances the overall presentation of your gift.

Securing the Bow

  • Glue Guns: For a permanent hold, especially on heavier packages.
  • Double-Sided Tape: Ideal for temporary holds or lightweight bows.
  • Ribbon Tails: Tuck the tails under the package and secure with a dot of glue for a seamless look.

Positioning Tips

  • Top Center: Classic and balanced.
  • Side Placement: Adds a modern twist to your gift presentation.
  • Diagonal Angle: Creates a dynamic and unique appearance.

Final Touches

Ensure the bow is neatly positioned and any excess ribbon is trimmed to your desired length. Fluff the loops for a polished finish.

Common Mistakes and How to Avoid Them

Creating the perfect ribbon bow can sometimes lead to a few common pitfalls. Being aware of these mistakes can help you achieve a flawless bow every time.

Uneven Loops

Solution: Take your time to create loops of equal size. Practice folding the ribbon neatly before tying the knot.

Ribbon Slippage

Solution: Use a tight knot and consider adding a small dab of glue to secure the bow in place.

Fraying Ribbon Ends

Solution: Cut the ribbon as straight as possible with sharp scissors. For a polished look, you can also burn the ends gently or seal them with a bit of glue.

Overstuffed Bow

Solution: Fluff the bow gradually. Adding too much fluff at once can make the bow look bulky and unbalanced.

Advanced Bow-Making Techniques

Once you’ve mastered the basic bow, you can explore more advanced techniques to create unique and intricate designs.

Layered Bows

Create depth and dimension by layering multiple bows of different sizes and colors. This technique adds a luxurious and dynamic look to your creations.

Incorporating Different Textures

Combine ribbons of different materials, such as satin and organza, to add texture and visual interest to your bows.

Decorative Elements

Enhance your bows with additional decorations like beads, crystals, or small flowers. These elements can elevate the bow, making it perfect for special occasions.

Example: Check out our Customized Mini Size Polyester Satin Ribbon Bows for Wrap for inspiration on adding decorative elements to your bows.

Conclusion: Key Takeaways for Perfect Ribbon Bows

  • Choose the Right Ribbon: Select a ribbon type and color that suits your project.
  • Measure Carefully: Ensure the ribbon length is appropriate for the bow size you desire.
  • Tie Neatly: Focus on creating even loops and a tight knot for a balanced bow.
  • Fluff for Fullness: Gently adjust and fluff the loops to achieve a lush, voluminous appearance.
  • Secure Properly: Use the right method to attach your bow, ensuring it stays in place.
  • Practice Makes Perfect: Don’t be discouraged by initial attempts—practice will improve your bow-tying skills.
  • Experiment with Techniques: Explore advanced bow-making techniques to create unique and personalized bows.
  • Use Quality Tools: Sharp scissors and high-quality ribbons make the bow-making process smoother and the results more professional.
  • Avoid Common Mistakes: Be mindful of common pitfalls and how to avoid them for flawless bows.
  • Enhance with Decorations: Adding decorative elements can elevate your bow, making it suitable for any occasion.

Mastering the art of tying a perfect ribbon bow can significantly enhance your gift-giving and decorating skills. With the right materials, techniques, and a bit of practice, you can create beautiful bows that make every occasion special.


Explore More:


Key Points to Remember

  • Material Selection: Choosing the right ribbon is fundamental to achieving the desired bow appearance.
  • Precision in Tying: Neat and tight knots ensure a professional-looking bow.
  • Adjustment and Fluffing: Properly adjusting the bow loops makes the bow look full and attractive.
  • Use of Wired Ribbons: For structured and long-lasting bows, wired ribbons are ideal.
  • Advanced Techniques: Explore layered bows and decorations to create unique and special designs.

With these guidelines and tips, you’re well-equipped to create stunning ribbon bows that will impress and delight on any occasion. Happy bow-making!

Comments

Learn the latest trends and knowledge from the leading manufacturer in China about ribbon business.
滚动至顶部

Online INQUIRY

We will reply to you in 30 minutes.

Talk to leader

Can’t find what you want? Ask our manager for help directly.

Talk to leader

Can’t find what you want? Ask our manager for help directly.

Talk to leader

Can’t find what you want? Ask our manager for help directly.