ave you ever admired the delicate beauty of a rose and wished you could capture that essence in a lasting handmade creation? This article guides you through the art of making This article guides you through the art of making stunning ribbon roses, using satin and silk ribbons. It’s a rewarding craft, perfect for adding a personal touch to gifts, decorations, or even your home decor. Whether you’re a seasoned crafter or just starting, this tutorial will equip you with the skills to create these elegant ribbon flowers. So, grab your ribbon, and let’s get started!
What Makes a Ribbon Rose So Special?
The allure of a rose is universal, and crafting one from ribbon offers a unique way to celebrate its beauty. Unlike real flowers, a ribbon rose never wilts, symbolizing enduring love and care. Each rose you make is unique, reflecting your personal touch and the choice of satin, silk, or other fabric. They’re versatile, suitable as embellishments for special occasions, or lovely additions to home decor. The craft of making a ribbon rose transforms simple materials into a symbol of delicate elegance, which is why they are so popular to the crafter.
They bring a touch of class and sophistication to any project. The tactile nature of the ribbon, whether it’s the smooth sheen of satin or the soft flow of silk, adds a luxurious feel, and each petal you shape contributes to a unique, handcrafted flower. By mastering how to craft them, you can create truly unique handcrafted gifts. These aren’t just decorations; they’re statements of your creativity and attention to detail. When using high-quality ribbon the roses made look sophisticated and upscale suitable for any type of event.
What Kind of Ribbon is Best for Making Ribbon Roses and Where to Buy it?
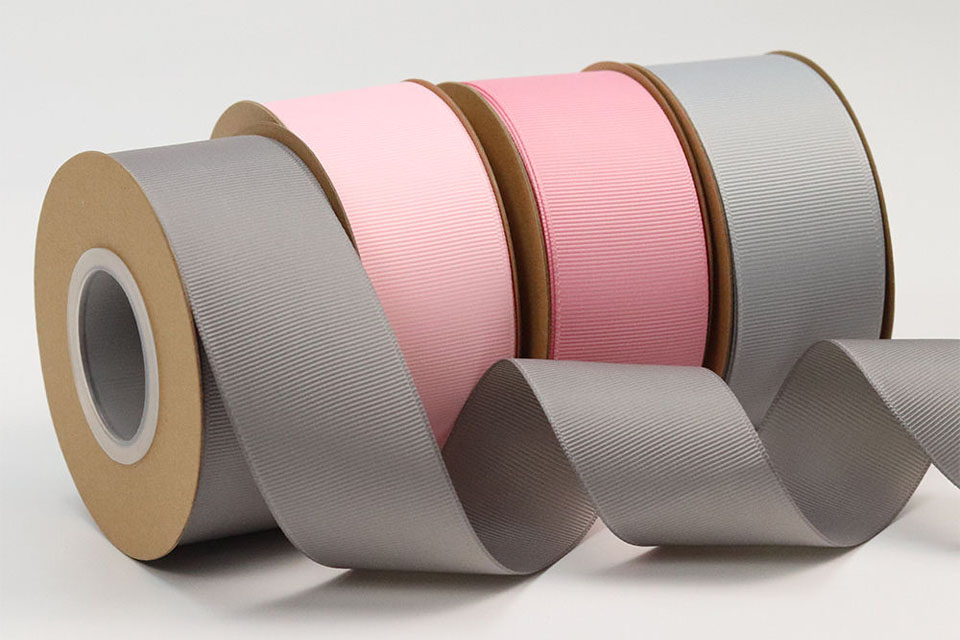
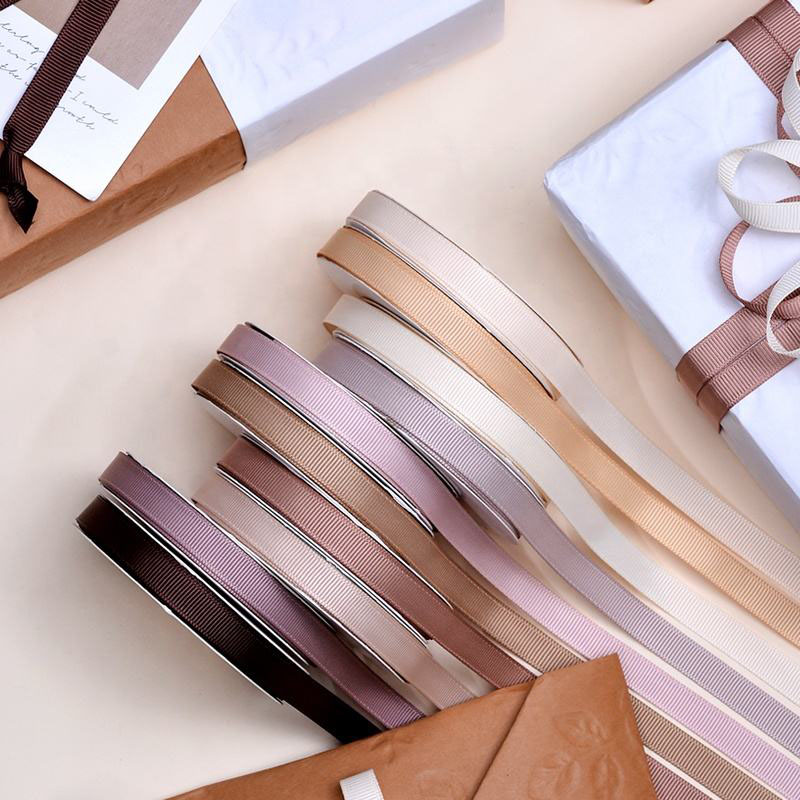
The best type of ribbon for crafting ribbon roses largely depends on the desired look you are going for. Satin ribbon is a popular choice due to its smooth, luxurious texture and how well it holds its shape. For a softer, more natural look, you might consider using silk ribbon. Other fabric options, like grosgrain, can provide a different texture altogether. The width of the ribbon also plays a role; wider ribbons often result in larger, fuller roses, while thinner ribbons are great for more delicate, complex designs. It’s also important to consider how the material will fold and secure; some fabrics hold a fold better than others and some fray more easly.
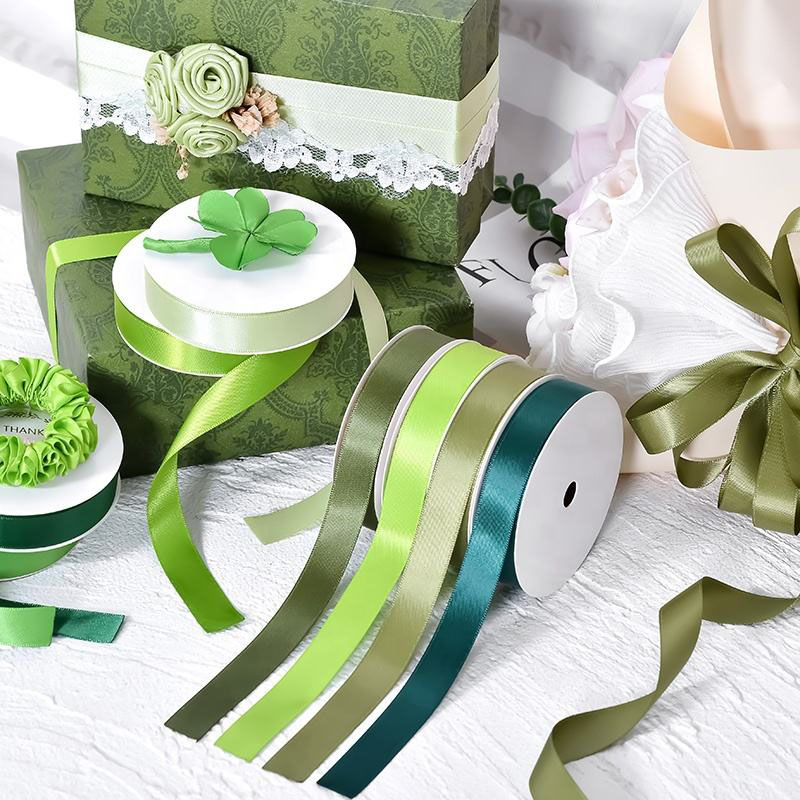
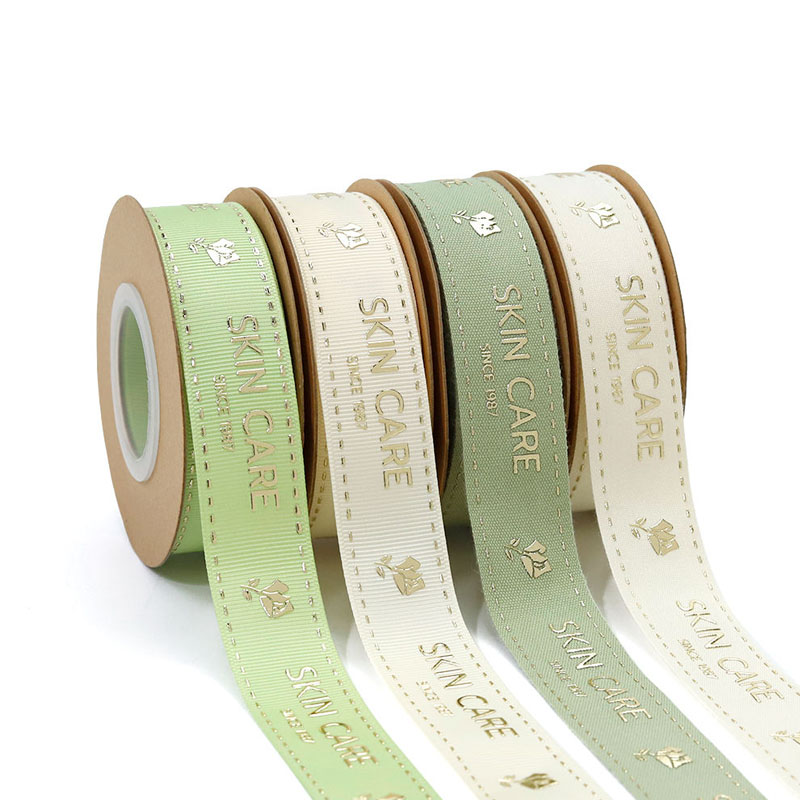
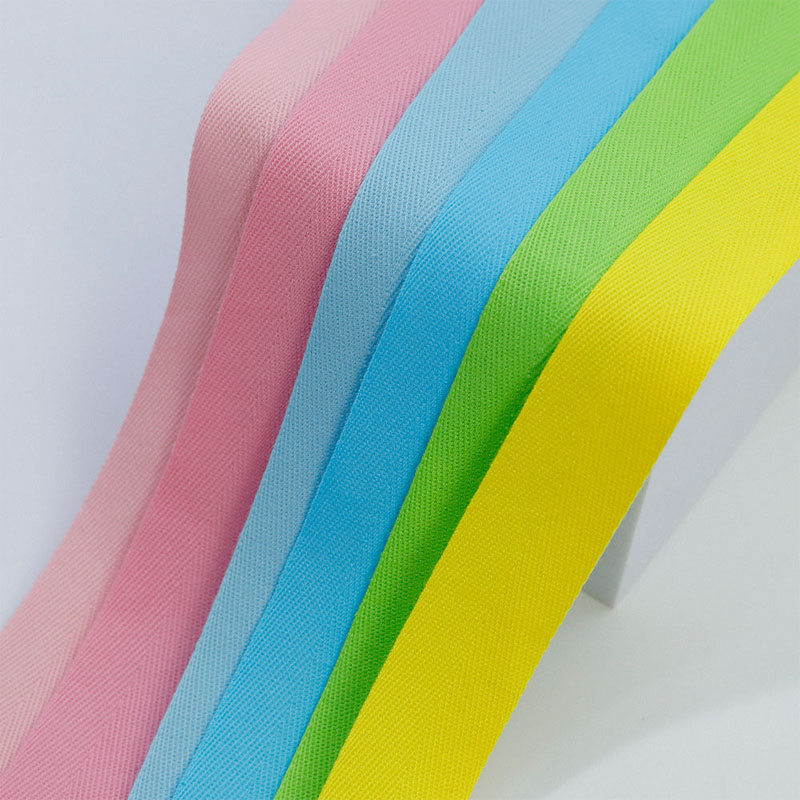
For where to buy ribbon for ribbon roses, consider starting with a trusted supplier. As a ribbon factory, we pride ourselves in providing high-quality ribbon options. Consider contacting us for all your ribbon needs. We have a wide selection of quality materials. For example we offer a great variety of satin ribbons perfect for creating these flowers. Consider browsing our collection of ribbon options online. You’ll find a wide variety of types, colors, and sizes to perfectly match any craft or event that you might have in mind.
DIY Ribbon Rose Tutorial: What Materials Do You Need?
Before you start your diy project, make sure you have all the essential materials. You’ll need ribbon – satin, silk, or any other fabric you prefer. The Length of ribbon is important to achieve the desired size for your rose. depends on how large and full you want your rose to be and this is where the decision on wide ribbon or thinner ribbon comes in. A 1 inch (2.54 centimeter) to 1.5 inches (3.81 centimeter) width satin ribbon is a good starting point and the Length of ribbon is important to achieve the desired size for your rose. will define the size and fullness of the rose. The basic materials also require items like scissors, glue (like a glue stick or Use a glue gun to secure the ribbon onto your rose.) for securing the ribbon, optional needle and thread for sewing instead of glue. Wire can be used to create a stem, and fabric Leaves can make your rose look real; we will discuss that in more detail later, along with easy craft ideas.
You may also want to include some embellishments, like beads, pearls, or glitter to add extra detail to your handmade roses. Having all your materials organized before you begin makes the crafting process smoother and more enjoyable. Remember that using a hot glue gun should be done carefully to avoid burns; when using it, it is a good tip to use low tempature sticks. For this craft we are going to focus mainly on methods that use glue rather than sewing, so a proper glue gun will be your best friend for this project. A clear space is important, for all the supplies and for you to work.
How to Make an Easy Ribbon Rose Step-by-Step?
Making a simple ribbon rose is easier than you might think. Start by cutting the ribbon to your desired length, a good starting point is between 10 and 14 inches (25 and 36 centimeter) for a medium size rose. Next, fold the ribbon at a slight angle, creating a small triangle. Start to roll that triangle, keeping the edges aligned, this becomes the center of the rose, which is a great craft idea. Apply a dot of glue to secure this initial roll. Then, begin to fold the ribbon away from the center, forming the petals. As you fold, rotate the rose. Each petal should slightly overlap the previous one. Use a small dot of glue to secure each petal at the base as you go around the rose.
Continue this process of folding and glueing, adding new petals around the center, until your rose reaches the desired size. The more petals you add, the fuller your rose will be. Be sure to apply a bit of glue every few petals to prevent the rose shape from falling apart. When you reach the end of the ribbon, simply secure it with a final dot of glue.. The key is to work slowly and methodically, ensuring that all the layers are secure. With practice, you’ll develop your own approach to folding, creating your own unique handmade rose.
How to Craft Fuller Ribbon Rose Petals?
If your aim is to create a rose with more volume and a fuller look, you’ll need certain techniques. Use a wider ribbon, and make each petal larger and try to keep the petals more loosely rolled. When you fold the ribbon, do it at a greater angle, so that it spreads and creates more volume. Start the rose center by forming a tight little spiral, and then loosen the fold as you progress around. For each new length of ribbon, you can create a unique rose. petal, allow it to slightly overlap one side of the edge of the previous one, rather than directly on top. This creates the effect of a more natural flower. Experiment with the depth of each fold to see how it impacts the volume and visual appeal of your DIY roses.
This technique involves adding more fabric per petal. You might even consider slightly pinching the base of each petal before glueing to make it more rounded and dimensional. Also explore alternate ways of placing the petals On a slightly different level, adding excess ribbon can add depth to your design. Avoid pressing down too firmly on each one to avoid a flat, nonrealistic look. For an even fuller effect, try using several pieces of ribbon and working in layers. This requires a bit more planning, but the results are often worth the effort. With the right methods you will soon be creating roses made from ribbon that are stunning.
What are Some Tips and Tricks for Crafting the Perfect Ribbon Rose?
Achieving perfection in making craft, requires not only skill but also some insider knowledge. One important tip is to protect your ribbon from fraying; sealing the edge or applying a thin layer of clear nail polish can prevent unwanted loose threads. When you Take the ribbon and tie it to create a beautiful rose. to begin forming your rose, make sure you have enough length to work with, as it is much harder to add more at the end. Also avoid using a lot of glue too quickly, the trick is to use a minimum amount and just at the base of each petal. Too much glue can make your rose look messy and not allow it to move freely.
Another important technique is to ensure your petals have an even look – fold the ribbon at the same angle every single time and every petal will look the same. Take your time, focus on making each petal shape look beautiful. It’s always good to practice a few times before you start the actual project. When using hot glue always protect surfaces and fingers, you may use a silicone mat and a gloved finger to slightly press the petal where you just apply the glue. Using a good glue gun will do the trick, but sometimes it is too wide, so a regular glue stick can help with places that require a small dot. If you need to make several roses at the same time, try cutting the ribbon into specific length sizes beforehand.
Can I use Wired Ribbon for Making Ribbon Roses?
Yes you absolutely can! Wired ribbon is a fantastic option for creating ribbon roses, especially if you’re looking for shapes that hold their form beautifully. The wire allows you to easily manipulate the petals and shape them how you want, providing extra support and definition. When you work with wired ribbon, you may cut it down into a manageable length and slightly fold the edge inward to hide any raw edges and reduce fraying. Use these ends together and roll the center with extra care, as the wire can be difficult to maneuver at first.
Another great advantage of the wired ribbon is the ability to create unique petal shapes that you cannot do with regular ribbon, giving you more possibilities. You can shape each petal and make it wavy or even pointy, adding extra character and artistry to your DIY roses. Consider using the wire to attach the rose and not necessarily the glue. This makes this type of rose easier to insert into any type of arrangement. You might like how the edges of the wired ribbon also stand out, adding an extra texture and look to your flower petals or the overall rose.
How to combine different ribbon textures for unique DIY roses?
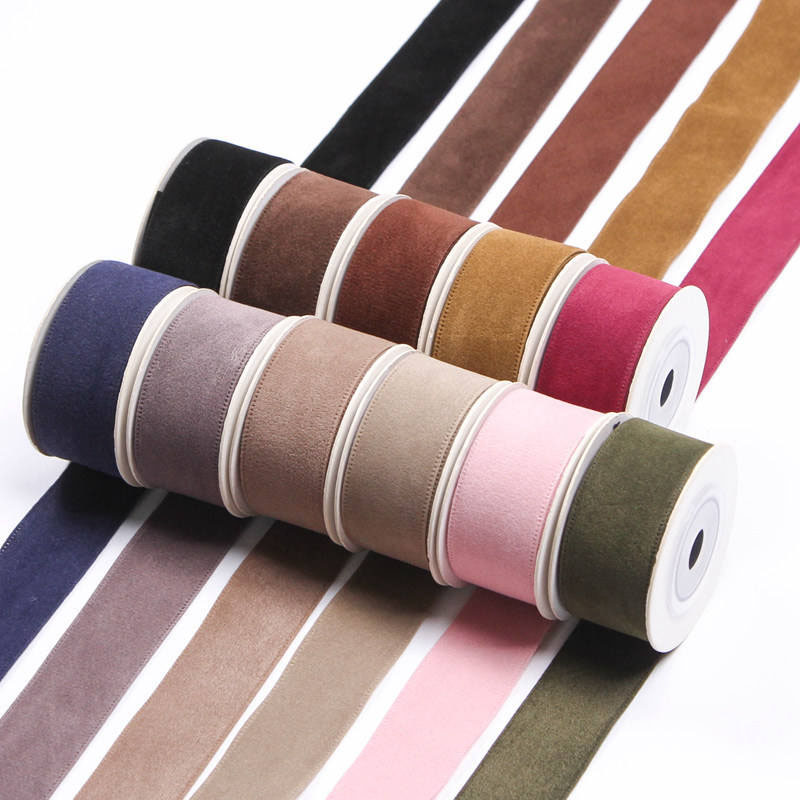
Combining different ribbon textures into one rose is a great way to create a unique and eye-catching effect. Experiment with mixing satin and silk ribbons. Satin‘s smooth surface will provide a sleek look, while silk‘s delicate flow will offer a softer feel; try using silk for the inner petals and satin for the outer ones. Also consider using grosgrain ribbon to add texture, with its ribbed surface to give a more classic touch to your craft. Have a go at incorporating velvet ribbon for some special occasion roses, this is great for when you want to make your rose look truly luxurious.
Also, incorporating ribbons of different ribbon width is another way to play with texture. Combining narrow ribbon to make the first few petals of the center, and wider ribbon for the outer layers can add a more organic look. Feel free to be bold with your selections. Use ribbon that have metallic or glittery finishes can brighten up your project. Have you considered using different types of fabric like lace or even cotton? Combining the right kind of fabric will turn any type of ribbon flowers into a true artform.
How to make a ribbon rose.
For a more comprehensive guiding experience, we are pleased to share a video tutorial, it can be very helpful for visual learners when making a ribbon rose. There are many on YouTube so it is easy to search for some inspiration. These video tutorials often demonstrate how to properly fold the ribbon, apply the glue, and ensure each petal is placed perfectly. When you watch someone work on the rose step by step, you can appreciate the skill of making craft. Also watch for different approaches that you can try when you make a ribbon rose. It is very useful to follow how the expert holds her supplies.
Seeing someone make a rose in real-time is very beneficial to better understand the steps, because sometimes trying to explain with only words might be more difficult to grasp. It is important that you always follow the guidelines of your favorite tutorial, but always adjust it to your own personal touch. Remember that sometimes even a slight angle change can make a difference. Watching these videos will empower you to try your own unique diy rose method. So, search and enjoy learning from others.
What are Some Creative Uses for Handmade Ribbon Roses?
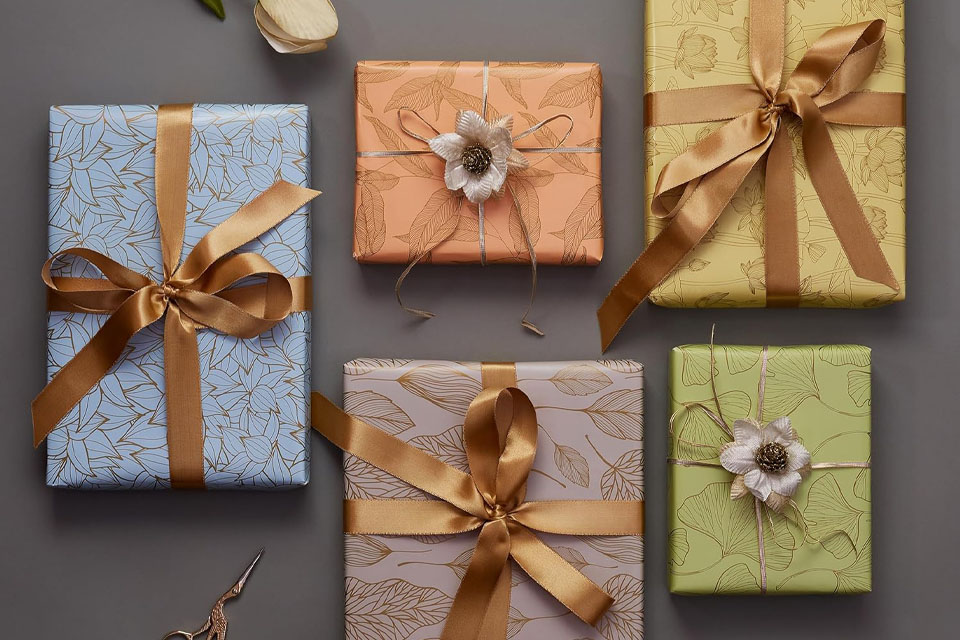
The beauty of handmade ribbon roses is their versatility. They are not only beautiful additions to home decor, but they can also be used in a variety of creative projects. Use them to decorate gift boxes or bags, adding an elegant touch. They make wonderful embellishments for clothing and hair accessories. You can incorporate them into bridal bouquets or corsages for special occasions. These DIY roses can also be used to decorate your curtains, or to make garlands.
For event planners, ribbon flowers are an economical and long-lasting alternative to fresh flowers. Consider them to decorate your tables, chairs, and arches. Also ribbon roses can be used to enhance any type of scrapbooking or cardmaking projects showing your love and appreciation for any type of gift. Corporate marketers use them for promotional products adding a touch of elegance to their products and promotions, using ribbons that match the company colors. These handmade ribbon flowers really can do the trick for any type of occasion. They can even be made in very large bulk amounts for decorations.
FAQs: Answering Your Questions About Ribbon Roses.
What is the best adhesive for securing the ribbon petals?
Hot glue works very well, providing a very strong and quick bond; regular glue sticks are also a good choice, providing you are patient and allow them to dry properly.
Can I vary the petal size for a fuller rose?
Yes, definitely! By changing the angle and the length of the ribbon, each petal can have a different size. Using the technique discussed in the ‘How to Craft Fuller Ribbon Rose Petals?’ section, you can create a richer, more layered flower.
Is it possible to make leaves for my ribbon rose?
Yes, you can create the leaf by folding a green ribbon or you can buy fabric leaves and stitch or glue them on. Simply fold the green ribbon in half and shape it into a leaf using glue for securing.
How long does it take to make one ribbon rose?
Depending on your skill and the fullness of the rose, it can take anywhere from 15 minutes for a a simple one, to one hour for more elaborate ones. With practice you will be faster and more precise in your making craft..
Can these ribbon roses be washed if they get dirty?
It is advisable to avoid washing them, instead try to use dry cleaning methods to avoid damage to the fabric or glue, but consider using sewing methods if you think your rose will end up getting wet.
Where can I find a wide selection of satin ribbon for my projects?
Here at ribbonoem.com, we are a leading ribbon manufacturing company, we have a large variety of satin ribbons, and many other choices for your DIY needs.
Key Takeaways:
- Ribbon roses are a beautiful and lasting alternative to real flowers.
- Satin and silk ribbons are excellent choices, but explore other types of fabric for unique designs.
- The best way to make a ribbon rose is by methodically creating petal layers and securing with glue or stitch.
- Experiment with ribbon width and texture to create your own unique looks.
- Video tutorials are excellent teaching tools to guide you.
- Handmade ribbon roses can be used for various applications, from home decor to special events.
We hope this detailed guide has inspired you to dive into the wonderful world of ribbon rose crafting. Remember that every rose is a unique expression of creativity, so don’t be afraid to explore and experiment. Feel free to check our ribbon collections at our website, where you will find all you need for your next craft project, and contact us to discuss your unique needs. Happy crafting! Be sure to check out our wired ribbons for even more creative options. You might also be interested in our custom ribbon bows for your packaging needs! Also we have many options for special occasion ribbons
